Finder2.0 User Guide |
www.flashforge.com
Chapter 7: Basic Printing
This chapter will provide a step-by-step guide on turning a 3D model into a physical
reality. Before proceeding, it is recommended that you’d better go over prior chapters
on loading/unloading filament, leveling the build platform, and the functions and
capabilities of FlashPrint.
(7-1)Double-click the icon of Flashprint to start the software.
7-1
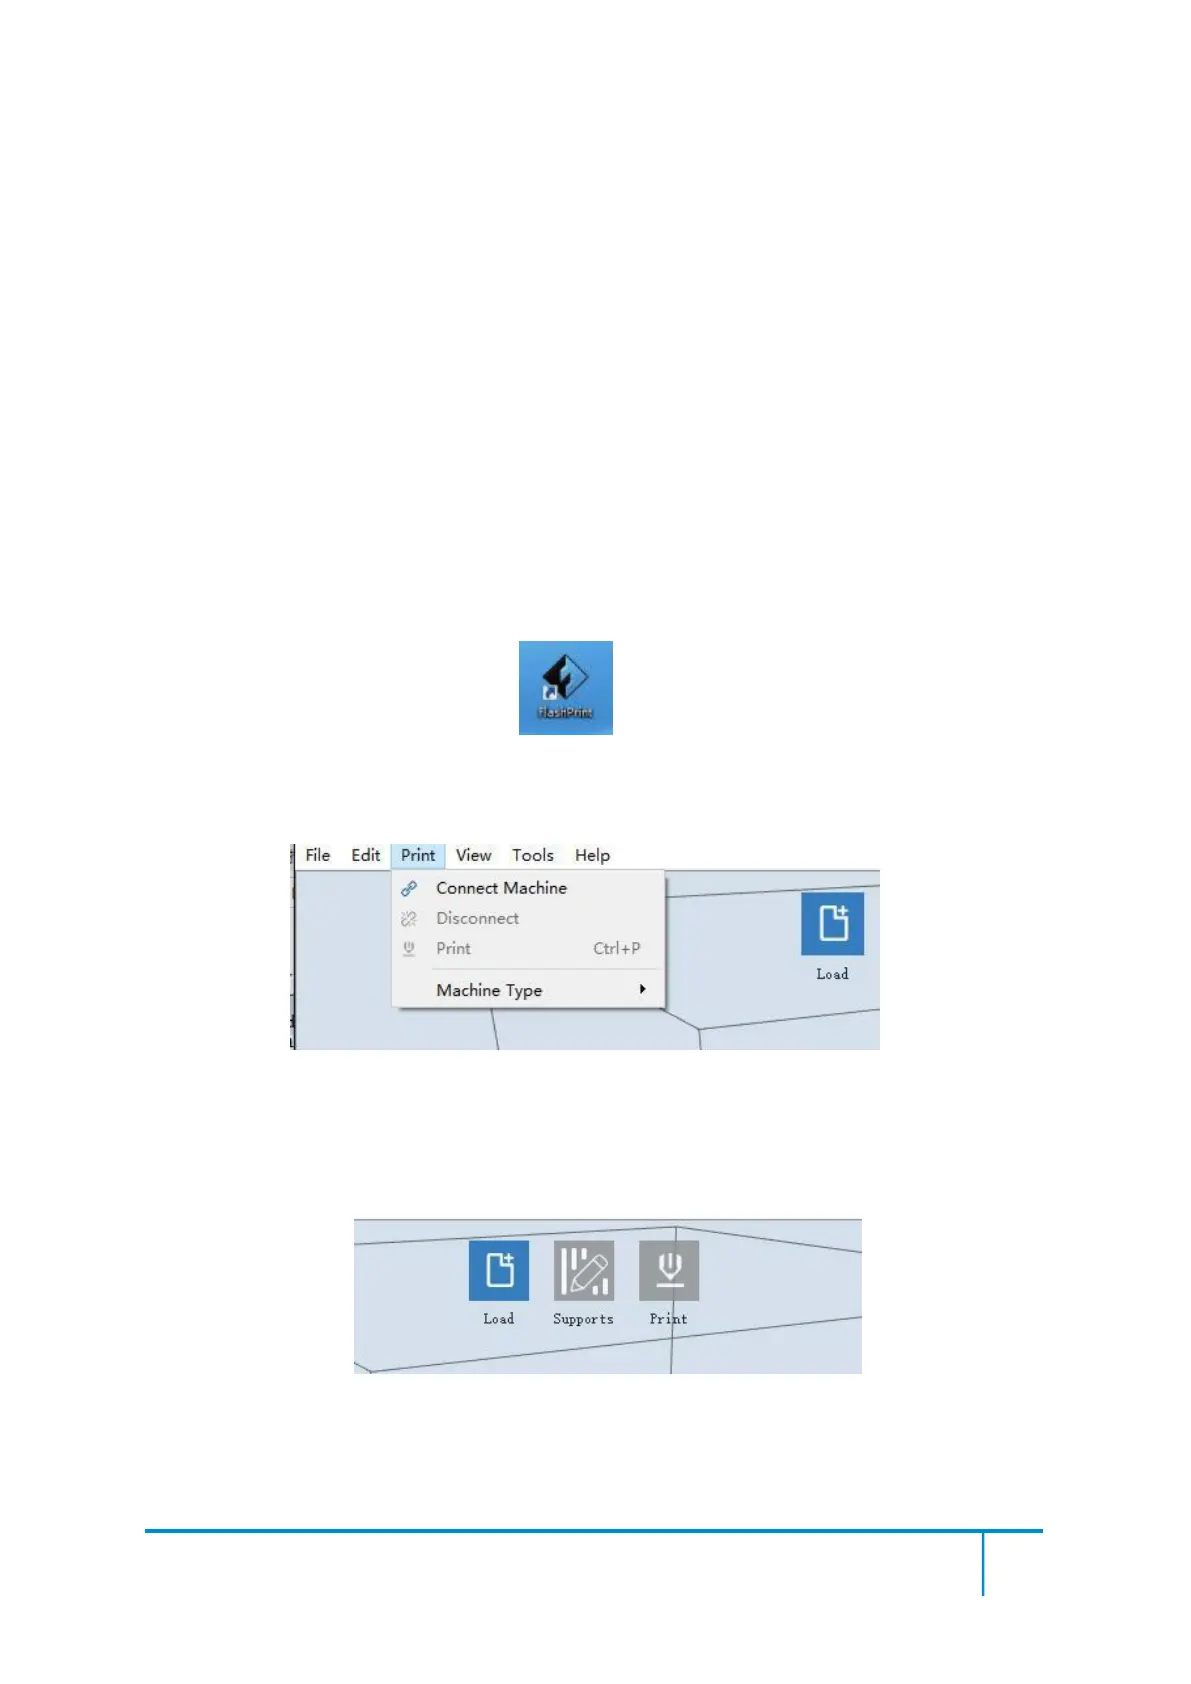
(7-2)Click[Print]--[Machine Type] to select Flashforge Finder2.0
7-2
(7-3)Click the [Load] icon to load a .stl model file and the object will display on the
build area.
7-3
(7-4)Click [Edit]--[Surface to Platform] to make your model perfectly positioned