3.2 Clean up the waste materials
1. Please wear rubber glove before open the waste box
chamber
2. Remove the waste box and dispose it by following the local
regulations
3. Check all the remaining waste in the waste box. If neces-
4. Put the waste box back, then close the waste box chamber.
4. Pull up and release the wrench while carrying the material
bottle handle and insert the material bottle into the ink
groove.
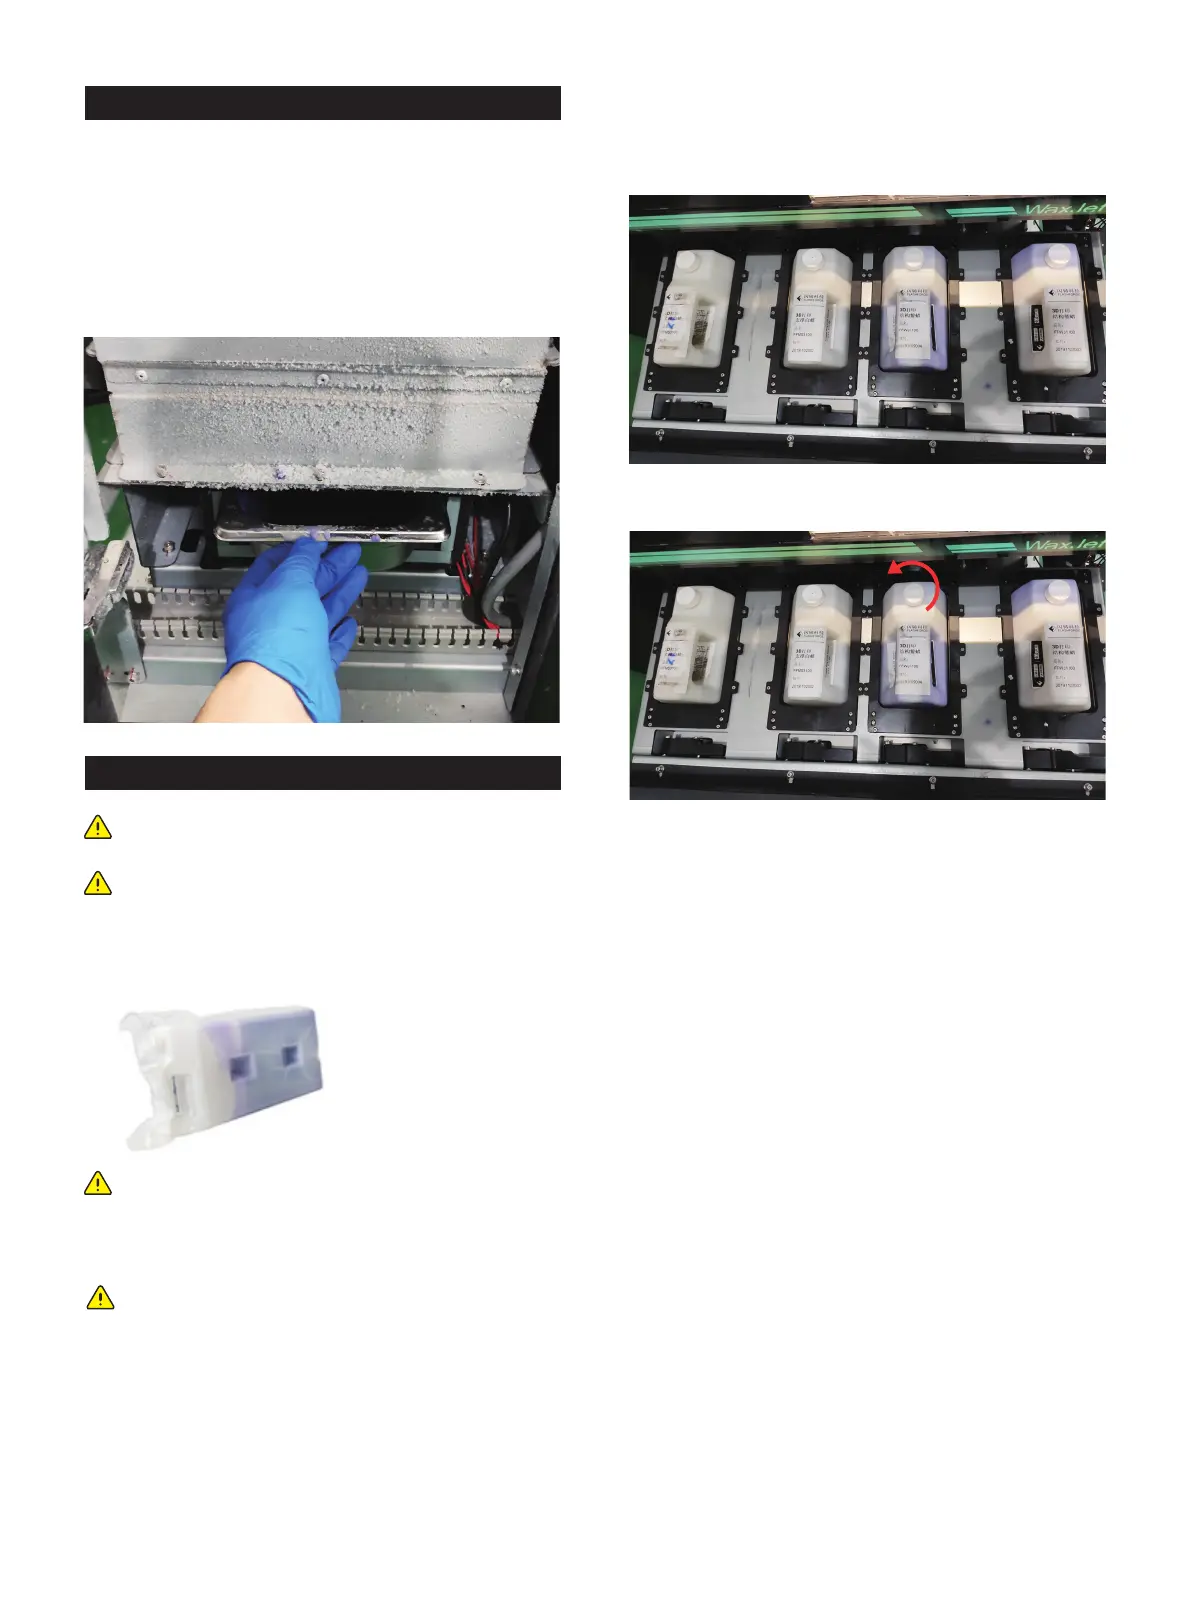
5. Insert the material bottle down until you hear the sound of
getting stuck in place, release the release wrench.
6. Turn the bottle cap anti-clockwise until its half to keep the
bottle open.
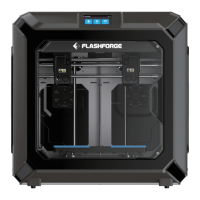
3.3 Installation of materials
If the material bottle is empty, or to change the new material
bottle, please follow the next steps.
1.Get a new material box and ensure the material type is the
same with the old one.
2. Push the door inward to open.
3. Pull the drawer out .
Note: Check the material type is important before
material installation
Note: It is necessary for preheating before open the
material chamber and material installation
Note: The The MDM drawer is a push/push mecha-
nism. Push to open door , and then push to lock door.
Note: The procedure for installing the support material
bottle is the same as the procedure for installing the
part material bottle. It is important to ensure that hear
the sound from the material cartridge is stuck in the
position, that the material box is filled with material
and keeps open, otherwise the material in the material
bottle will not flow properly from the material bottle
into the Valvetank.
01 02 03 04 05 06 07 08
09 10 11 12
13 14 15 16 17
18 19 20 21 22 23 24 25 26
27 28 29 30 31 32 33 34 35
36 37 38 39 40 41 42 43
44 45 46 47 48 49 50 51
52 53 54
55 56 57 58 59 60 61
62 63 64 65 66 67 68 69
70 71 72 73 74 75 76 77
78 79 80 81 82 83 84 85
86 87 88 89 90 91 92 93
94 95 96 97 98 99 100 101
102 103