Achieving a good image14
2. Push the A/M button to select Auto. The image will now be continuously adjusted for
best image brightness and contrast.
14.4.4 Figure
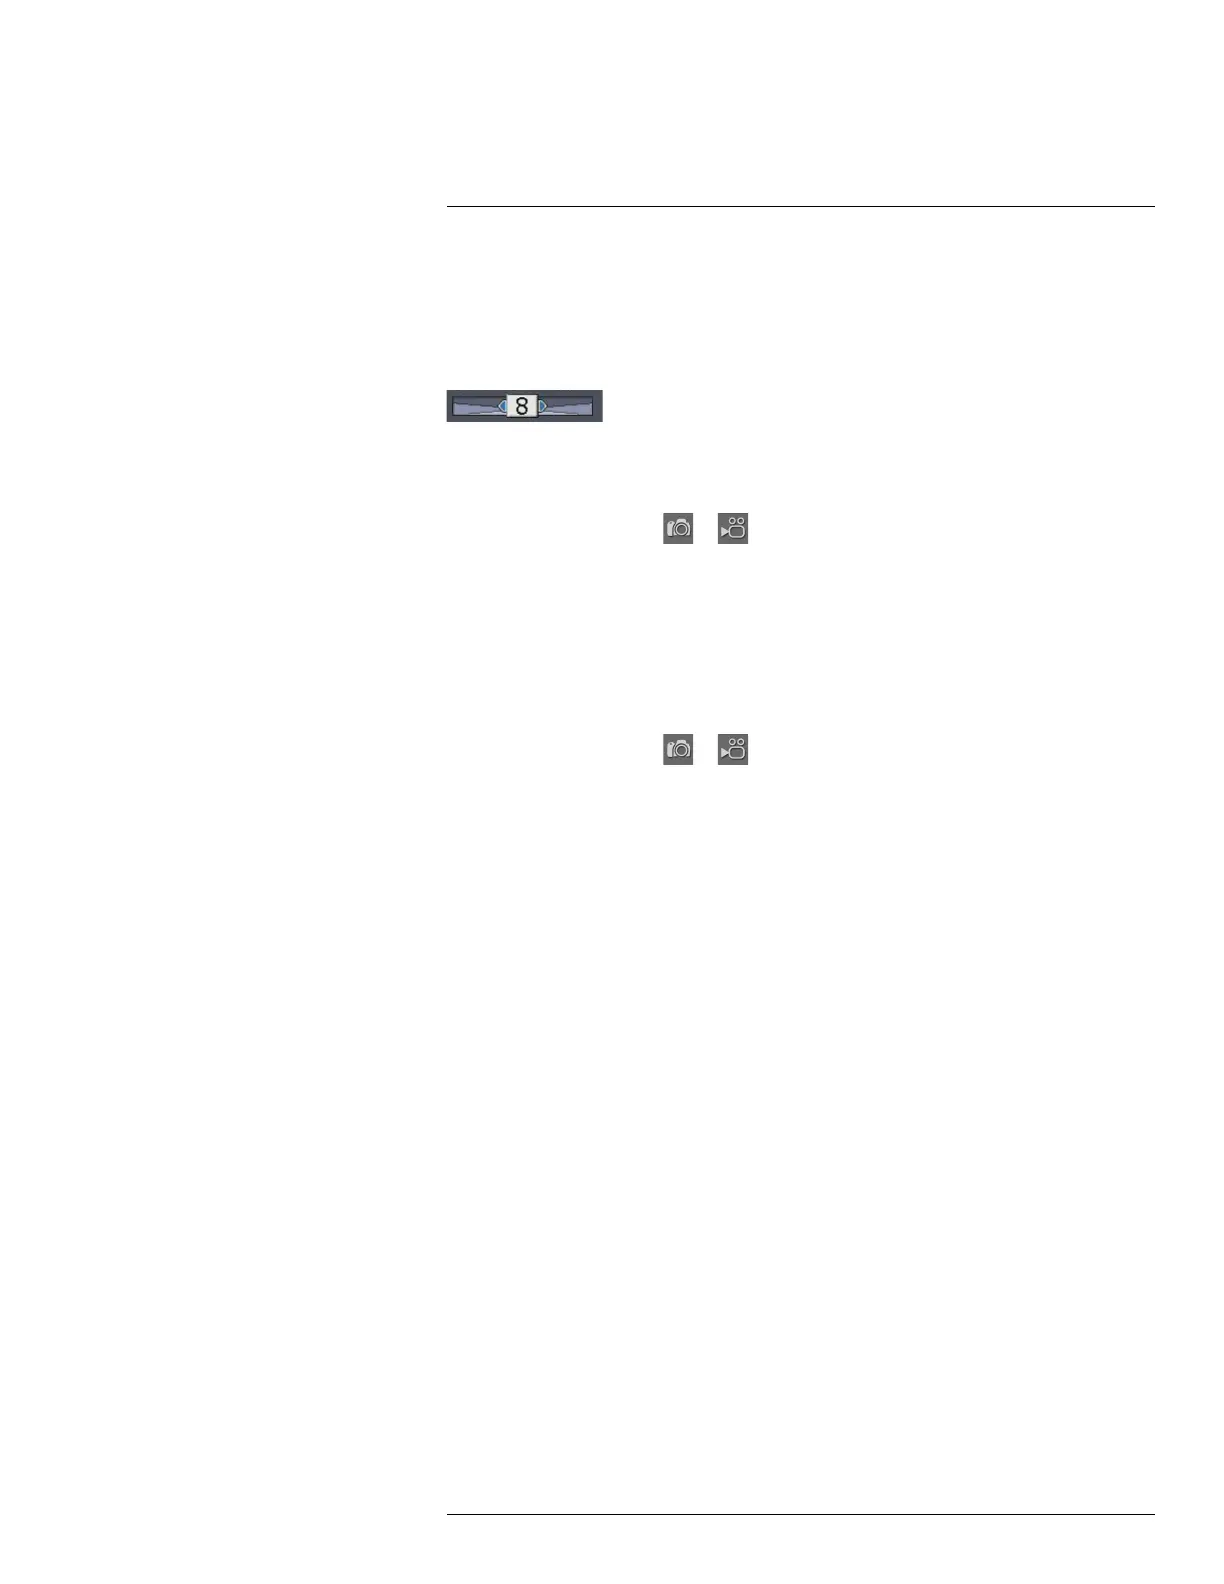
This figure shows the HSM slider:
14.4.5 Procedure (HSM)
Follow this procedure to adjust an image using the HSM method:
1. Turn the mode wheel to
or .
2. Push the A/M button to select HSM. To change the sensitivity, move the joystick left/
right.
You will need to experiment with this setting until you get a clear image of a verified gas
leak.
14.4.6 Procedure (Manual)
Follow this procedure to adjust an image using the Manual method:
1. Turn the mode wheel to
or .
2. Push the A/M button to select Manual, then do one of the following:
• To change the temperature level, move the joystick up/down.
• To change the temperature span, move the joystick left/right.
14.5 Selecting a suitable temperature range
14.5.1 About temperature ranges
14.5.1.1 General
The camera has three different types of ranges. Within each type of range, there are sev-
eral subranges. You must choose a suitable range for your object.
#T559157; r. AH/45951/45951; en-US
38
 Loading...