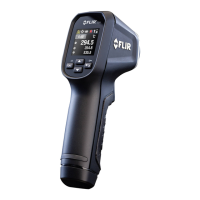
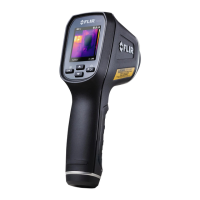
Product Description
5
Table 5.1 Control button actions. (continued)
Short press to save the displayed reading; the display
will flash twice to confirm.
SCAN and
HOLD
From the programming menu (Section 9), short press to
scroll through the five presets (P1...P5). Each preset
has a unique high and low alarm set point and emissivity
setting.
MENU
Short press to move from field to field within a program-
ming menu.
MENU
When in the data log mode, press to switch from manual
to automatic logging mode (Auto Interval will show on
the lower left corner). See Section 10 for data logging
specifics.
LOG
5.3 Display Icons
Auto-Scan Lock
(hands-free scan)
Data log reading number
Worklights
Date (YYYY : MM : DD)
High/Low Alarms (OK
= no alarm)
Time (HH : MM)
Laser pointer Maximum reading shown on sec-
ondary display
Emissivity setting Minimum reading shown on secon-
dary display
Reading is held Average reading shown on secon-
dary display
Flashes when readings
are taken
Differential reading shown on sec-
ondary display
Flashing low battery
icon
Automatic data logging
Primary display digits
Secondary display digits
Icon appears when thermocouple is connected (TG56–2)
#NAS100131; r. AC/92852/92852; en-US
8