10.2.4.5 Manual adjust / Continuous adjust
■ Point to Manual adjust and press the joystick to put the camera in manual adjust
mode. You can now change level and span by first pressing the C button repeat-
edly (to change the function of the joystick to level/span), and then change level
or span by moving the joystick up/down and left/right, respectively
■ Point to Continuous adjust and press the joystick to put the camera in automatic
mode, continuously optimizing the image for best level and span
For more information about the Level/Span command, see section 10.2.4.4 – Lev-
el/Span on page 111.
10.2.4.6 Palette
10392003;a4
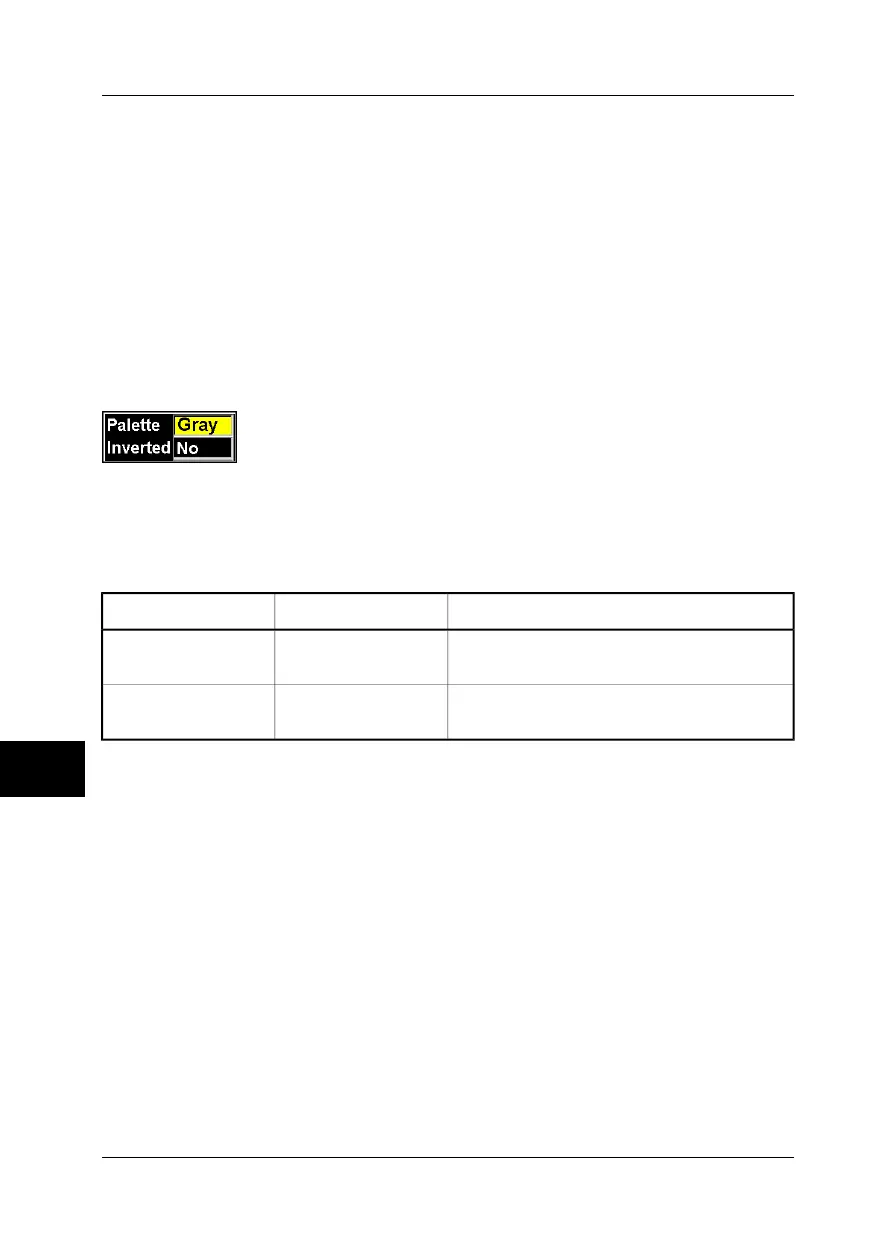
Figure 10.43 Palette dialog box
Point to Palette and press the joystick to display a dialog box where you can change
the color palette.
Figure 10.44 Explanations of the Palette dialog box
CommentsValueLabel
Move the joystick left/right to change the palette.Configuration-depen-
dent
Palette
Move the joystick left/right to reverse the current
palette.
■
Yes
■
No
Inverted
Custom palettes (*.pal) can be used by the camera. For more information about how
to create custom palettes, contact FLIR Systems.
10.2.4.7 Hide graphics
Point to Hide graphics and press the joystick to hide all on-screen graphics (e.g. result
table, status bar etc.). To display the graphics again, press the joystick or the C button.
10.2.4.8 Add visual marker
You can add a visual marker to an image when the camera is in visual mode by
pointing to Add visual marker and press the joystick. By moving the joystick up/down
or left/right you can move the marker on the image and place it where you want it to
be.
10
112 Publ. No. 1557954 Rev. a155 – ENGLISH (EN) – February 7, 2006
10 – Camera program
 Loading...