Page 8
FW-E115-P-M_v0203_03_EN.docx
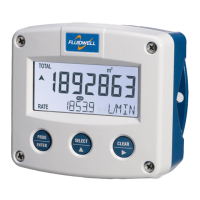
When the optical keys are locked, the key lock symbol is shown at the top of the display as
shown below.
Fig. 3: Control panel, disable optical keys
To unlock the optical keys, the operator need to ‘activate’ the keys by pressing any of the keys for
about 1 to 2 seconds. After activation, the backlight will light up (if enabled) and the display will hint
the following sequence of keys for the operator to briefly touch after each other:
PROG – SELECT – CLEAR
When the sequence is successfully executed, the optical keys will be unlocked and the key lock
symbol will disappear.
The optical keys are automatically locked after 30 seconds of inactivity. However, to lock the optical
keys manually, touch the PROG and CLEAR key simultaneously for 3 seconds.
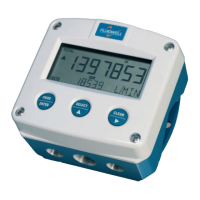
Enable or disable optical keys with on-off switch
Directly below the optical keys an on-off switch is located to enable or disable the optical keys. Move
this switch to the right to enable or to the left to disable the optical keys. When the optical keys are
disabled the key lock symbol will appear in the display and operation of the unit can only be
performed with the mechanical push buttons.
Fig. 4: Control panel, ON/OFF optical keys
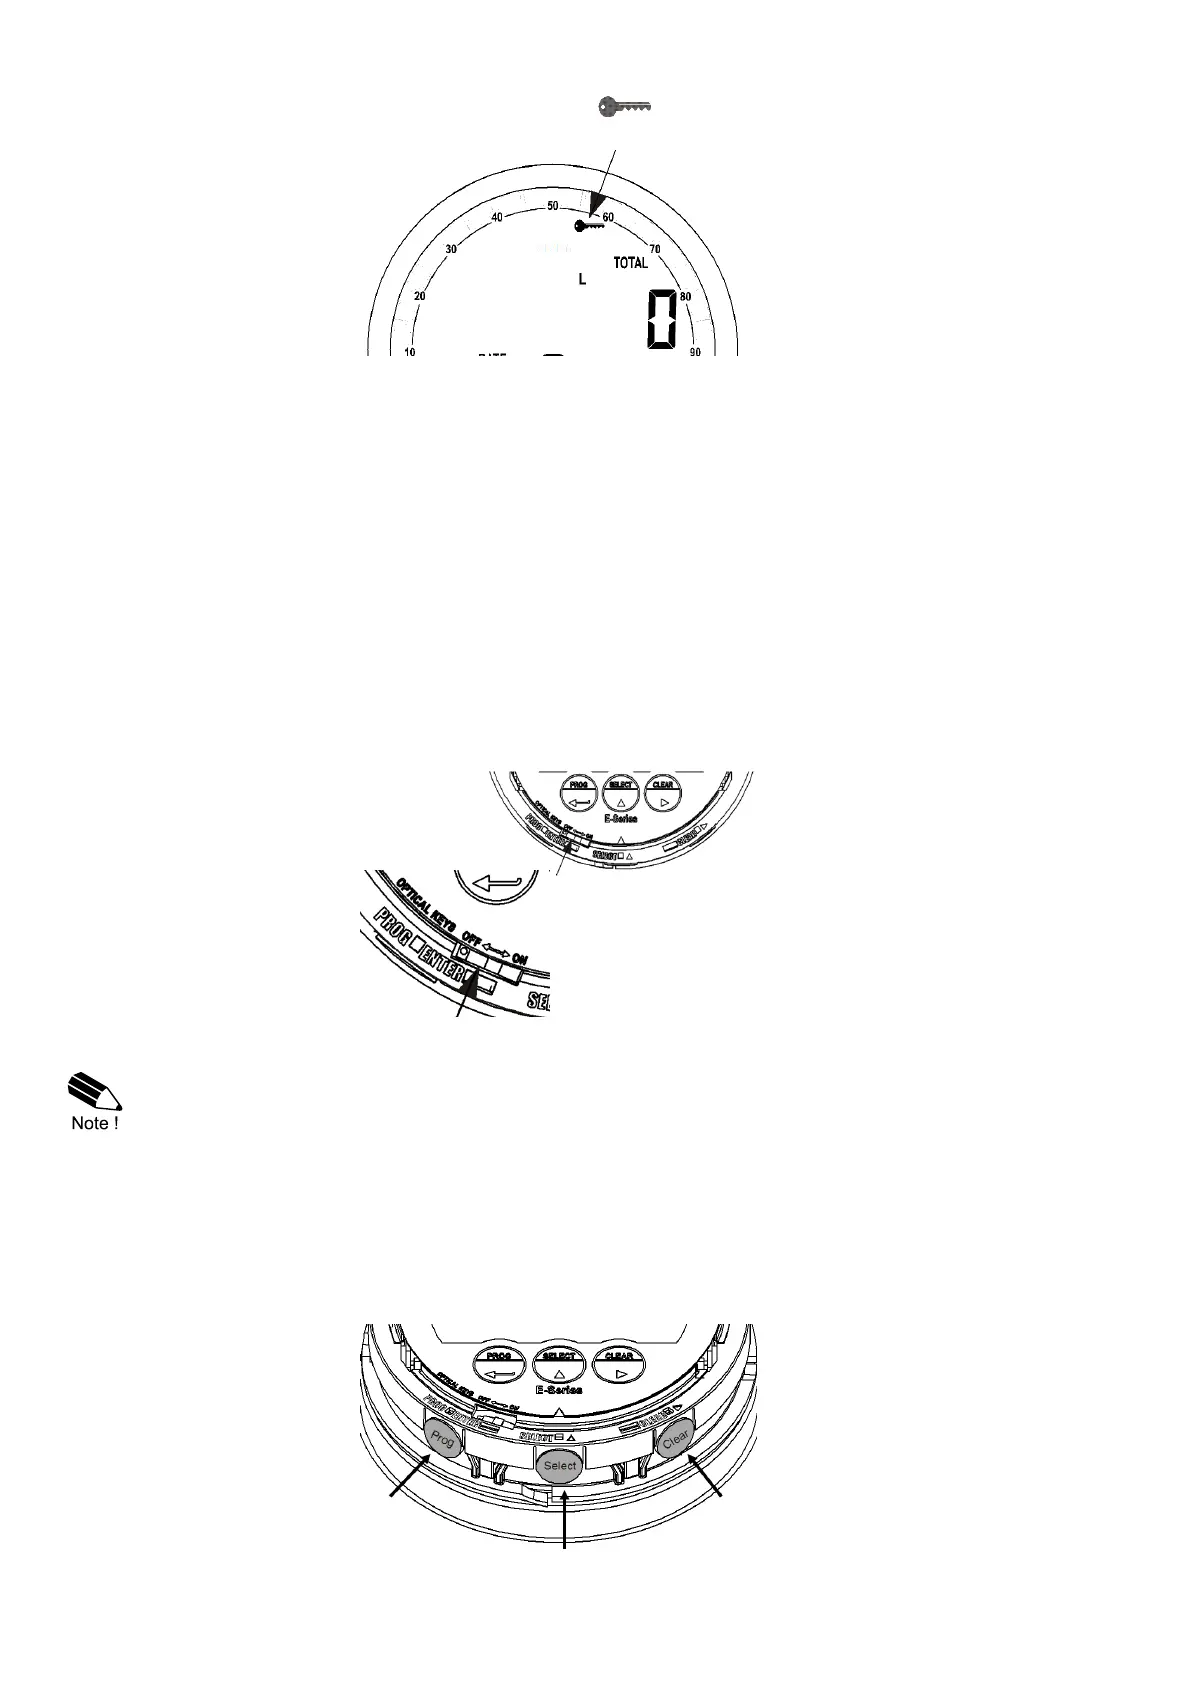
Push button operation
Next to the three optical keys also three push buttons are available when the cover is removed.
Make sure the key lock is active before removing the cover to prevent unwanted actions.
On the side of the collar of the display three black mechanical push buttons are present in the same
order as the optical keys, PROG – SELECT – CLEAR. They operate in the same manner as the
optical keys, and when pressed, the optical keys are disabled for 30 seconds to prevent any
interference.
Fig. 5: Control panel, Push button operation

 Loading...