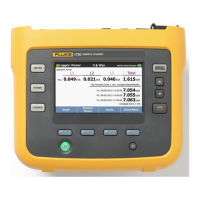
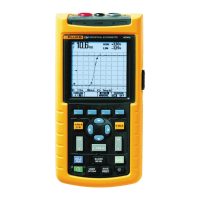
3 Phase Power Quality Analyzer
Optional Verification for iFlex or Clamp (Combined Analyzer and Probe Specifications)
19
Optional Verification for iFlex or Clamp (Combined
Analyzer and Probe Specifications)
This feature of the Calibration Tool checks the Analyzer combined with current probes. These
tests use the 552x and the 5500 Coil, or the 52120A Coil as an option. The Test Uncertainty
Ratios (TUR) is typically <2:1. This system can only source 1000 A, consequently, this test will
not be made at full-scale of the iFlex probes.
To connect the customer current probes to the Analyzer:
1. Connect the 3PHVL-1730 "N" lead and the single test lead to the calibrator NORMAL LO.
2. Connect the calibrator NORMAL V output to the 3PHVL-1730 L1+L2+L3 leads.
3. Connect the calibrator AUX jacks:
For the 5500 Coil verification (see Tab l e 1 3 ) connect the 5500 coil to the calibrator and
the black jack to AUX LO. For a i40S-EL clamp, connect a 5-turn coil to the calibrator.
Connect the red jack to either the AUX jack when <3 A is requested or the 20 A jack
when >3 A is requested.
For the 52120A Coil verification (see Table 14) connect calibrator AUX HI and LO to the
52120A INPUT HI and LO.
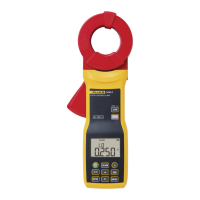
4. Connect the current probes under test:
For the 5500 Coil verification through the 5500 Coil with arrows pointing up for the
correct phase match.
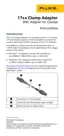
Pass the iFlex, or clamp under test through a single loop, or 3 KA coil, or 6 KA coil, with
arrows pointing up for the correct phase match as indicated in the table.
The range can be set in the Dashboard tab of the Calibration Tool.
Optionally, the range can be set manually in the measurement settings, for example, in
PQ Meter on the user interface of the device.
5. Set the calibrator to source 100 V @ 57 Hz and the appropriate currents for the current
probe under test.
For the 5500 Coil verification (see Tab l e 1 3 ) when the 20 A jack column is “No” use the
AUX HI connections. When “Yes,” use a 20 A connection. The calibrator switches to the
Standby mode when the jack requirement changes.
For the 52120A Coil verification (see Ta bl e 1 4 ) source the voltages listed in the table on
the AUX jack, maintaining the 100 V @ 57 Hz out the Normal jacks.

 Loading...