OptiView
TM
Getting Started Guide
16
Setting Up the Authorization List
The Detail | Authorization screen allows you to configure the application to aid in
the detection of rogue Access Points or Clients. All discovered devices are initially
classified as Unauthorized
(rogue). You can use the Detail | Authorization
screen to re-classify them as Authorized
or Neighbor .
A Neighbor
(checkmark) is a classification of a device that is neither
Authorized or Unauthorized. A discovered device owned by an adjacent
company is typically classified as a Neighbor device.
apo34s.bmp
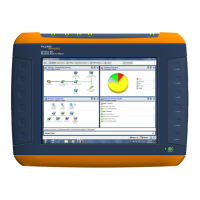
Figure 9. Authorization Screen
To change an SSID’s authorization icon that will be displayed to the left of the
SSID:
1. From the Selected SSID list (left column), highlight an SSID.
2. Click on the Authorized or Neighbor radio button.
3. Select the Add Active button.
Changes are automatically applied when you exit this screen. You may also
establish or change a device’s authorization status from the Detail | Network and
Detail | Client screens. From these screens, select the
drop-down found next to
the device and choose its authorization category. See next page.