8. Lower the pump along the guide bars.
9. Secure the motor cable:
a) Fasten the permanent lifting device to the pump and to the access frame. For
example, you can use a stainless-steel lifting chain with shackles.
b) Fasten the cable to the cable holder.
Make sure that the cable cannot be sucked into the pump inlet or that it is neither
sharply bent, or pinched. Support straps are required for deep installations.
c) Connect the motor cable and the starter and monitoring equipment according to
the separate instructions.
Make sure that the impeller rotation is correct. For more information, see Check
the impeller rotation (page 37).
Clean all debris from the sump before starting the pump.
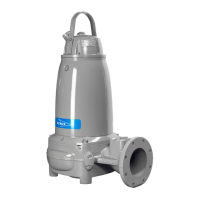
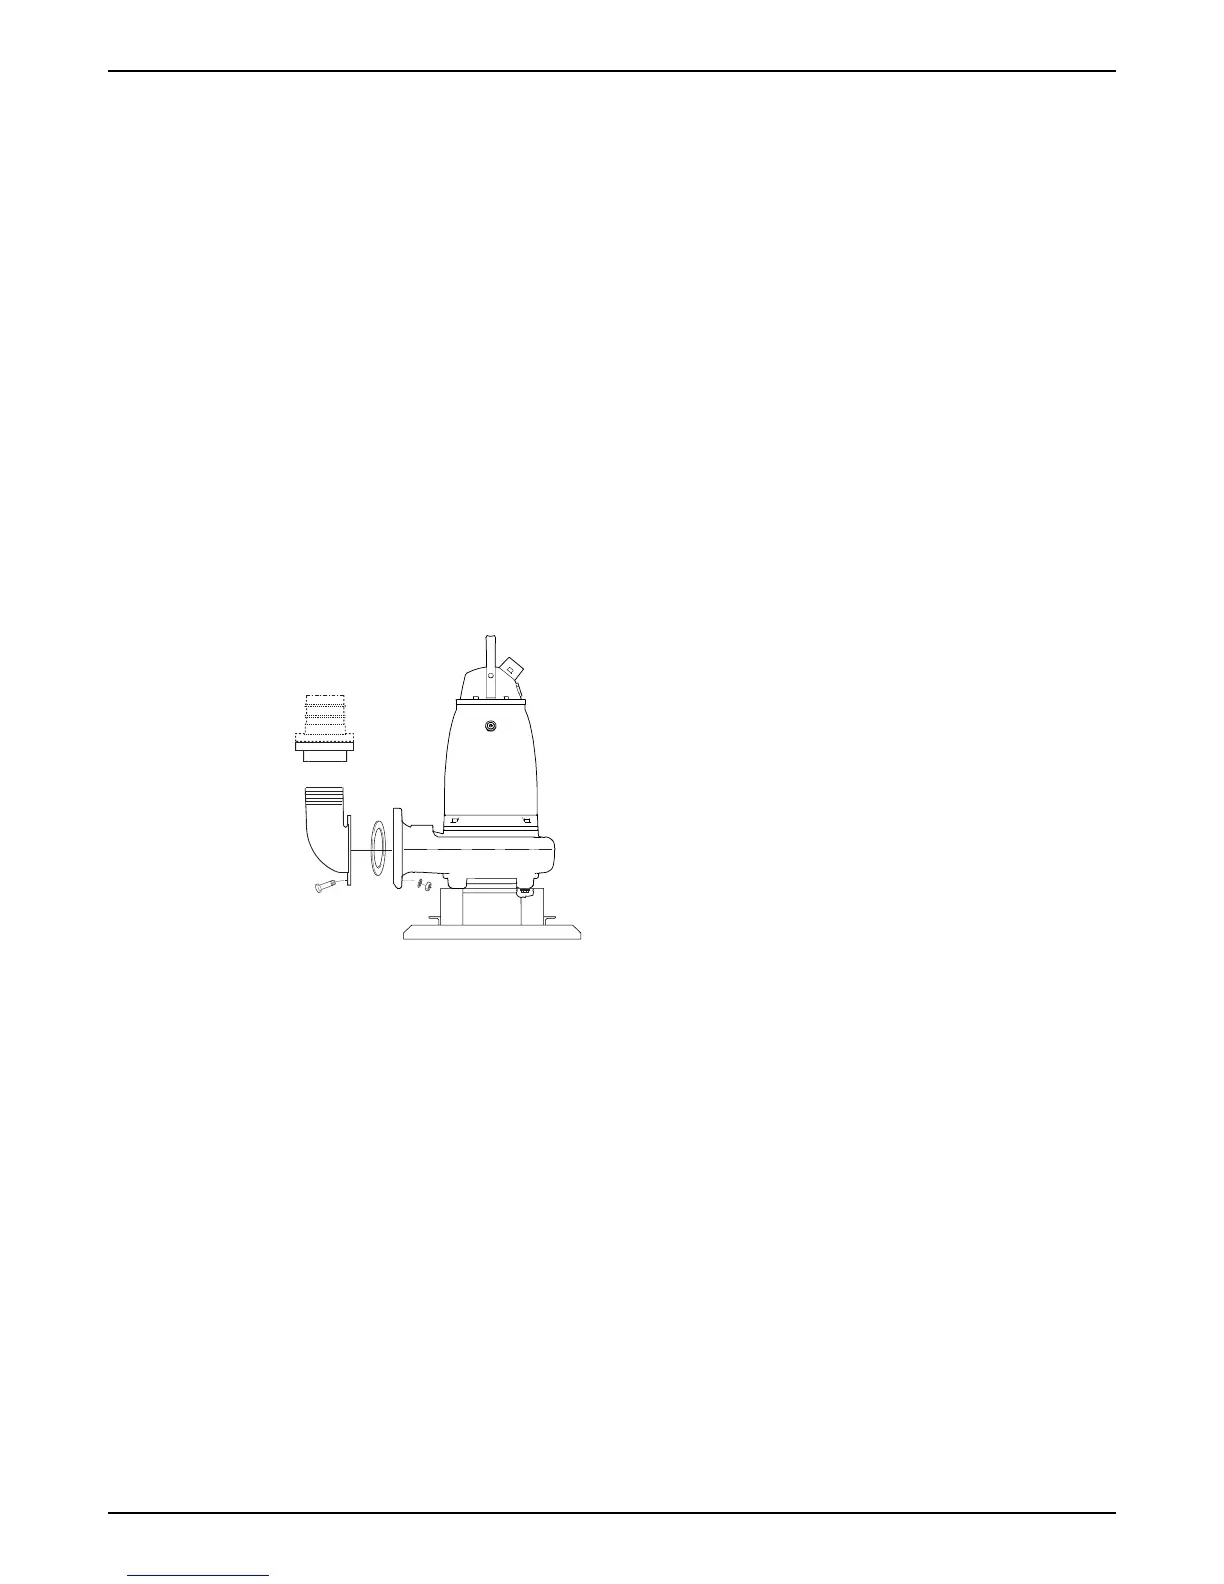
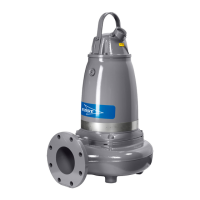
Install with S-installation
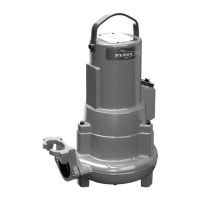
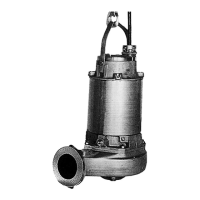
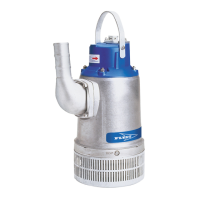
In the S-installation, the pump is transportable and intended to operate either completely
or partially submerged in the pumped liquid. The pump is equipped with a connection for
hose or pipe and stands on a base stand.
These requirements and instructions only apply when the installation is made according
to the dimensional drawing. For information about the different installation types, see
Parts List.
Figure 5: S-installation
1. Run the cable so that it has no sharp bends. Make sure that it is not pinched, and
cannot be sucked into the pump inlet.
2. Connect the discharge line.
3. Lower the pump into the sump.
4. Place the pump on the base and make sure it cannot fall over or sink.
Alternatively, the pump can be suspended with a lifting chain just above the sump
bottom. Make sure that the pump cannot rotate at startup or during operation.
5. Connect the motor cable and the starter and monitoring equipment according to the
separate instructions.
Make sure that the impeller rotation is correct. For more information, see Check the
impeller rotation (page 37).
Install with T/Z-installation
This installation is not applicable for these versions:
• .660
• .670
• .860
• .870
Installation
20 Flygt 3202 Installation, Operation, and Maintenance Manual