Chapter 2 Getting Started
Flyingvoice Network Technology Co., Ltd. 15
to register it manually.
Topic
Phone interface Registration
Web Interface Registration
Phone interface Registration
You can register one or more accounts on the phone
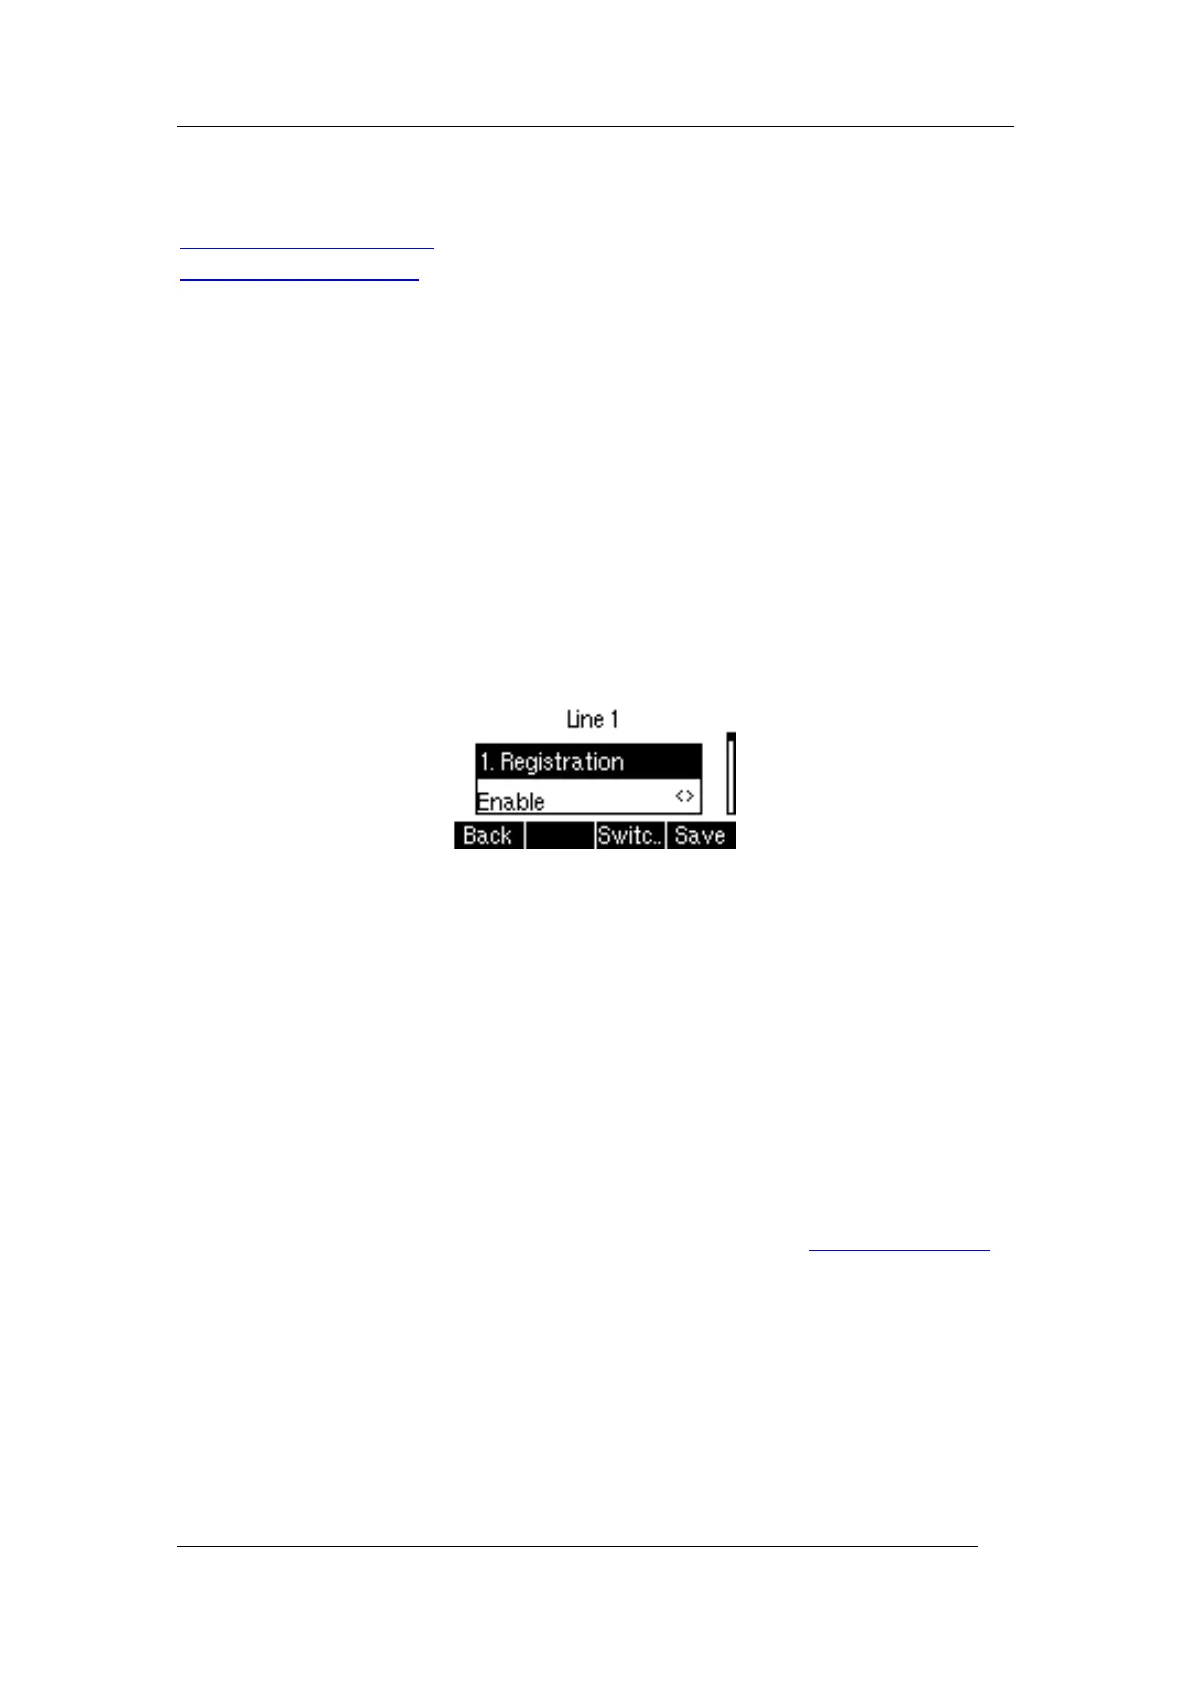
1. Press Menu->Advanced Settings (default password is admin)->Account
2. Select the account you want to set up, click OK
3. Press the Switch key to switch the account status, and choose to turn on
4. Fill in the corresponding information in the Display Name, Registered Name, User Name,
Password, Sip Server, SIP Port, respectively
5. If you want to use outbound proxy server, please enter the corresponding server address
in the corresponding proxy server option
6. Press the OK key to save the operation
Repeat steps 2-6 to complete the registration of all accounts.
Disable the account via the phone interface.
1. Press Menu->Advanced Settings (default password is admin)->Account
2. Select the account you want to set, press Enter
3. Press Switch to switch the account status, select Disable
4. Press the OK Key to save
Web Registration
You can register one or more accounts on the webpage
1. After checking the IP address of the phone, enter the IP address in the browser and enter
the web management page of the phone (Example: IPv4 address: http://192.168.1.100)
Tip: Default Administrator Username and Password are "admin"
2. Click SIP Account->Line x, drop down and select Line Enable to enable, fill in user
information (Display Name, Phone Name, Account, Password), Proxy and Registration
information (Proxy server, Proxy port, Transport)