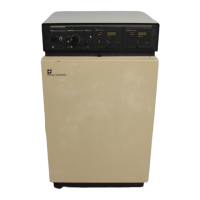
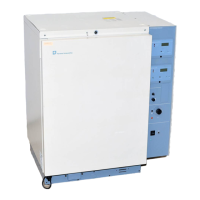
Forma Scientific, Inc.
____________________________________________________________________________
4-2
4.3 INSTALLING THE #6 NEOPRENE STOPPER (ACCESS PORT)
Open the incubator outer door and inner glass door. Locate the opening in the top left
corner of the interior chamber. Place the beveled end of the stopper in the opening.
4.4 INSTALLING THE SHELF BRACKETS AND CAM LATCH
ASSEMBLY TO THE DUCT SHEETS (Refer to Figure 4-1)
A plastic coating has been applied on the duct sheets and shelf brackets to protect the
finish during shipping and handling. This plastic coating must be peeled off before the
protected parts are installed.
a. Shelf Brackets
1. Locate the plastic bag containing the #10-32 x 5/8" truss head screws and wing nuts
(20).
2. With the duct sheet in a vertical position, align and mount the shelf brackets to the
unflanged side of the duct sheets. Wing nuts go on the flanged side.
b. Cam Latch Assembly
1. Locate the bag containing (2) #8-32 x 1" stainless steel truss head screws, (2) #8-32
wing nuts, (2) stainless steel spacers and (2) cam latches (nylon).
2. Place stainless steel spacer (sleeve) over the #8-32 x 1" screw and insert it into the
opening of the cam latch.
3. Locate the five (5) small adjustment holes at the top of each duct sheet.
4. Place the cam latch on the inside (or unflanged side) of duct sheet and insert screw
with spacer sleeve through the middle hole of the five hole adjustment. If the duct
sheets appear to be too tight or too loose, the cam latch assembly may be re-
positioned up or down one hole for proper alignment.
5. Secure screw on flanged side of duct sheet with #8-32 wing nut.
6. Repeat these procedures for the other duct sheet.