Forma Scientific, Inc.
____________________________________________________________________________
4-5
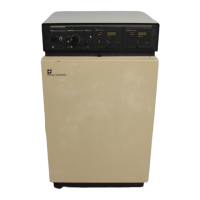
4.8 CONNECTING THE INCUBATOR TO A POWER SOURCE
With the incubator power switch OFF, connect the unit to an adequate power source.
Refer to the serial tag located on the back of the unit or see Section 8.10 of this manual
for specific power requirements.
Note: Forma Scientific, Inc. recommends that the incubator be connected to a separate
electrical circuit.
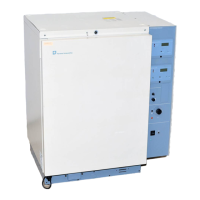
4.9 PREPARING THE INCUBATOR FOR FILLING
450 ML of rust inhibitor was placed in the water jacket before the incubator was
shipped. The rust inhibitor mixes with the distilled water during filling and provides a
protective coating on the interior of the water jacket.
The fill fitting is used to fill the water jacket without having to move the incubator.
The fill fitting is located on the center front of the unit, directly above the door. Refer to
Figure 4-3.
The vent hole, located adjacent to the fill fitting allows the air displaced by water
entering the jacket to escape. It also prevents distortion of the chamber by allowing air to
escape as the unit expands and contracts during heating and cooling.
Caution: Do not plug this vent. A plugged vent will damage the water jacket
chamber.
1. Remove the plastic protective cap from the fill fitting. Check to see that the vent hole
located adjacent to the fill fitting is not covered or plugged.
2. Remove the protective metal cover from the drain fitting and valve and make sure the
valve is closed (turned to the vertical position). Refer to Figure 4-4 for drain and
drain valve location.
3. Set the TEMP SELECT switch to the variable position (down) and turn the temp
control knob completely counterclockwise to keep the heater from coming on before
the water jacket is filled. Refer to Figure 4-2 and Figure 4-3 for component locations.