F3D3 Series Service Manual Refrigeration / Section 4.6
Questions? Call Franke Technical Support Group For Your Area. Copyright 2012 Franke, Inc. All rights reserved.
4.6 Thermostatic Expansion Valve & Sensor
Assembly Replacement
F3D3 & F3D3S Models ONLY
1) Position a stepladder or stable work platform to access
the compressor/condenser compartment from the top.
2) NOTE: Recover any residual refrigerant and ensure line
pressure is equalized to zero, before opening the
refrigeration system.
3) Remove insulating foam around valve and tubing.
4) Cut line above and below the expansion valve using a
small tubing cutter. Remove existing Expansion Valve &
Sensor Bulb Assembly.
5) Install new Expansion Valve & Sensor Assembly.
IMPORTANT: Wrap valve body with a wet rag before
applying any heat, to prevent any damage. Braze lines
as required.
6) When resealing the system, use a continuous Nitrogen
charge to assure no contaminants enter the system,
especially when brazing.
7) After resealing is complete, pressurize system and check
for any leaks.
8) Mount sensor bulb using the strap clamp provided to the
suction line, in the “10 o’clock” or “2 o’clock” position. DO
NOT mount in 12 o’clock or 3-to-9 o’clock position.
9) Before recharging the system, pull a vacuum equivalent
to 30 inches [760 mm] of Mercury, for a minimum of 30
minutes.
10) Recharge the system with R404A refrigerant, per
nameplate label specification.
Test operation of Refrigeration System by:
11) Plug in power cord to outlet.
12) Turn ON unit at Main Power-ON Switch.
13) If compressor starts and brings the Freezer compartment
down to the normal operating temperature range of -18
to -23° C [0 to -10° F], proceed to Step 15.
14) Replace black foam insulation enclosing the expansion
valve and sensor, to minimize condensation. Secure
insulation with electrician’s tape.
15) Return Dispenser to normal operating position.
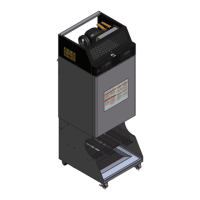
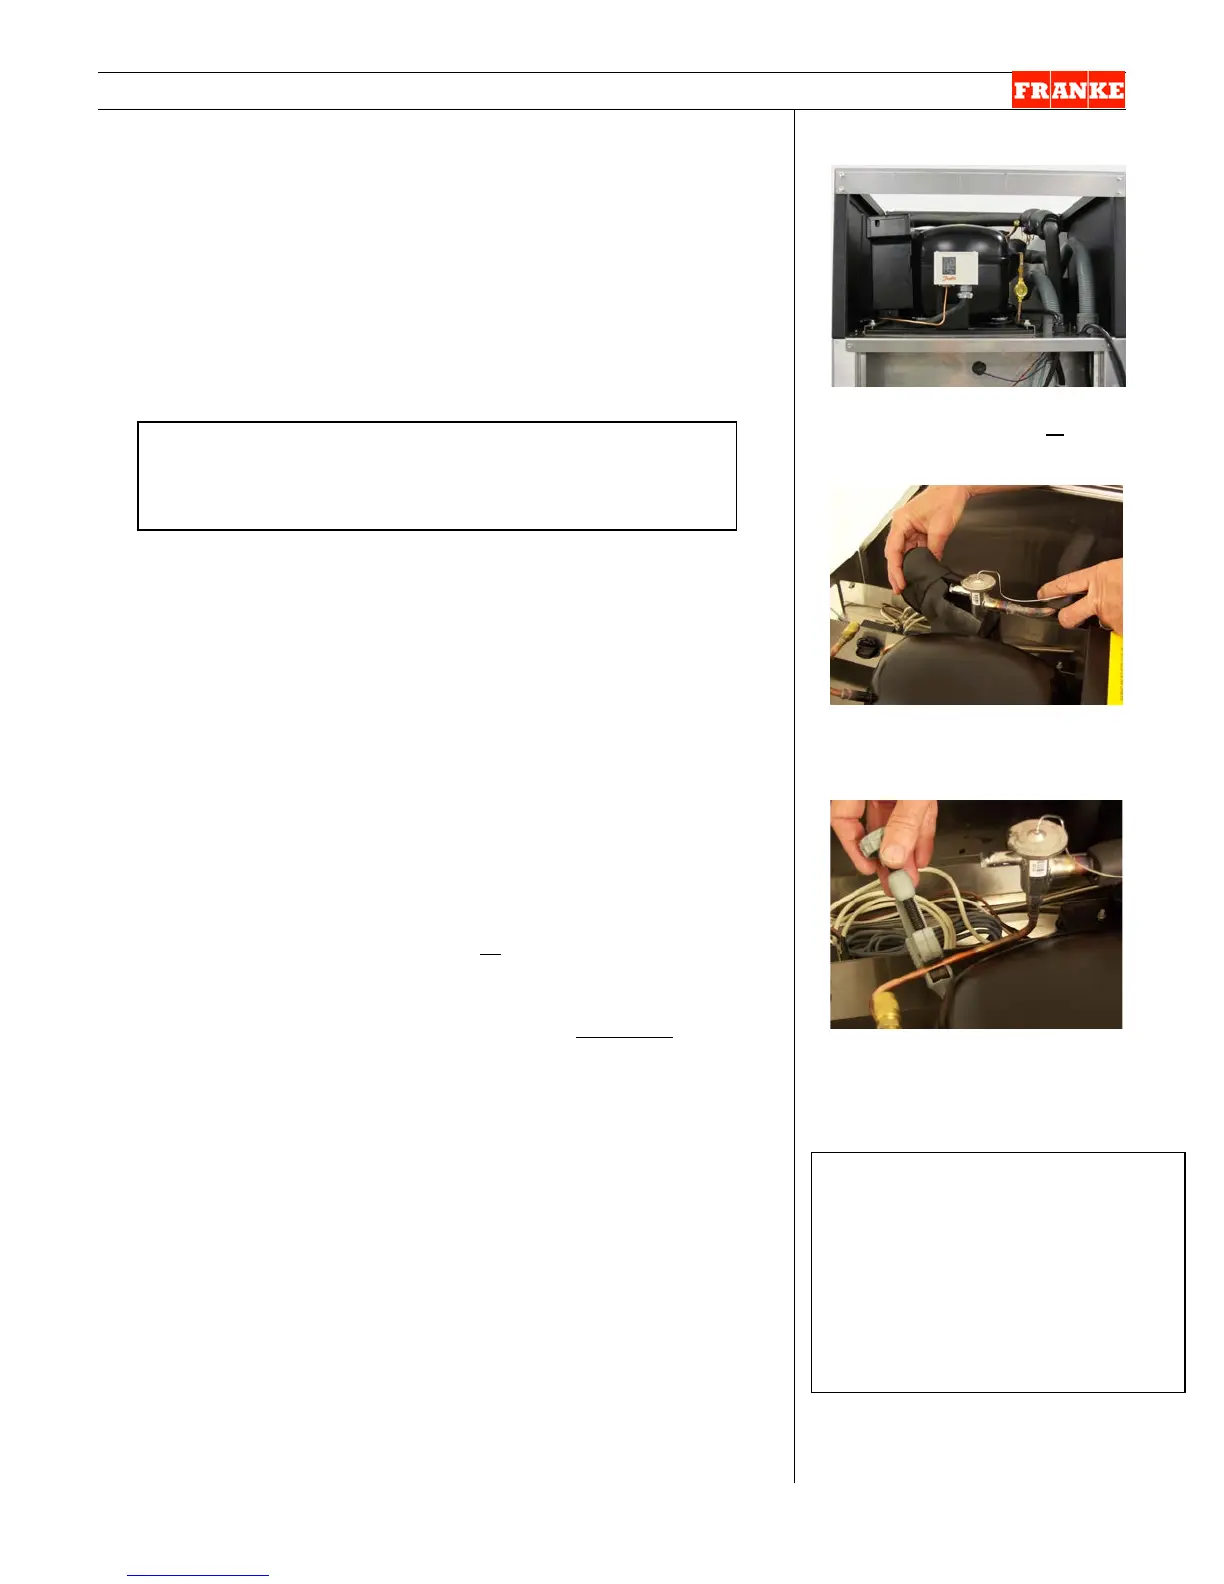
[Photo 1] F3D3S from back
Access the refrigeration
compartment from back or
top.
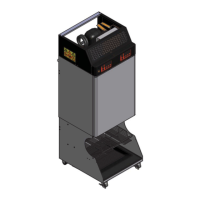
[Photo 2]
Remove insulation from valve &
adjacent tubing.
[Photo 3]
Cut refrigeration line above and
below Expansion Valve.
Rev. 1 6/2012
Tools/Supplies Required
Refrigerant Recovery Tank &
fittings
Nitrogen Charge Tank
R404A Refrigerant
Tubing Cutter
Brazing Torch & supplies
Wet rag
Electrician’s tape
IMPORTANT: Any residual refrigerant charge should
be recovered in strict accordance with the Federal
Clean Air Act.
 Loading...