F3D3 Series Service Manual Parts Replacement / Section 2.15
Questions? Call Franke Technical Support Group For Your Area. Copyright 2012 Franke, Inc. All rights reserved.
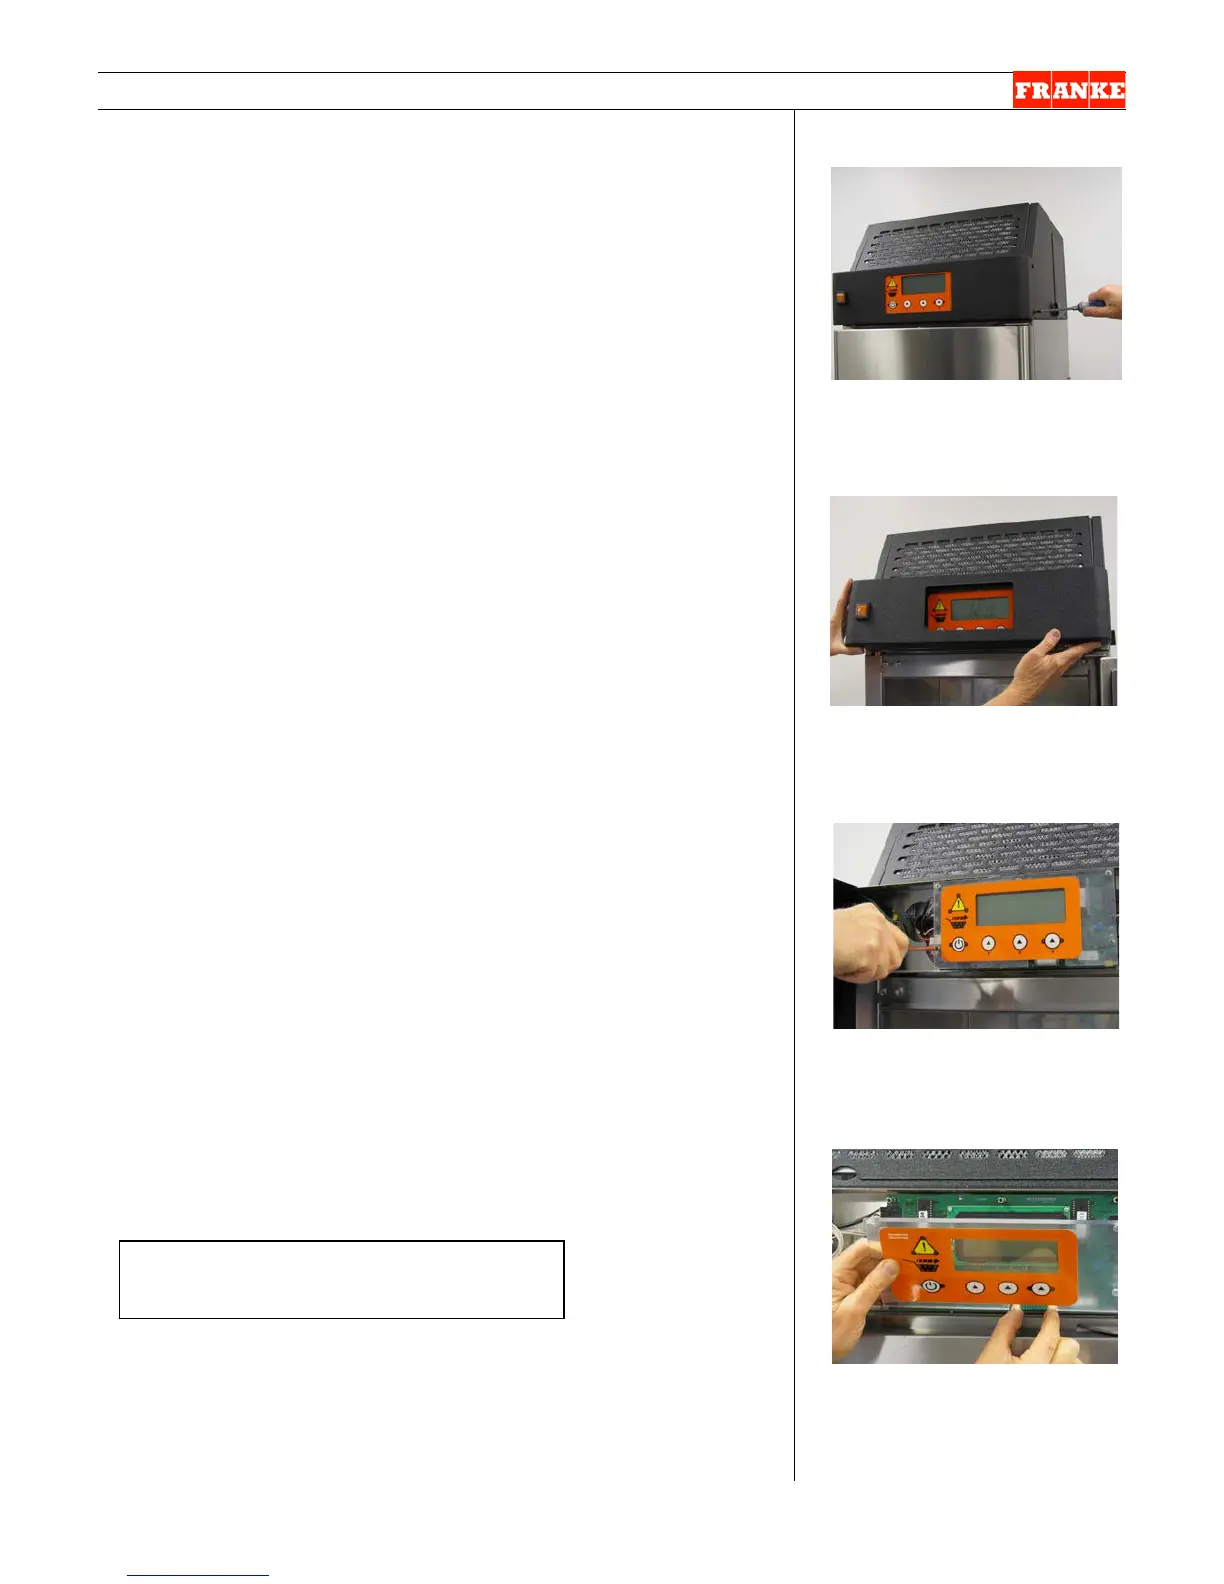
2.15 Touch Pad Lane Controls Replacement
[See Section 1.5 for Part Number]
1) Disconnect power at outlet. [Pull plug.]
2) Use a medium Phillips screwdriver to remove the four
(two-left, two-right) control panel mounting screws.
3) Pull panel cover/bezel up then straight out. It can hang
from the switch leads and ribbon harness.
4) Use that screwdriver to remove the four screws that
secure control overlay Plexi-panel to mounting posts.
5) Tilt overlay panel down and disconnect the ribbon
harness at the main control broad terminal.
IMPORTANT: The ribbon harness is fragile. Use care
when removing and installing.
6) Remove packaging from new Plexi-mounted control
panel overlay and attach its ribbon harness to main
control board terminal. [See Photo 4]
7) Align four panel mounting holes with the standoff
mounting posts on the main control board; and attach
with the four Phillips screws provided. Position
cover/bezel over lane touch pad, slide on and align with
left and right side mounting holes.
8) Secure cover/bezel with the four screws removed earlier.
9) Plug in unit power cord to power supply.
Test the new Lane Touch Pad Controls by:
10) Fill that lane hopper with fries to a level above the Low
Product Sensor.
11) Switch ON main power switch on the front control panel
and press lane power-ON touch pad on new control
overlay.
12) When word: Ready is in display and ready lights are on
in basket graphic, position empty fries basket under
hopper and press against the basket bump-switch to
initiate fries loading cycle.
13) If unit properly dispenses fries, the new Touch Pad
Controls are functioning properly.
14) Return Dispenser to normal operating position.
Rev. 1 6/2012
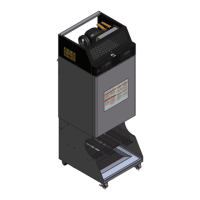
[Photo 1] F3D3S Shown
Remove four front control panel
cover/bezel screws.
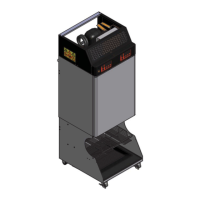
[Photo 2
]
Pull front cover/bezel up-then-
out. Can hang from switch leads
[Photo 3]
Remove the four Plex-panel
mounting screws.
[Photo 4]
Detach panel ribbon harness
from main control board.
Small & Medium Phillips screwdrivers
 Loading...