F3D3 Series Service Manual Component Adjustments / Section 3.4
Questions? Call Franke Technical Support Group For Your Area. Copyright 2012 Franke, Inc. All rights reserved.
3.4 Drum Rotor Motor Adjustment
Problem: The operator reports that the Dispenser makes an
intermittent [in-and-out] grinding or scraping noise when
dispensing fries. The Drum Rotor, Rotor Drive Shaft or Rotor
Motor may be out of alignment.
1) Remove the Fries Hopper from the freezer.
2) Using an empty fries basket, push against the basket
bump-switch to activate a fill cycle. Observe and listen to
the operation of the Drum Rotor. [Tip: You can also use
the motor test diagnostic to activate the Drum Rotor
Motor from the control panel. See SM Section CLA
Customer Level Access instructions – Test Motors ?]
3) Replace Hopper in freezer and visually check hopper
hanger alignment. If OK, proceed to Step 5. If out of
alignment, see Section 3.5.
4) Roll unit out to allow access to rear service panel.
5) Disconnect power at outlet. [Pull plug]
6) Remove screws securing rear service access panel. Lift
panel up and out.
7) Using a 4 mm [5/32”] Allen/hex wrench, loosen the four
Drum Rotor Motor mounting screws. [See Photo 3]
8) Shift position of motor right, left, up or down as needed,
to better seat motor gear box shaft in plastic Rotor Drive
Shaft, then retighten motor mounting screws. [You may
need to repeat this adjustment process to ensure good
alignment.]
9) Plug unit into power supply.
Test for normal rotor/motor operation:
10) Turning ON main power switch & pressing Lane-POWER
touch pad on control overlay.
11) If word: Ready is in display and basket graphic lights are
on, position empty fry basket under hopper and push
against bump-switch to activate a loading cycle.
12) If Lane dispenses fries [if present] or if rotor turns
smoothly without grinding, the unit is working properly.
13) Replace and secure rear service access panel and
return Dispenser to normal operating position.
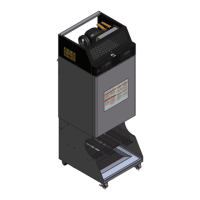
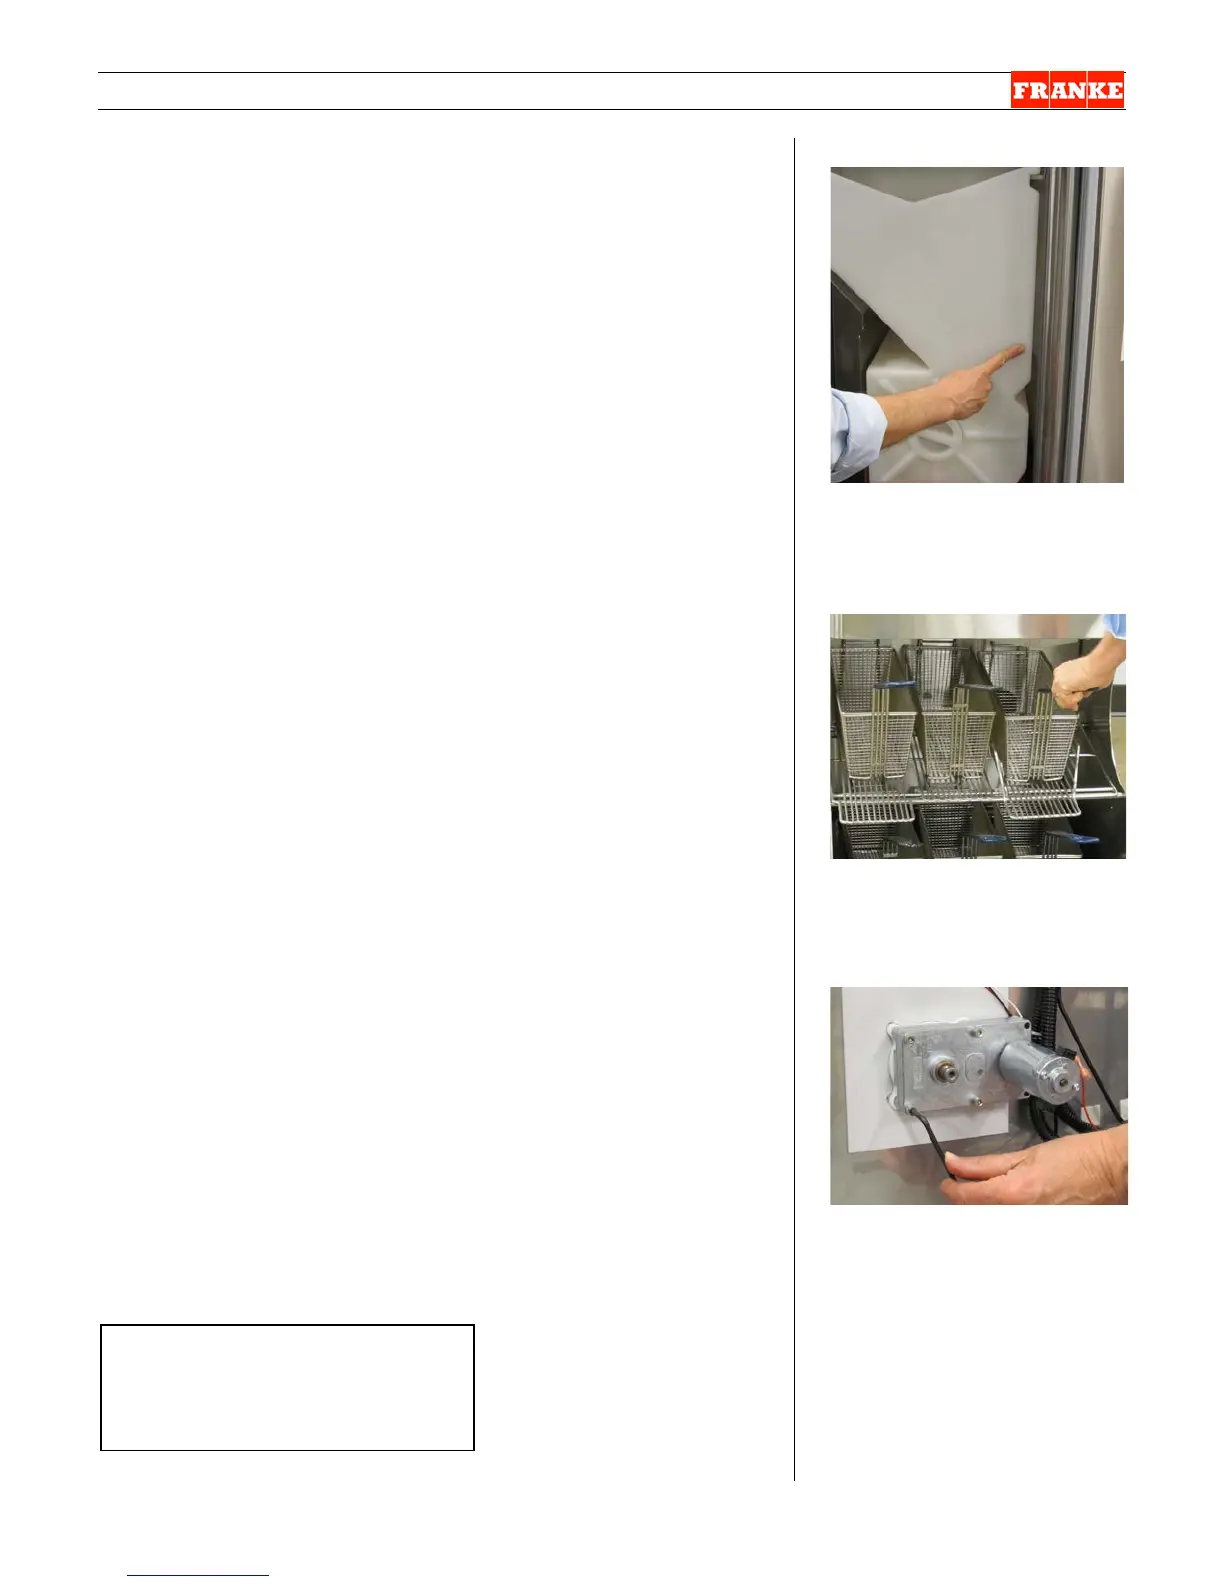
[Photo 1] F3D3S from front
Check alignment of hopper.
Adjust hopper hanger brackets
as needed. (See Section 3.5)
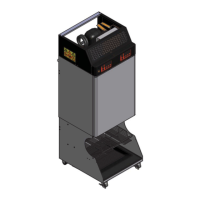
[Photo 2]
Insert basket against bump-
switch then listen to motor for
unusual noise.
[Photo 3
] From rear of unit
Loosen the four motor mounting
screws, adjust and tighten to
improve alignment with rotor
drive shaft.
Rev. 1 6/2012
Medium Phillips screwdriver
4 mm [5/32”] Allen/hex wrench
8 mm [5/16”] wrench or socket
 Loading...