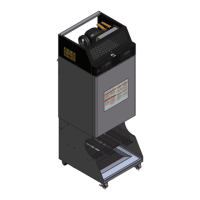
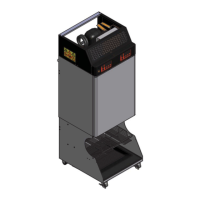
F3D3 Series Service Manual Parts Replacement / Section 2.22
For Technical Support, Call 800-537-2653. Copyright 2012 Franke, Inc. All rights reserved.
2.22 Cable Heaters Replacement
NOTE: This freezer is equipped with two flexible cable-type
heaters that warm the front door frame and freezer bottom
perimeter, to help prevent ice buildup. Both are replaceable.
• Door Perimeter Cable Heater - [See Section 1.5 for Part
Number] This asymmetric heater enters and exits the
freezer door perimeter insulation void through a 10 mm
[3/8”] copper tubing loop, with ends located behind left
penetration in panel behind front control overlay. (See
Photo 4)
• Freezer Base Perimeter Cable Heater – [See Section
1.5 for Part Number] This symmetrical heater enters the
freezer bottom perimeter insulation through a similar 10
mm [3/8”] copper tubing loop, with ends located lower-right
in rear mechanical systems compartment. (See Photo 6)
1) Pull out unit to gain access to rear service panel.
2) Disconnect power at outlet. [Pull plug.]
3) Remove Phillips screws securing rear service access
panel. Lift panel up and out.
4) Locate the terminal block mounted on the DIN rail right of
the two 24-volt power supplies.
5) Use a small flat blade screwdriver to disconnect the two
appropriate heater wires from that terminal block. Note or
mark those terminal locations.
To replace Door Perimeter Heater:
6) Use a medium Phillips screwdriver to remove the four
(two-left, two-right) front control panel mounting screws.
7) Pull panel cover/bezel up then out. It can hang from the
power switch wires. NOTE: You many need a ladder or
sturdy work platform to see, access and pull this heater
cable from above.
8) From rear of unit - free black and white (or brown and
blue) heater wires from harness by cutting wire ties.
9) Securely tie or attach string or a fish tape to both wires.
10) From unit front (and above) – pull both heater wires out of
flexible plastic wire chase/tubing.
11) Untie your string or fish tape but leave it running through
wire chase tubing.
12) Obtain new Door Perimeter Cable Heater and remove
any protective packaging and uncoil the cable and wire
leads.
Continued…
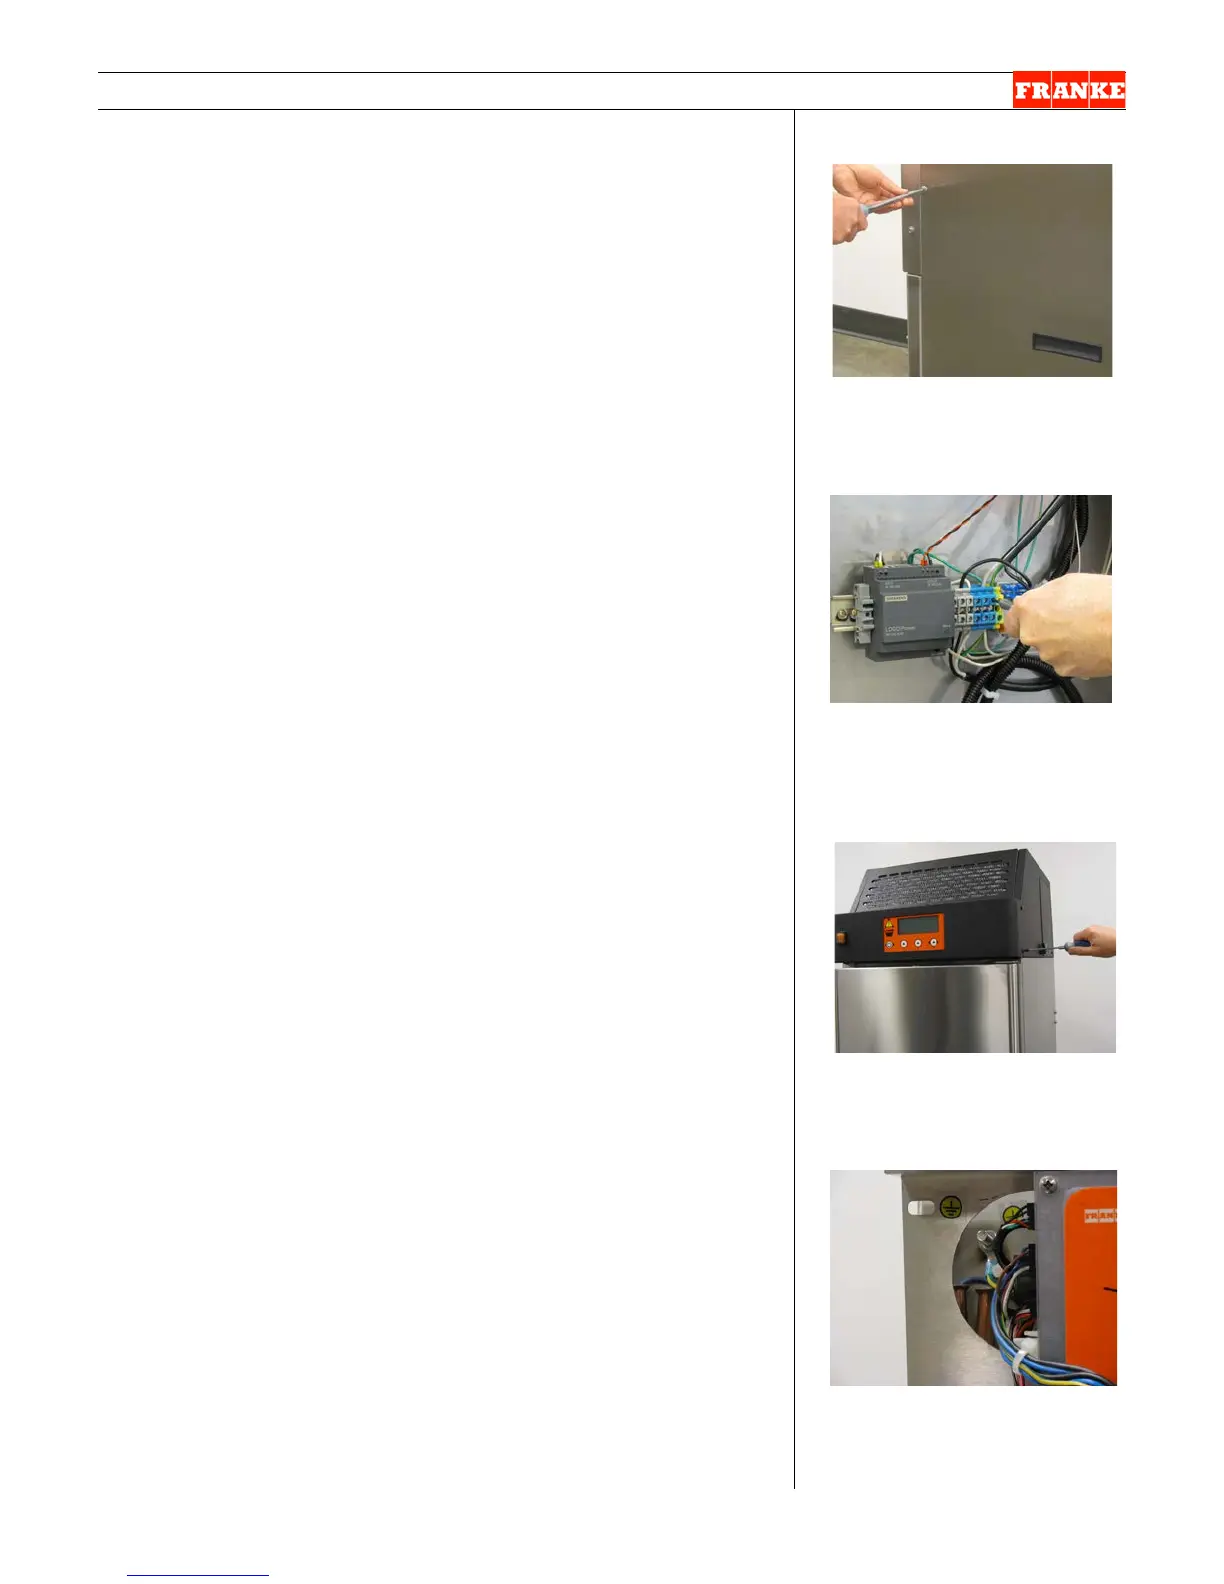
[Photo 1] For Either Heater
Remove four screws and lift off
rear service access panel.
[Photo 2] For Either Heater
Disconnect heater wires from
terminal block right of power
supplies. Note or mark positions.
[Photo 3] – For Door Heater
Remove four front control panel
cover/bezel screws & pull off.
[Photo 4]
– From front
Door heater copper tubing loop
is located behind control panel.
 Loading...