F3D3 Series Service Manual Parts Replacement / Section 2.17
Questions? Call Franke Technical Support Group For Your Area. Copyright 2012 Franke, Inc. All rights reserved.
2.17 Freezer Temperature Sensor Cable
Replacement
[See Section 1.5 for Part Number]
1) Roll the unit out to allow access to rear service panel.
2) Disconnect power at outlet. [Pull plug.]
3) Remove Phillips screws securing rear service access
panel. Lift panel up and out.
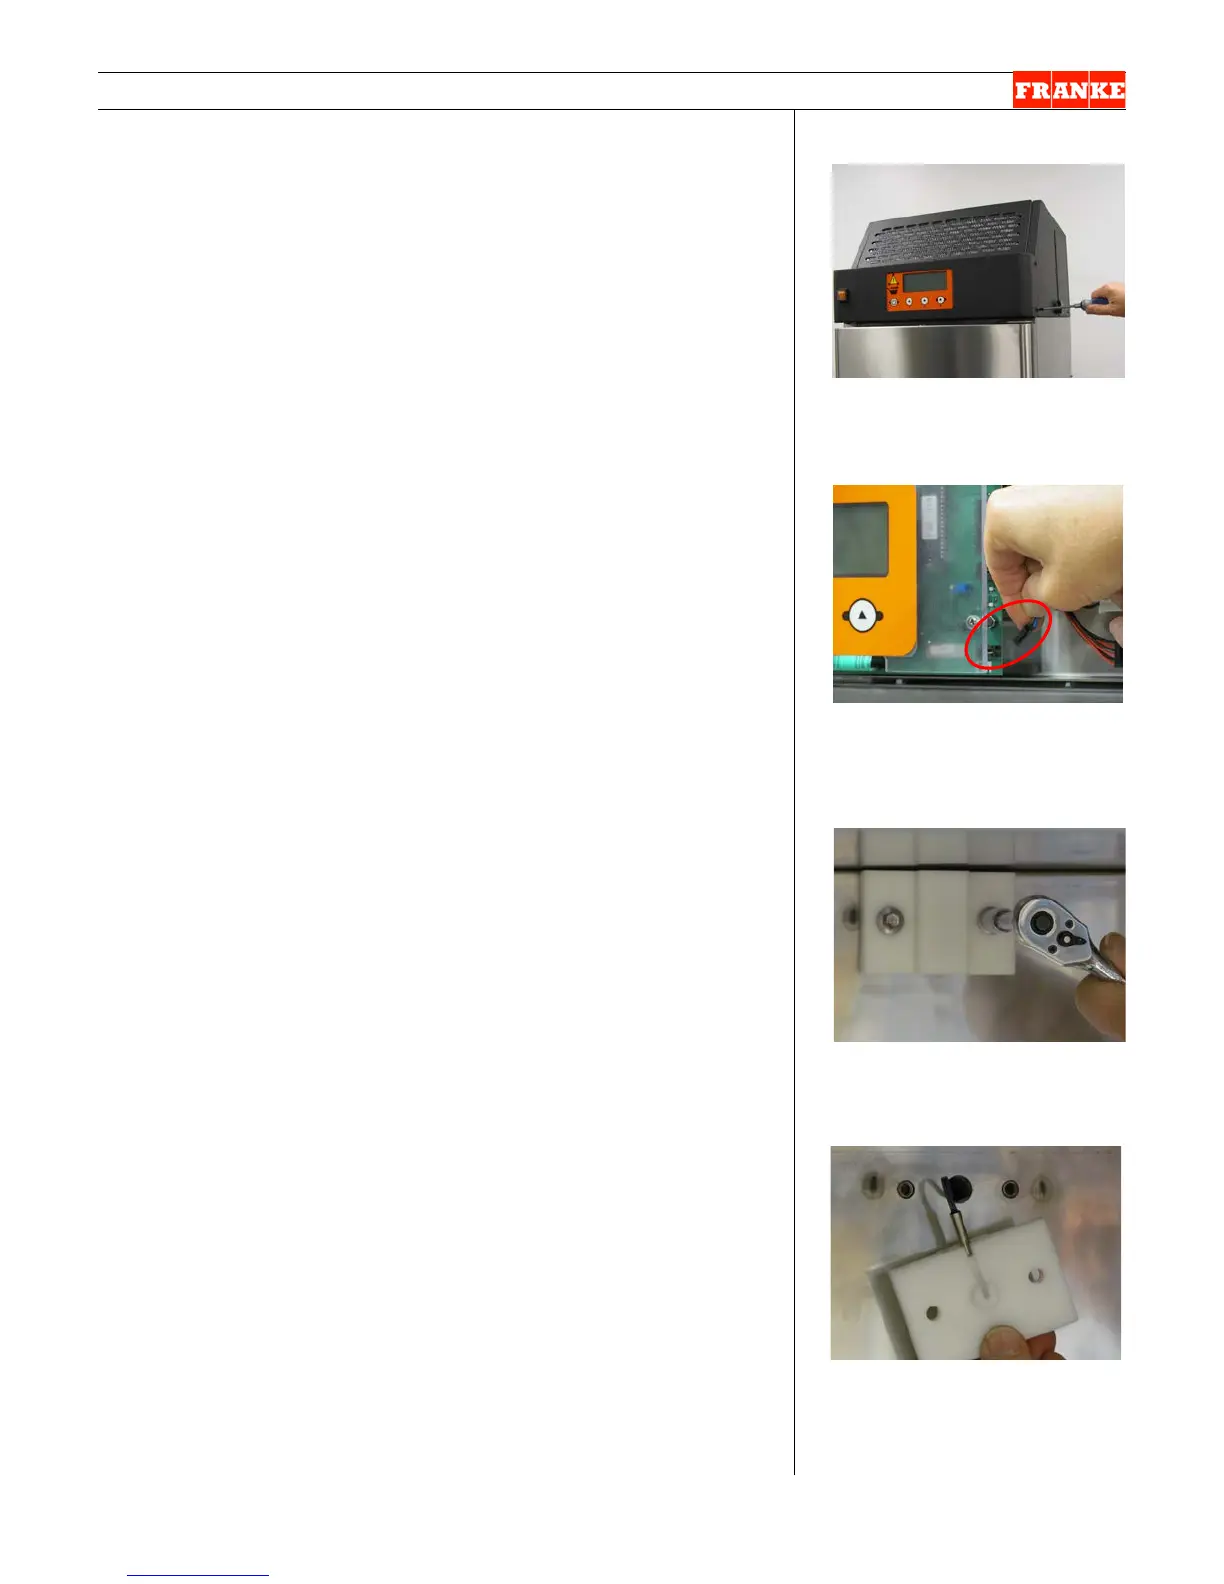
4) From front of unit - remove the four Phillips screws [two
left side, two right side] securing front controls bezel.
5) Locate the Temperature Sensor Cable connector on lane
Master Control Board.
6) The two-wire sensor connector is positioned bottom-right
and labeled: TEMP PROBE. Depress retainer and pull
off connector. [See Photo 2]
7) Tie a string or fish tape to the connector end of the cable.
8) From inside freezer – remove hopper and locate white
plastic bracket centered at top of rear wall. [See Photo 3]
9) Use an 8 mm socket to remove the two sensor bracket
mounting bolts.
10) Slide sensor out of slot in sensor bracket.
11) From rear of unit - identify sensor cable penetration point
into the freezer compartment. It is centered above the
Power Supply. See Photo 6.
12) Follow the sensor cable as it comes out of the large
flexible plastic harness tubing. Cut any plastic ties used
to bundle sensor cable between tubing and sensor.
13) Remove the soft putty sealant and gently pull faulty
sensor/cable out through hole.
14) Remove any packaging from new sensor and cable.
Unroll the cable.
15) Attach connector end of new cable to string or fish tape.
16) From front of unit – gently pull the string then the sensor
cable out from panel chase hole left of main control
board.
17) Route sensor cable behind main control broad to right
side then attach the cable connector to TEMP PROBE
terminal.
18) Reposition front control bezel and secure with four
Phillips screws removed earlier.
19) From rear of unit – insert probe through cabinet
penetration.
20) From inside freezer – insert temperature sensor into slot
machined in white plastic mounting bracket.
21) Secure sensor bracket flush to back of freezer using the
two 8 mm bolts removed earlier.
22) Replace hopper in freezer.
Continued…
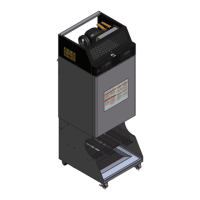
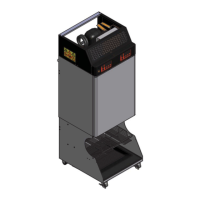
[Photo 1] F3D3S Model
Remove the four side-mounting
screws & pull off front bezel.
[Photo 2]
Remove connector from TEMP
PROBE Control Board terminal.
[Photo 3] – Inside freezer
Remove two screws that secure
temp. sensor to rear freezer wall.
[Photo 4] Back of bracket
Sensor slides into slot in
mounting bracket.
 Loading...