F3D3 Series Service Manual Parts Replacement / Section 2.10
Questions? Call Franke Technical Support Group For Your Area. Copyright 2012 Franke, Inc. All rights reserved.
2.10 Load Cell Replacement Continued…
19) Re-route and bundle cable replacing any plastic wire ties
that were cut.
20) Plug in unit power cord to power supply.
Test the replacement Load Cell as follows:
21) Turn on main power switch & pressing LANE-POWER
touch pad on control overlay.
22) If word: Ready is in display and basket graphic lights are
on, position empty fry basket under hopper and press it
against basket bumper switch to initiate fry loading cycle.
23) If Lane properly dispenses fries, it is working properly.
24) NOTE: It may be necessary to recalibrate load cell using
procedure provided with replacement unit. [or See SM
Section 1.9 – Load Cell Calibration]
25) Re-hang and secure rear service access panel and
return Dispenser to normal operating location.
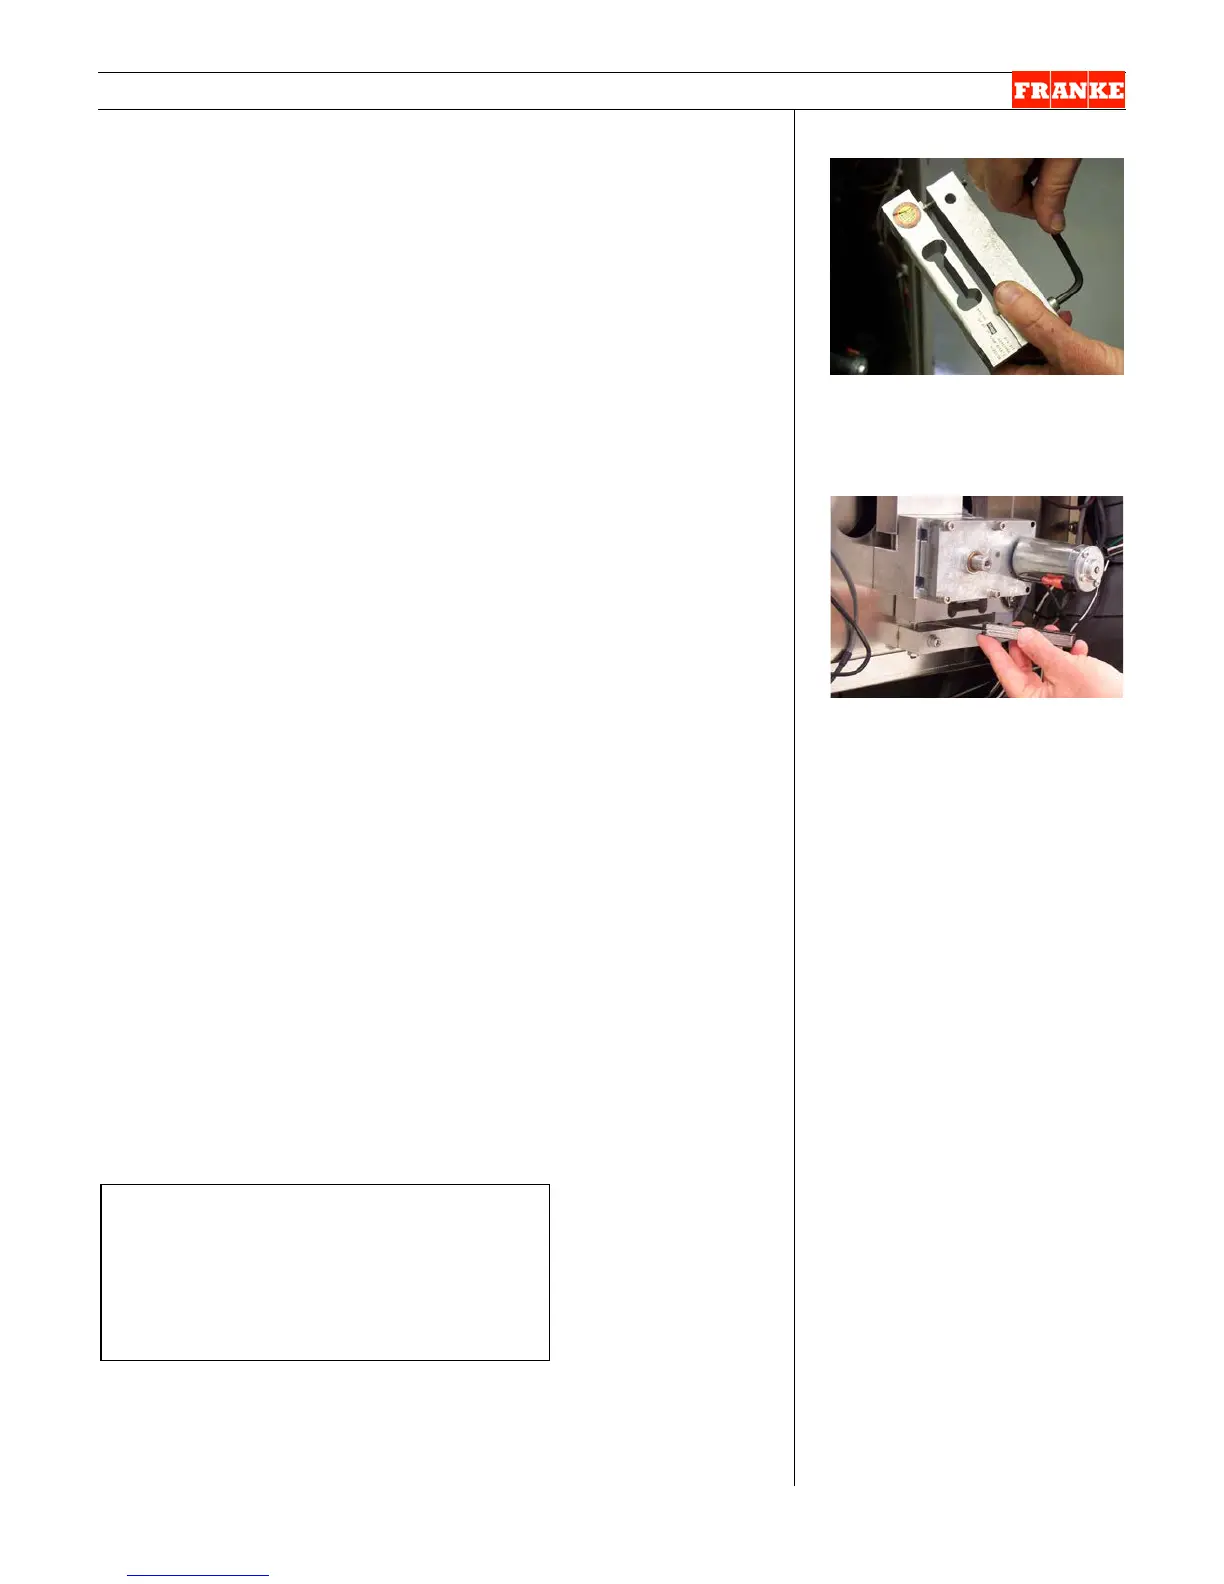
[Photo 5]
Separate Load Cell from the
mounting bracket by removing
screw on right side of assembly.
[Photo 6]
After replacing Load Cell
Assembly, check the gap on the
load cell using a .50 mm [.020]
feeler or gap gauge.
Rev. 1 6/2012
Small & Medium Phillips screwdrivers
5 mm [3/16”] Allen/Hex Wrench
10 mm [3/8”] open end wrench
Feeler or gap gauge
 Loading...