Step 3: aPower
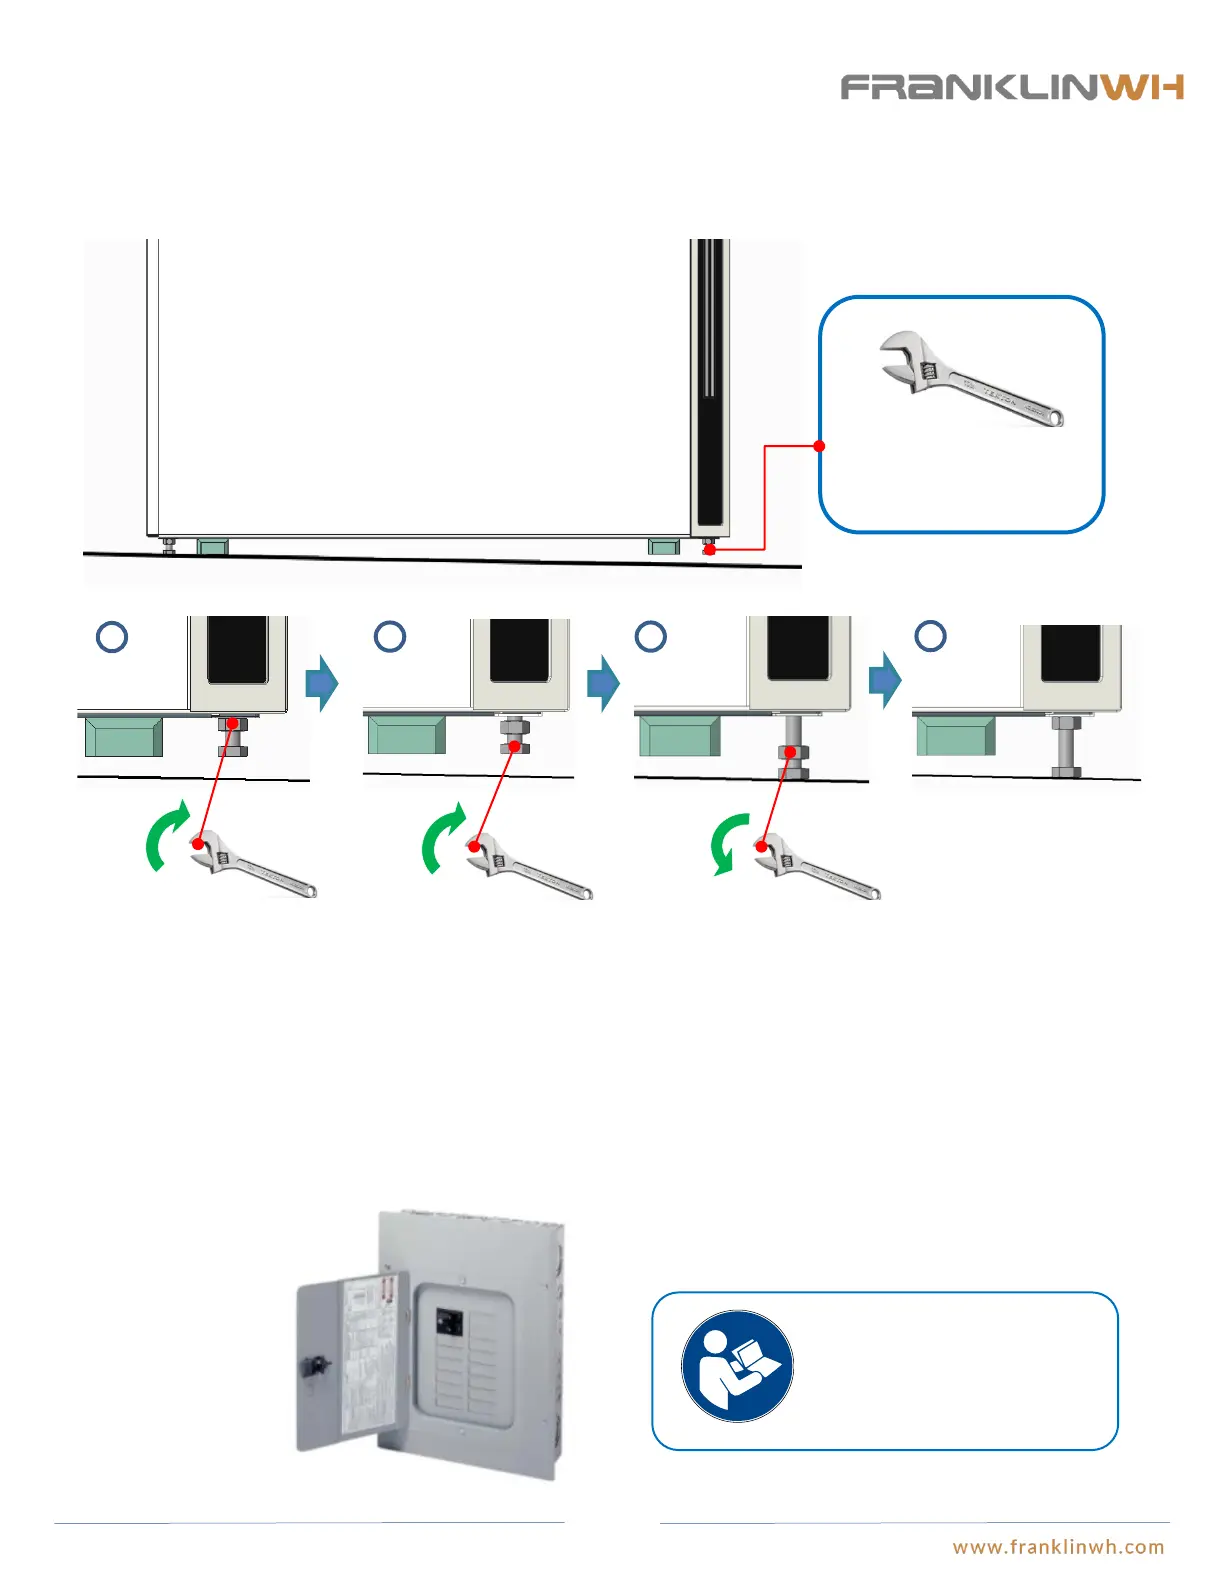
● If aPower is installed on over an uneven floor, the leveling screws on the bottom of aPower cabinet can be adjusted until the screw
directly contacts the floor. Both the floor and the wall mounted bracket will provide sufficient support for aPower.
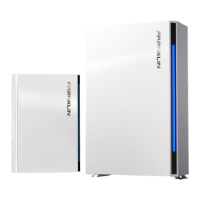
● Install the parallel distribution panel for aPower. Eaton load centers are recommended. Each aPower has a 2-pole input terminal,
and the total number of available circuits should be larger than the quantity of parallel aPowers. Please refer to the aPower overview
section for additional information on the charging and discharging of aPower.
aPower floor mounted leveling adjustment
Install parallel distribution panel (this step is required when more than (1) aPower is installed)
1
2 3
4
Adjust the opening size to 13mm.
Grip the nut using an open-
end wrench and turn it
counterclockwise until the
nut is loose.
Grip the nut using an open-end
wrench and turn it counterclockwise,
until the screw head hits the ground.
The leveling process of aPower is
finished.
Grip the nut using an open-
end wrench and turn it
clockwise, until the nut is
tight.
Please refer to the installation
instructions provided by the
product manufacturer for the
specific installation steps of
the load centers.
30