Do you have a question about the FRANKLINWH APower and is the answer not in the manual?
Essential safety information, warnings, and precautions for installation and operation.
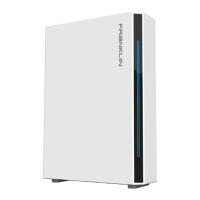
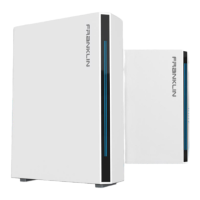
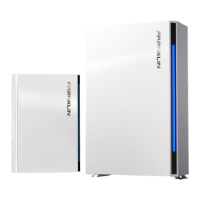
Explains system components and how they provide backup power for household loads.
Details on preparing for installation, including guidelines and necessary materials.
Guidelines for selecting an installation site, considering position, space, and fire safety.
Planning for cable inlets, conduits, protection, and routing for system components.
Procedures for safely handling, moving, unboxing, and preparing equipment for installation.
Instructions for installing mounting brackets for the aPower unit on various wall types.
Procedures for drilling holes in the wall for aPower cable inlets.
Steps for safely lifting and securing the aPower unit onto its mounting brackets.
Adjusting the aPower unit to ensure it is level on the floor using leveling screws.
Procedures for unboxing the aGate and removing its internal and external panels.
Preparing aGate cable inlets and mounting the unit on a wall.
Accessing the aPower wiring panel and managing charging cables.
Installing pull boxes and connecting electrical conduits according to standards.
Installing circuit breakers for solar PV, aPower AC, and load centers.
Procedures for installing optional smart load and fuel generator modules.
Wiring the 4G/Wi-Fi module and connecting aGate to the residence's network.
Connecting aPower units to aGate using network cables for communication.
Understanding aGate terminals, wiring requirements, and safety considerations.
Making AC power connections to aGate for PV inverters, smart loads, and aPower units.
Re-installing and securing the aPower wiring panel cover board after maintenance.
Process for re-installing the external panel of the aGate unit.
Initializing the system, performing startup, and registering user accounts.
Configuring network settings, user common settings, and system parameters.
Operating aGate, testing charging/discharging functions via debugging mode.
Detailed technical specifications for aPower and aGate units.
Details on the measurement and calculation accuracy requirements for FHP metering.
Information on non-export compliance modes for solar and BESS utility programs.
Steps for activating and resetting BESS interconnection compliance settings.
| Model | APower |
|---|---|
| Usable Capacity | 13.6 kWh |
| Depth of Discharge | 100% |
| Warranty | 10 years |
| IP Rating | IP65 |
| Battery Chemistry | Lithium Iron Phosphate (LFP) |
| Frequency | 60 Hz |
| Operating Temperature Range | -10°C to 50°C |
| Certifications | UL9540, UL1973 |
| Weight | 145 kg |