995367 – Revision A Page 32 of 39
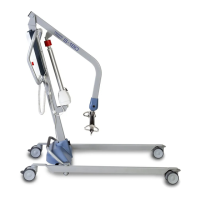
9.10 – Rear Castor
Within this section it will explain the correct procedure on removing and reinstalling the
Rear Castor for servicing procedures or replacement.
Removal
Step 1 - Place the Hoist on its side for easier service – Gently rest the Hoist on its side to
avoid damage such as paint scratching.
Step 2 – To release the Front Castor, place a 5mm Allen Key into the countersunk bolt and
use a 13mm Spanner on the underside of the Castor as shown and loosen.
Step 3 – Remove the nut and washer from the securing bolt as shown. Remove the castor
from the bolt.
Refitting / Replacement
Step 4 - Refitting is a reversal of the removal process noting the following point:
A) Attach the Castor in the correct order as shown. Bolt, Hoist Leg, bumper, castor,
washer and nut.
B) Ensure that the Castor is secured tightly, there should be no play after fastening.
C) Ensure the Castor rotates freely.
D) Apply Loctite 243 to the bolt thread.