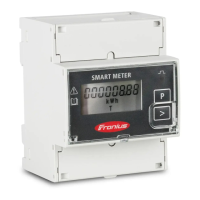
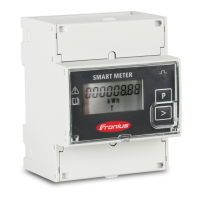
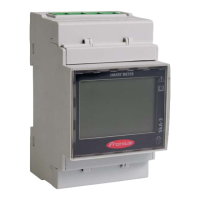
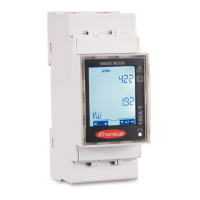
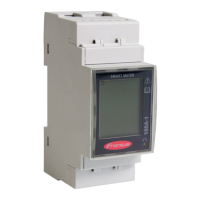
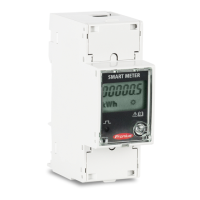
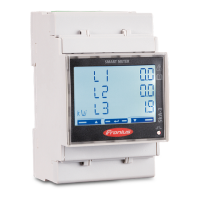
Commissioning the Fronius Smart Meter IP
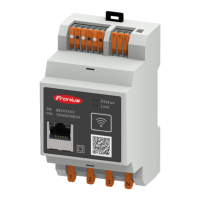
Opening the user
interface with
the QR code
1 2
press 2 sec
open access point
Scan QR Code
Follow instructions
Initial password for UI: 123
1
Press the access point button for two seconds. Link 2 LED flashes red.
2
Scan the QR code on the front of the device.
3
Enter the initial password and press Login.
4
Follow the instructions in the installation wizard and complete the installa-
tion.
5
Add the Smart Meter IP on the user interface of the inverter (see Commis-
sioning GEN24 / SnapINverter).
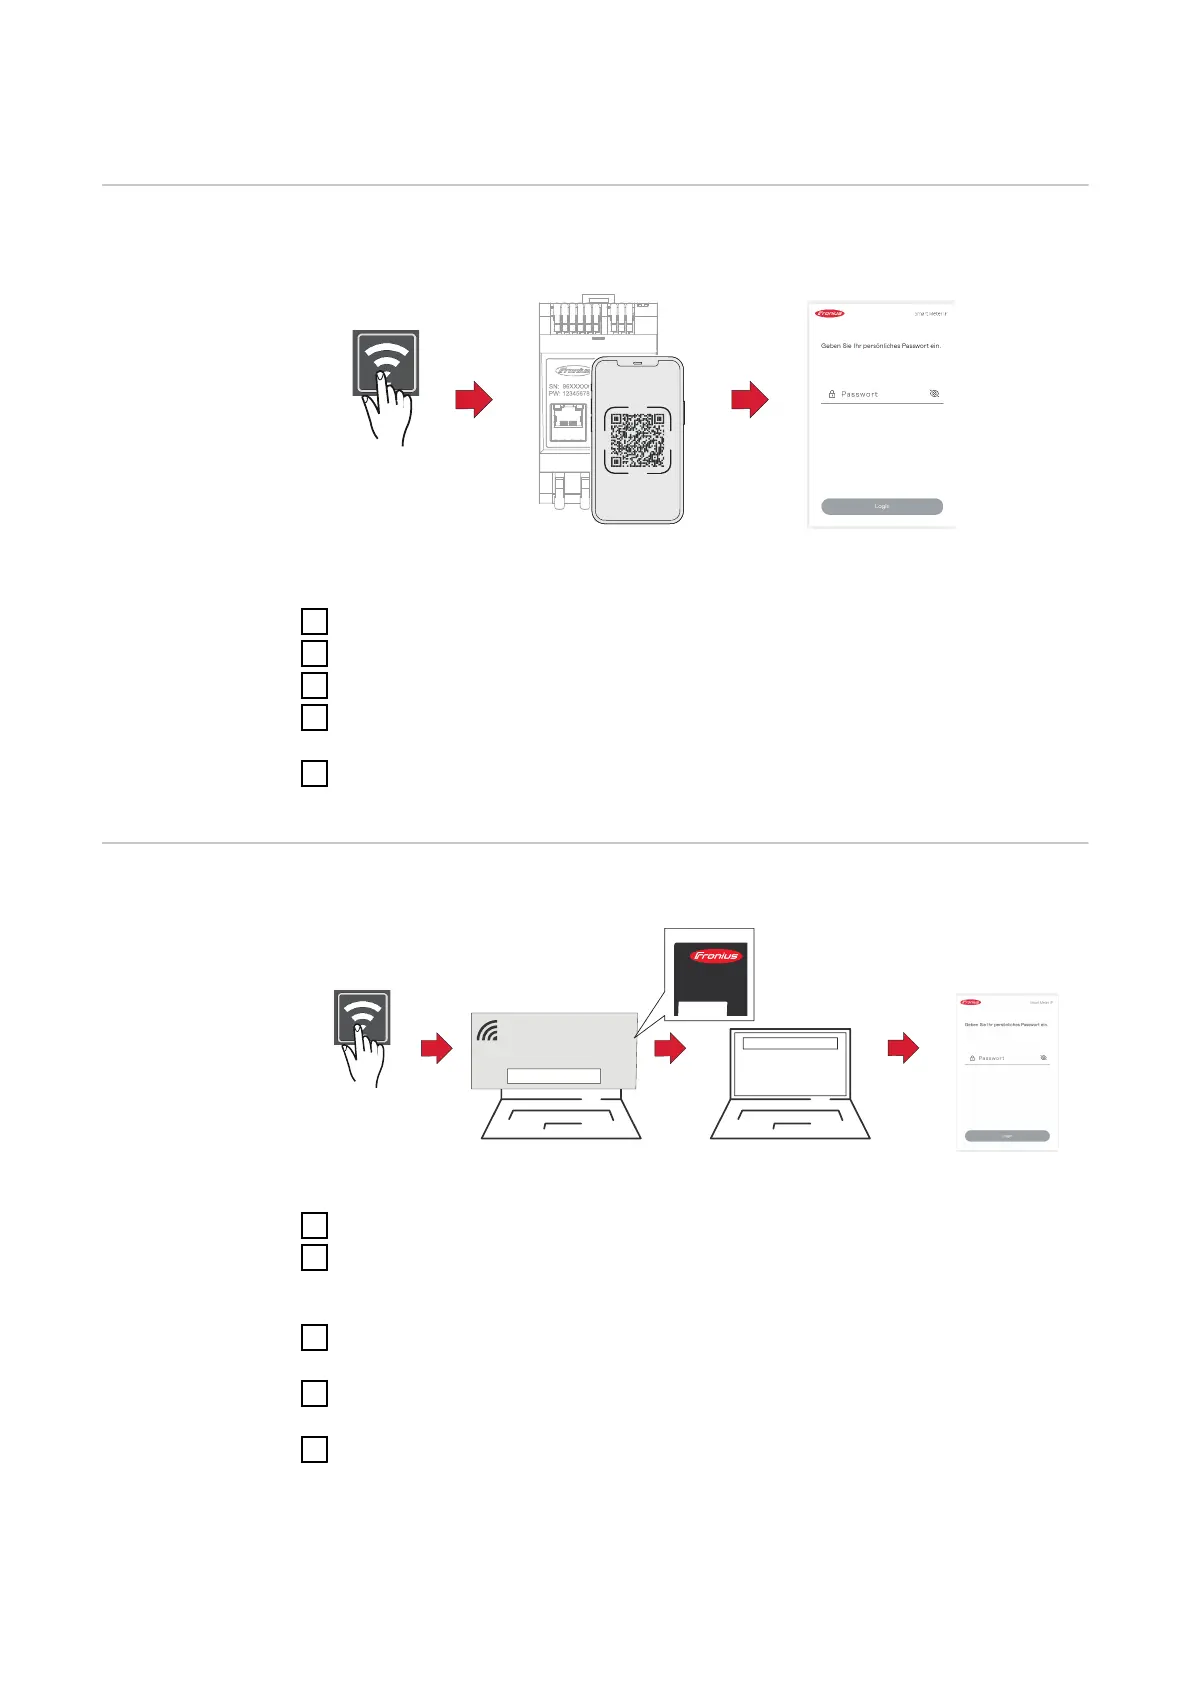
Opening the user
interface with
the IP address
1 2
press 2 sec
open access point
Follow instructions
Initial password: 123
3
192.168.250.181
Secured
Password:
FroniusMeter_Serialnumber
XXXXXXXX
Rating plate
SN: 96XXXXXX
PW: 123456789121
1
Press the access point button for two seconds. Link 2 LED flashes red.
2
Establish a connection from the end device to the access point
SSID = FroniusMeter_xxxxx (xxxx = serial number)
Password = see Smart Meter (PW)
3
In the browser address bar, enter and confirm the IP address
192.168.250.181. The installation wizard is opened.
4
Follow the installation wizard in the individual sections and complete the in-
stallation.
5
Add the Smart Meter IP on the user interface of the inverter (see Commis-
sioning GEN24 / SnapINverter).
31