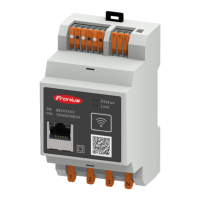
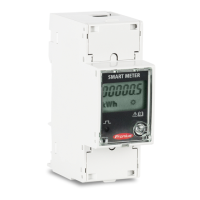
Fronius SnapINverter
General IMPORTANT! Settings under the "Meter" menu item are only to be made by
trained and qualified personnel!
The service password must be entered in order to access the "Meter" menu item.
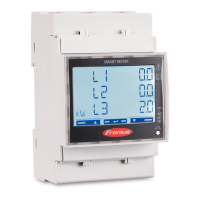
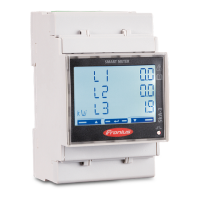
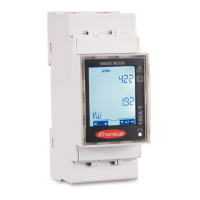
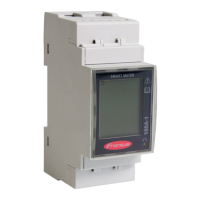
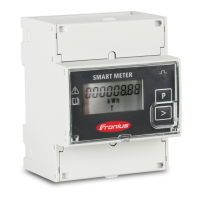
Three-phase or single-phase Fronius Smart Meter TS can be used. In both cases,
the selection is made under the "Fronius Smart Meter" item. The Fronius
Datamanager automatically identifies the meter type.
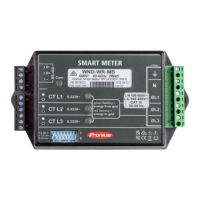
A primary meter and several secondary meters can be selected. The primary
meter needs to be configured first before a secondary meter can be selected.
Connecting to
the Fronius
Datamanager
Access point:
1
Select the "Setup" menu on the inverter display and enable the "Wi-Fi Access
Point".
2
Establish the connection to the inverter in the network settings (the inverter
is displayed with the name "Fronius_240.XXXXXX").
3
Password: Enter 12345678 and confirm.
4
In the browser address bar, enter and confirm the IP address http://
192.168.250.181 and confirm.
The Fronius Datamanager start page is displayed.
LAN:
1
Connect the Fronius Datamanager and computer to a LAN cable.
2
Place the Fronius Datamanager IP switch in the 'A' position.
3
In the browser address bar, enter and confirm the IP address http://
169.254.0.180 and confirm.
Configuring the
Fronius Smart
Meter TS as the
primary meter
1
Go to the Fronius Datamanager website.
-
Open the web browser.
-
In the address bar of the browser, enter the IP address (IP address for
WLAN: 192.168.250.181, IP address for LAN: 169.254.0.180) or the host
and domain name of the Fronius Datamanager and confirm.
-
The Fronius Datamanager website will be displayed.
2
Click the "Settings" button.
3
Log in to the login area with the "service" user and the service password.
4
Call up the "Meter" menu area.
5
Select the primary meter from the drop-down list.
6
Click the "Settings" button.
7
In the pop-up window, set the position of the meter (feed-in point or con-
sumption point). For more information on the position of the Fronius Smart
Meter TS, see Positioning on page 13.
8
Click the "Ok" button when the OK status is displayed. If the Timeout status
is displayed, try again.
35
EN
 Loading...
