CHAPTER 3: INSTALLATION INSTRUCTIONS
3-1
PROPER INSTALLATION IS ESSENTIAL TO EFFICIENT TROUBLE-FREE OPERATION.
ANY ALTERATION OF THE EQUIPMENT VOIDS THE FRYMASTER WARRANTY.
Before installing the newly arrived equipment, inspect it carefully for visible and concealed damage.
See Shipping Damage Claim Procedure, Section 2.4.
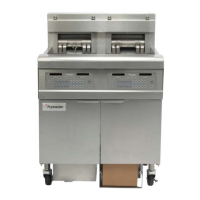
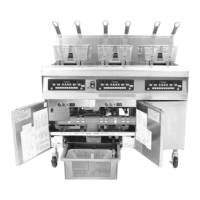
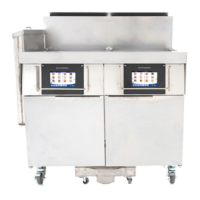
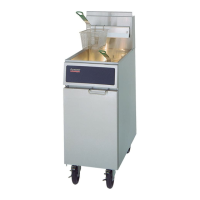
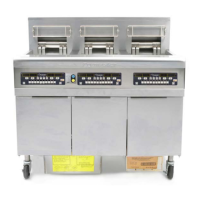
3.1 Fryer Leg Information
The following drawings give the leg patterns for the FPH17 in two, three and four- vat configurations, which are
commonly placed on ships and the single-vat fryer, which is used on submarines. (See Page 3-3, Sub Fryer
base).
CAUTION
If you need to relocate a fryer installed with legs, remove all the weight from each leg before moving.
If a leg becomes damaged, contact your service agent for immediate repair or replacement.
Any flashing on or around the cap covering the top of the heating elements must be removable.
Prior to installation, make sure the foundation is adequate to secure the fryer front and rear. Depending on
existing conditions, most foundations can be modified to suit the fryer’s base plate.