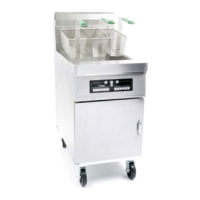
CHAPTER 9: TROUBLESHOOTING GUIDE
9-1
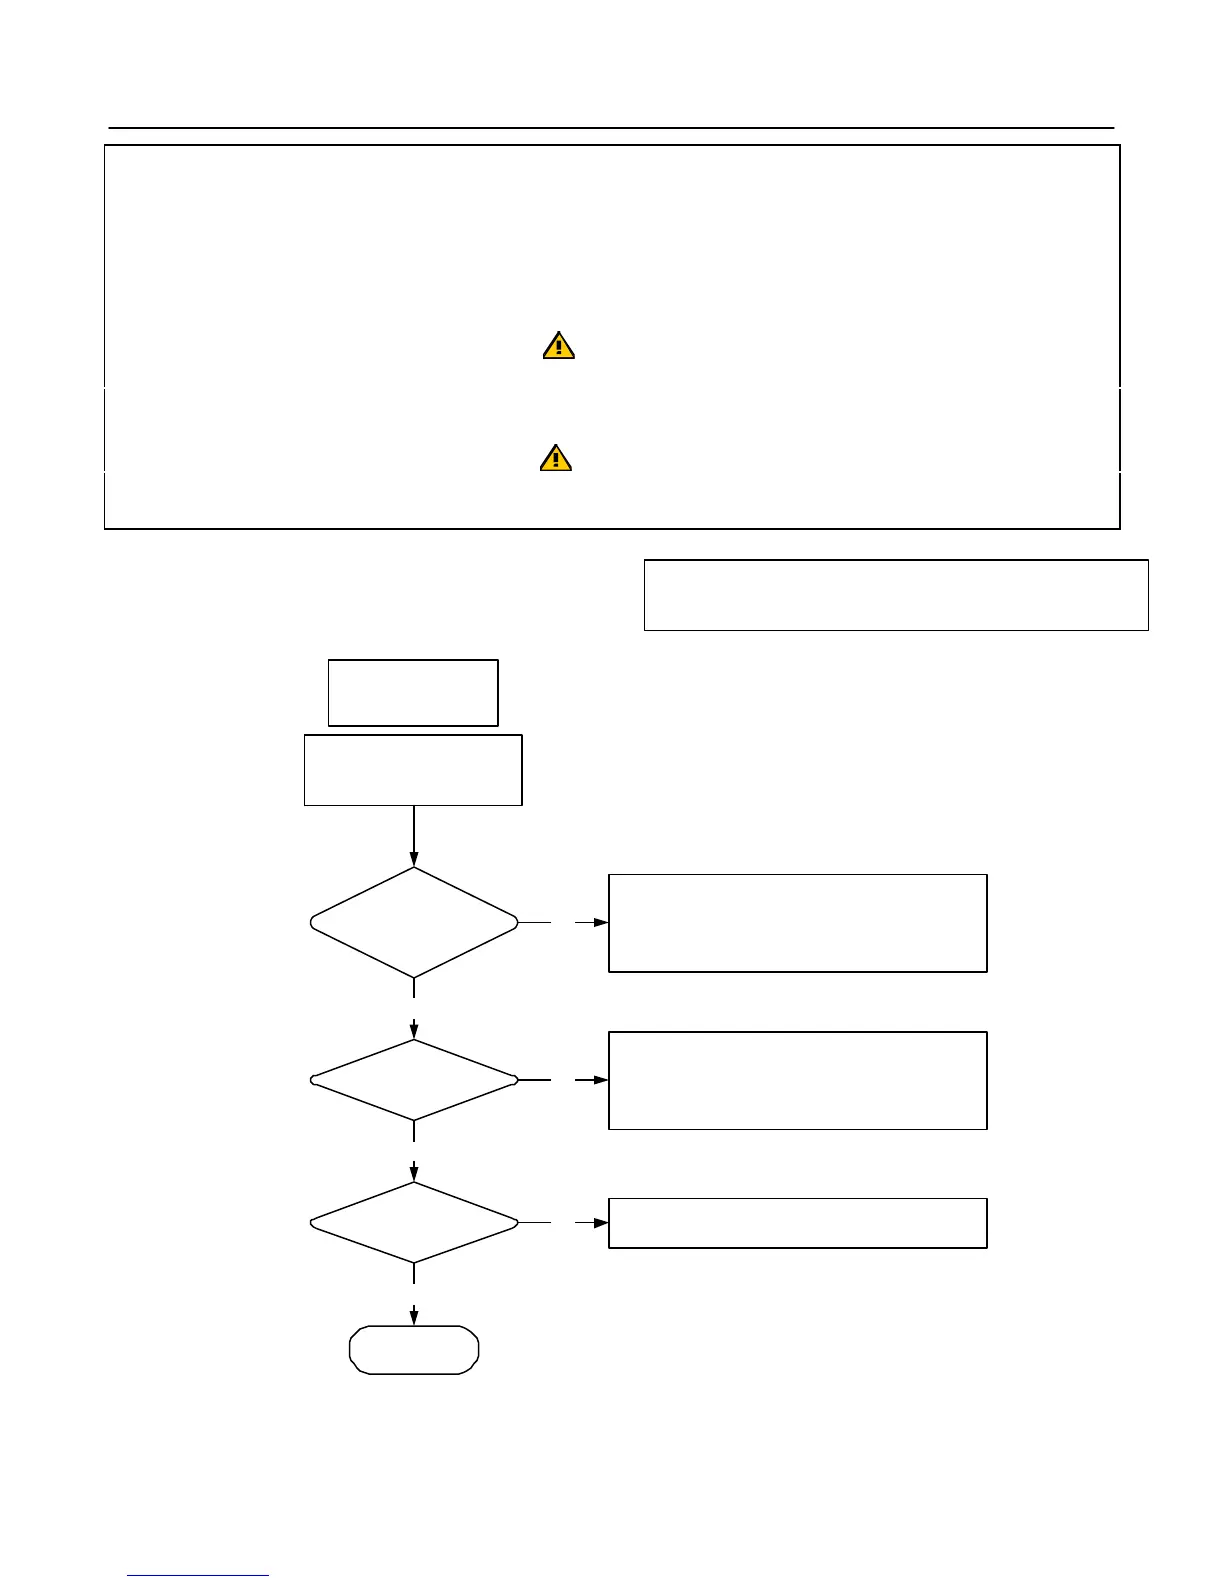
Directions for Troubleshooting Flow Chart
1. Always start at the first condition and follow each step in sequence.
2. Perform the test set-up at the beginning of each condition.
3. Normal Operation (“yes” after each decision block) flows down the page in sequence.
4. Abnormal Operation (a “no” answer) branches to the right side of the page where you will find the steps
for problem resolution.
Warning:
Inspection, testing and repair of electrical equipment should be performed by qualified service
personnel. Unplug the unit before servicing, except when electrical test are required.
DANGER
USE EXTREME CARE DURING ELECTRICAL CIRCUIT TESTS. LIVE CIRCUITS WILL BE
EXPOSED.
Fryer is Off
Press the ON/OFF
Switch to OFF
Is
CMP light
on
Interface board on?
All other lights
off?
Is
24V Light
on
Interface board on?
Condition is
normal
YES
YES
YES
1. No power applied to fryer from power supply.
2. Defective 12 volt transformer.
3. Defective interface board (12 VAC circuit).
4. Broken or improper wire connection.
5. Blown fuse.
1. Defective 24 volt transformer.
2. Defective interface borard (
24
volt circuit).
3. Broken or improper wire connection.
4. Blown fuse.
1. Defective controller.
2. Improper wire connection.
NO
NO
NO
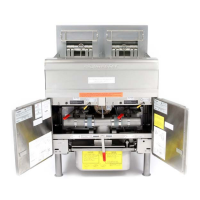
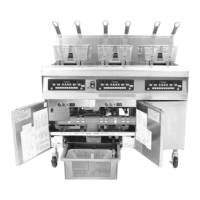
Using interface board
lights to diagnose fryer.
Note: Access to the interface board is required to
perform troubleshooting. See Figures 10-6 and 10-7.