10-3
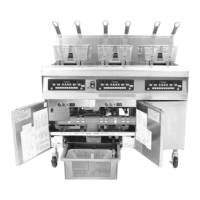
5. Remove the nuts from each corner of the interface board and slide the board from the studs. Fig:
10-7
6. Install the new interface board by reversing the above procedures. Ensure the spacers are on the
studs before installing the interface board. Make sure the wiring is reconnected to the proper
terminals and the harnesses to the correct connectors.
10.3 Replace Transformer
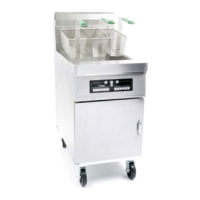
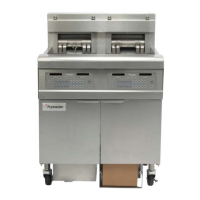
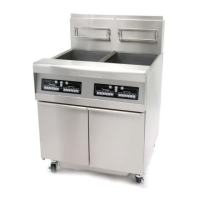
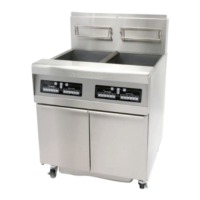
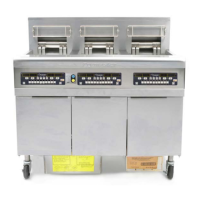
10.3.1 Surface Ship Fryers
1. Disconnect the fryer from electrical power.
2. Perform Section 10.1, Steps 1-6, Replace Controller.
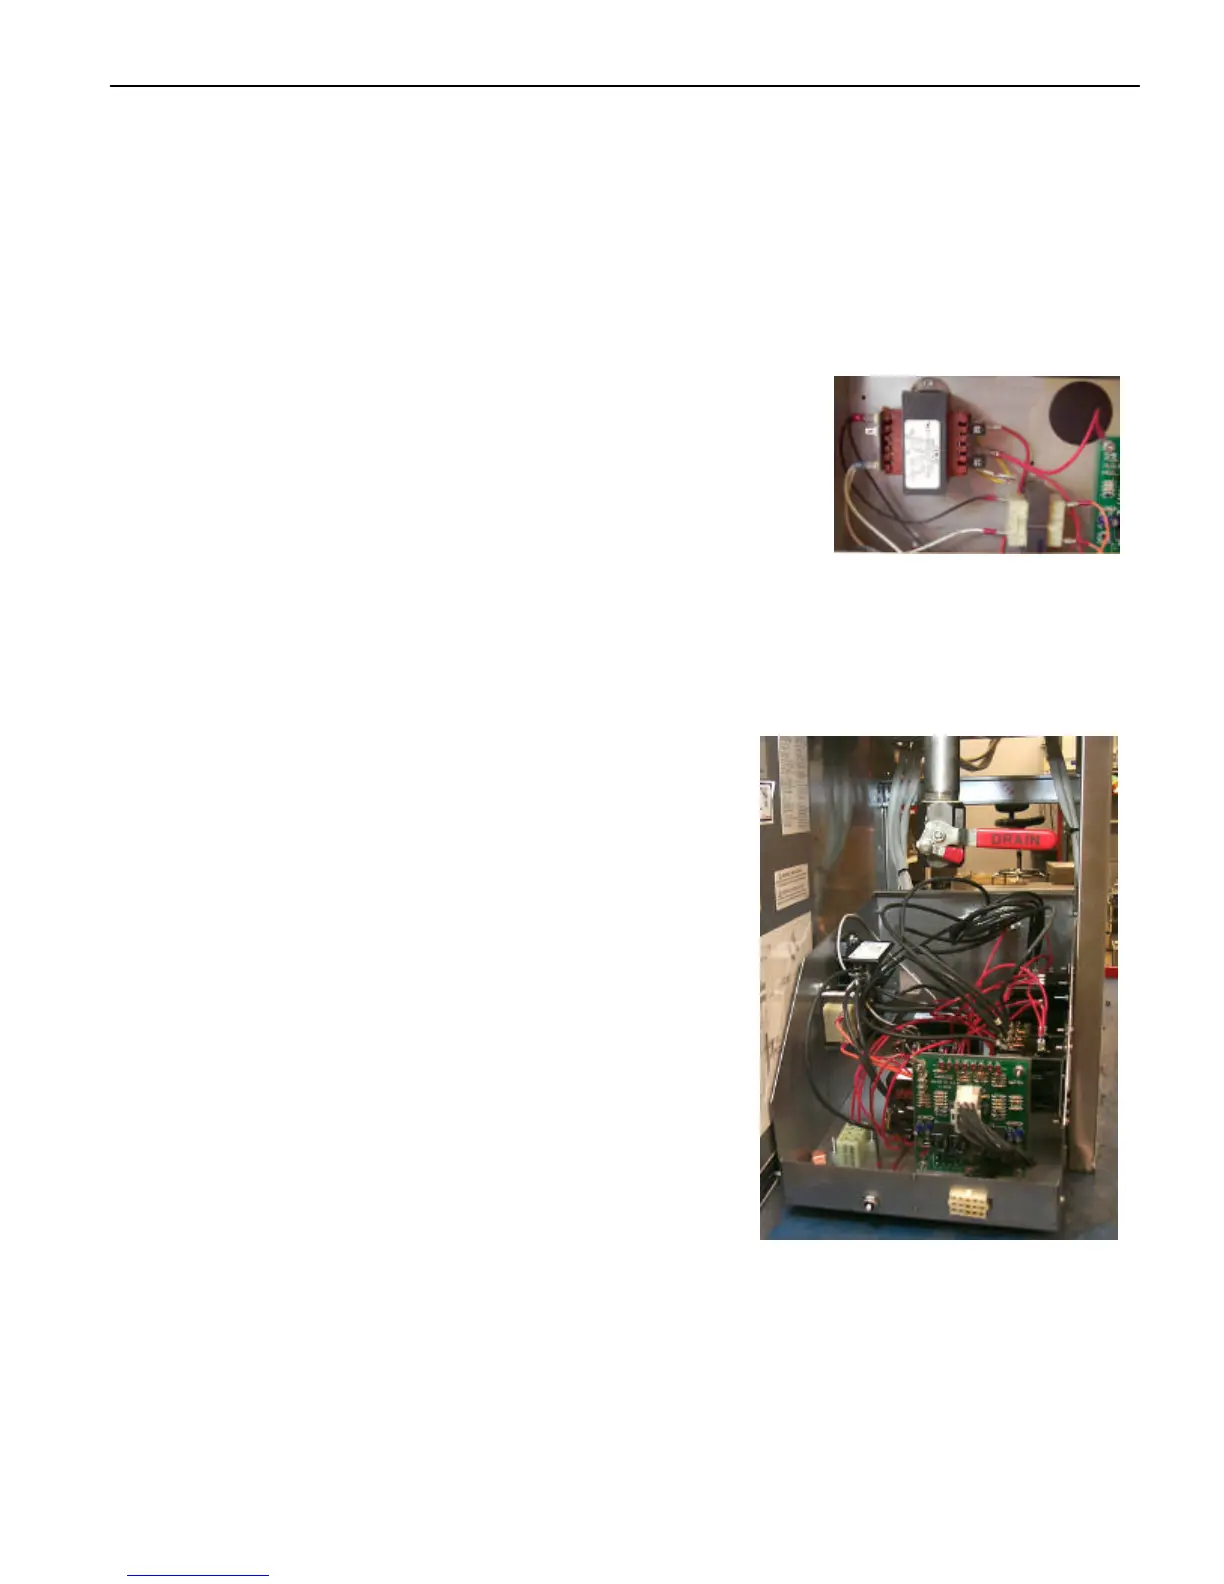
3. Remove all wiring from the terminals of the transformer to be
replaced, carefully noting where the wires are attached. Fig: 10-9
4. Remove the transformer mounting nuts.
5. Install the new transformer by reversing the procedure. Make sure
the wires are correctly connected to the proper terminals.
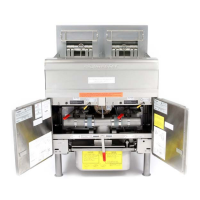
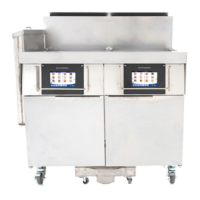
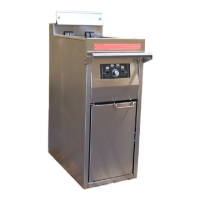
10.3.2 Submarine Fryers
1. Drain frypot and close drain valve
2. Disconnect the fryer from electrical power.
3. Remove elbow from drain.
4. Open the front door of the fryer, and remove screw
holding contactor box in place. Fig: 10-8
5. Remove door magnet to ensure space to pull contactor box
forward.
6. Push contactor box toward the rear of the fryer and lift to
release it from clips in the rear.
7. Lift the front of the contactor over the mounting hardware
and pull forward out of the cabinet the distance the wiring
harness will allow. Fig: 10-10
8. Remove screw holding the lid on the contactor box.
9. Remove all wiring from the terminals of the transformer to
be replaced, carefully noting where the wires are
attached.
10. Install the new transformer and attach wires.
11. Reverse steps to complete installation.
Fig: 10-9
On the surface ship fryer, the
transformer is in the controller box.
Contactor box partially removed from the