CHAPTER 10: SERVICE PROCEDURES
10-1
10.1 Replace Controller
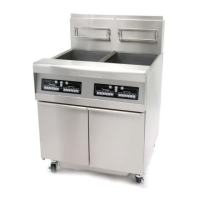
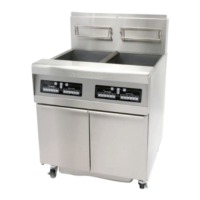
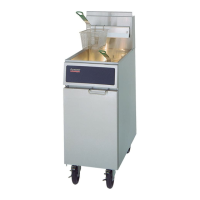
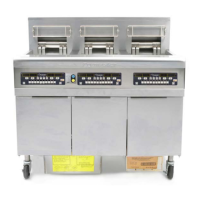
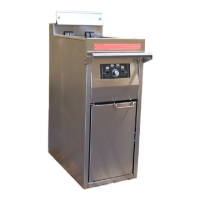
10.11 Shipboard fryer
1. Disconnect the fryer from electrical power.
2. Turn controller off.
3. Remove the two screws securing the controller.
4. The controller is hinged at the bottom, and will swing
open from the top.
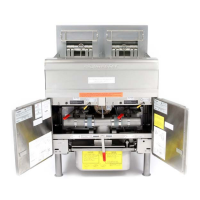
5. Unplug the wiring harness from the back of the
controller. Fig: 10-1
6. Remove the ground wire by unscrewing the securing
nut or disconnecting the ground connector.
7. Remove the controller from the control panel.
8. Reverse the procedure to install a new controller.
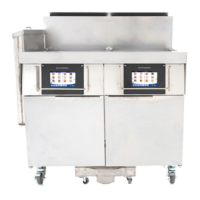
10. 12 Submarine Fryers
1. Disconnect the fryer from electrical power.
2. Turn the controller off.
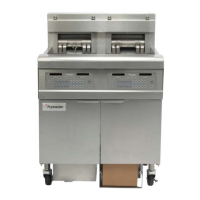
3. Remove the two screws securing the
controller bezel to the front of the fryer. Fig
10-2.
4. Pull the controller forward and under the grab bar.
5. Remove the two screws that secure the lower
section of the bezel.
6. Unplug the controller from the 15-pin plug.
7. Push the controller forward and under the
grab bar. Fig 10-3
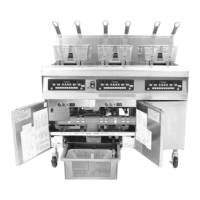
8. Remove the heat shield from at the rear of
the controller. Fig: 10-4
9. Remove controller from bezel.
10. Reverse procedure to install new controller.
Two screws secure
the controler bezel
to the fryer’s front
Two screws hold
the bezel inside the
cabinet.
Fig: 10-4
A shield, which must be removed, protects
the controller from heat.
Fig: 10-1
Unplug wiring harness from back of controller.