Turning the ScanSnap On
1. Turn on the computer.
a Windows starts up and the ScanSnap Manager icon
appears in the notification area.
HINT
l If the ScanSnap Manager icon is not displayed in the notification area, select [Start]
menu → [All Programs] → [ScanSnap Manager] → [ScanSnap Manager] to start up
ScanSnap Manager (for Windows 8, right-click the Start screen, and select [All apps] on the
app bar → [ScanSnap Manager] under [ScanSnap Manager] to start up ScanSnap Manager).
l If ScanSnap Manager does not automatically start when you log on to your computer, change
the setting in the following procedure:
1. Right-click the ScanSnap Manager icon
in the notification area and select
[Preferences] from the "Right-Click Menu" (page 41).
a The [ScanSnap Manager - Preferences] dialog box appears.
2. In the [Auto Startup] tab, select the [Start up ScanSnap Manager when you log on] check
box.
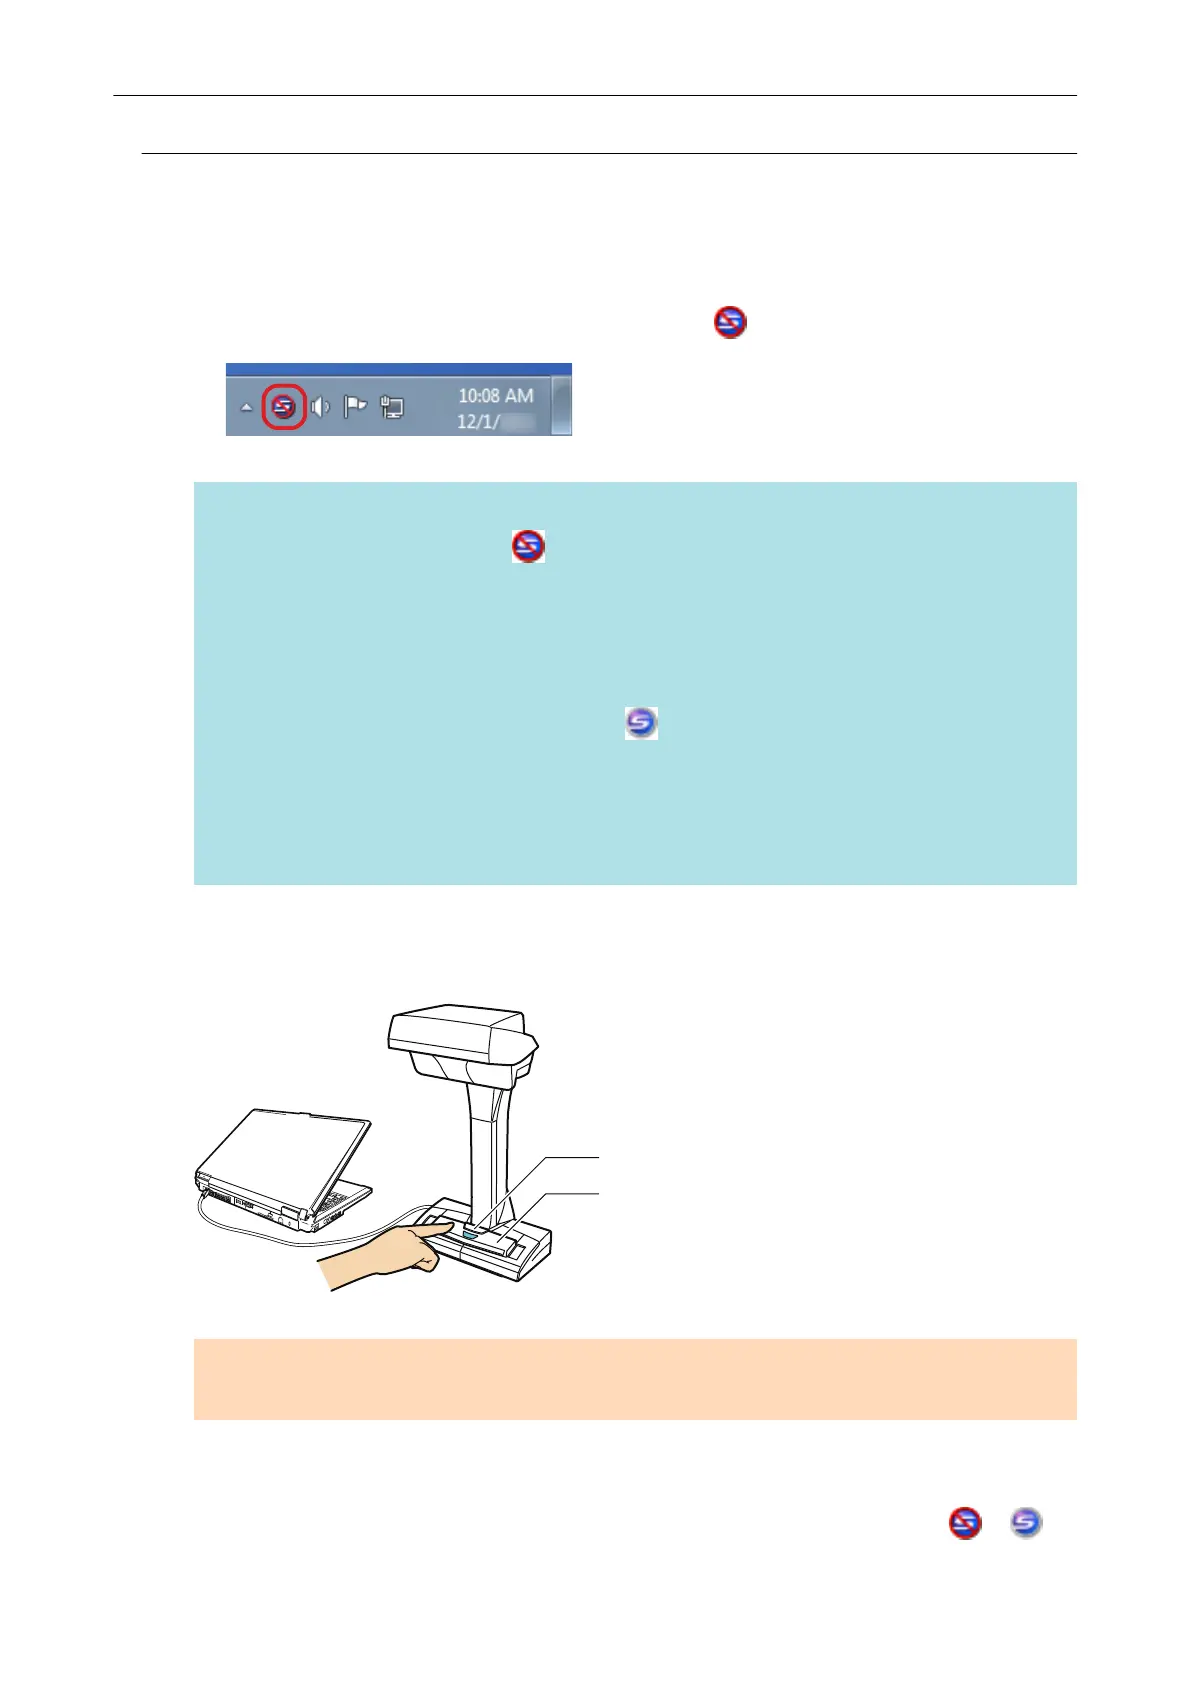
2. Press the [Scan] or [Stop] button on the ScanSnap to turn the power on.
[Scan] Button
[Stop] Button
ATTENTION
When turning the power on, do no cover the white sheet with a hand.
a The [Scan] button lights up in blue.
In addition, the ScanSnap Manager icon in the notification area changes from to .
Turning the ScanSnap On/Off
46
 Loading...