80
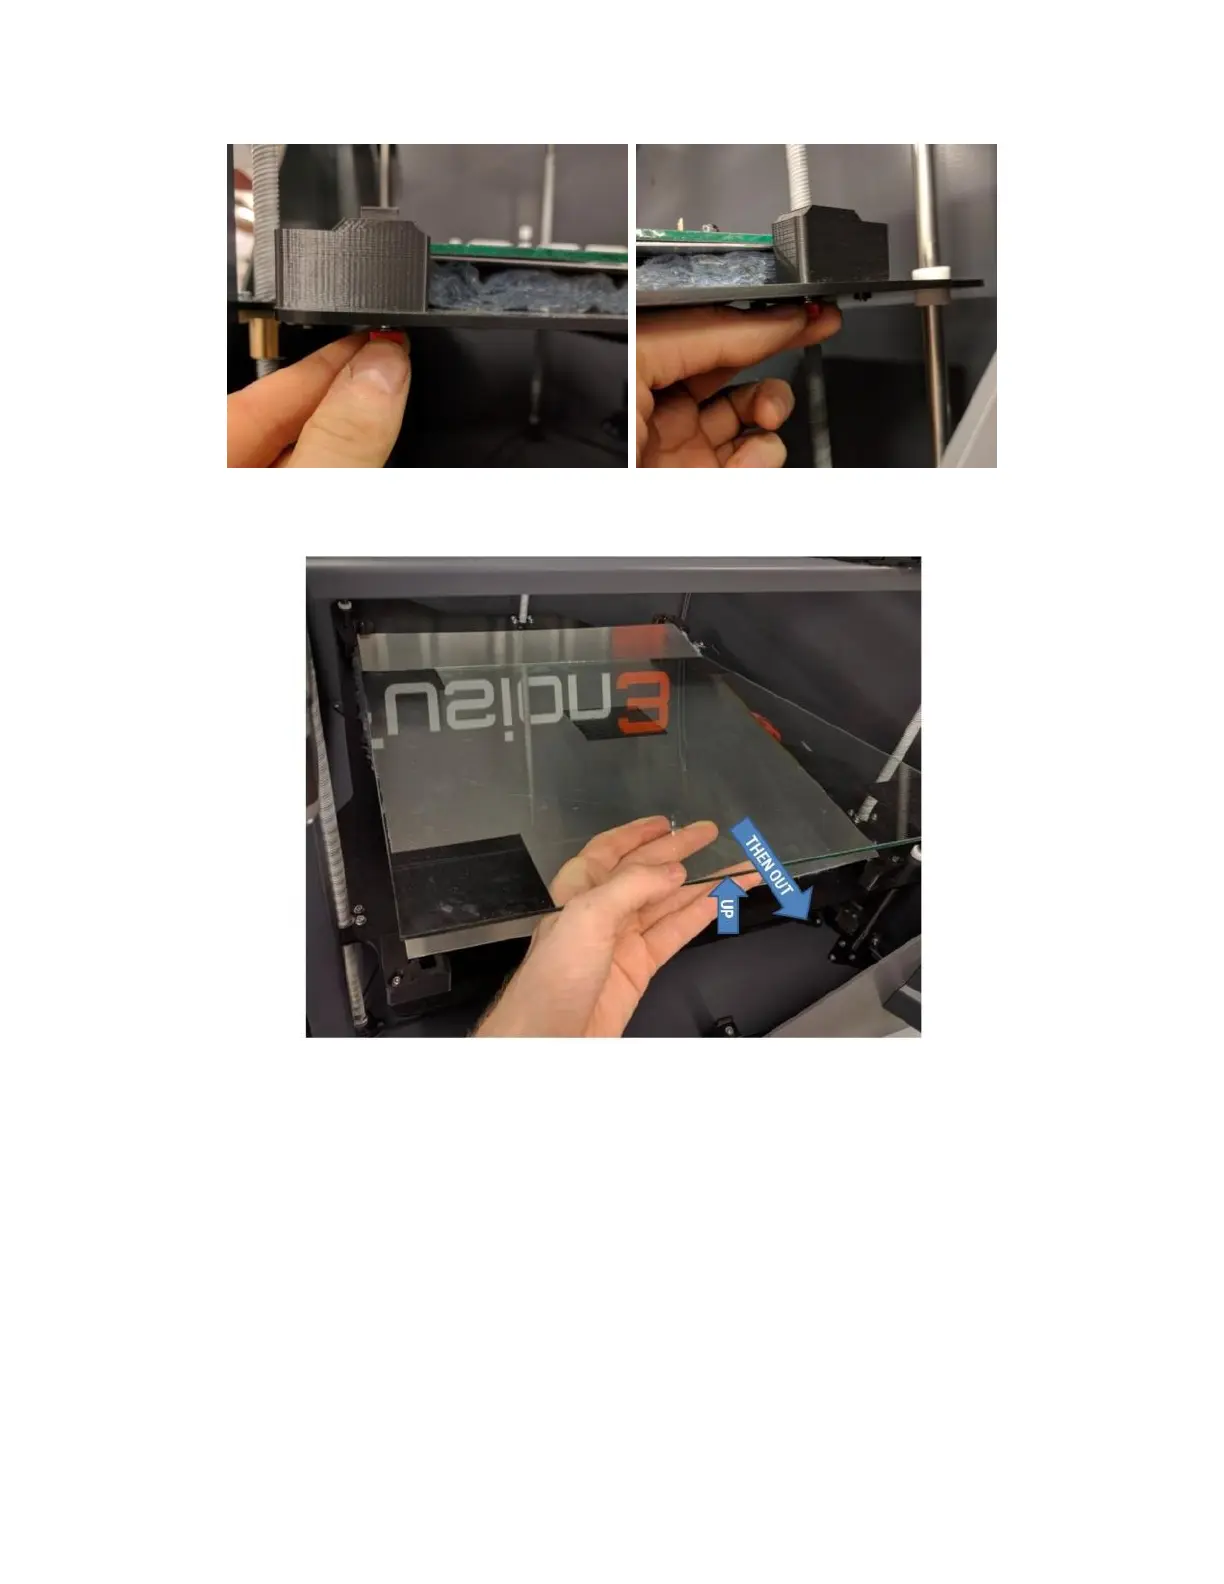
Lift up the front of the glass 1-2 inches and gently slide it towards you. The aluminum plate will stay in place.
Slide the replacement glass under the rear clips. You may need to reach under the bed substrate and hold the clips
up to get the glass underneath them.
NOTE: The glass is not square, so it matters which way you install it.
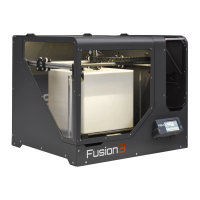
Re-install the front corner clips and tighten them so the front of the glass is lower compared to the back. How
much doesn’t matter right now.
Run the manual bed leveling sequence (section 9.3.2).
11.9 Removing & Installing a Print Head
Setup: