88
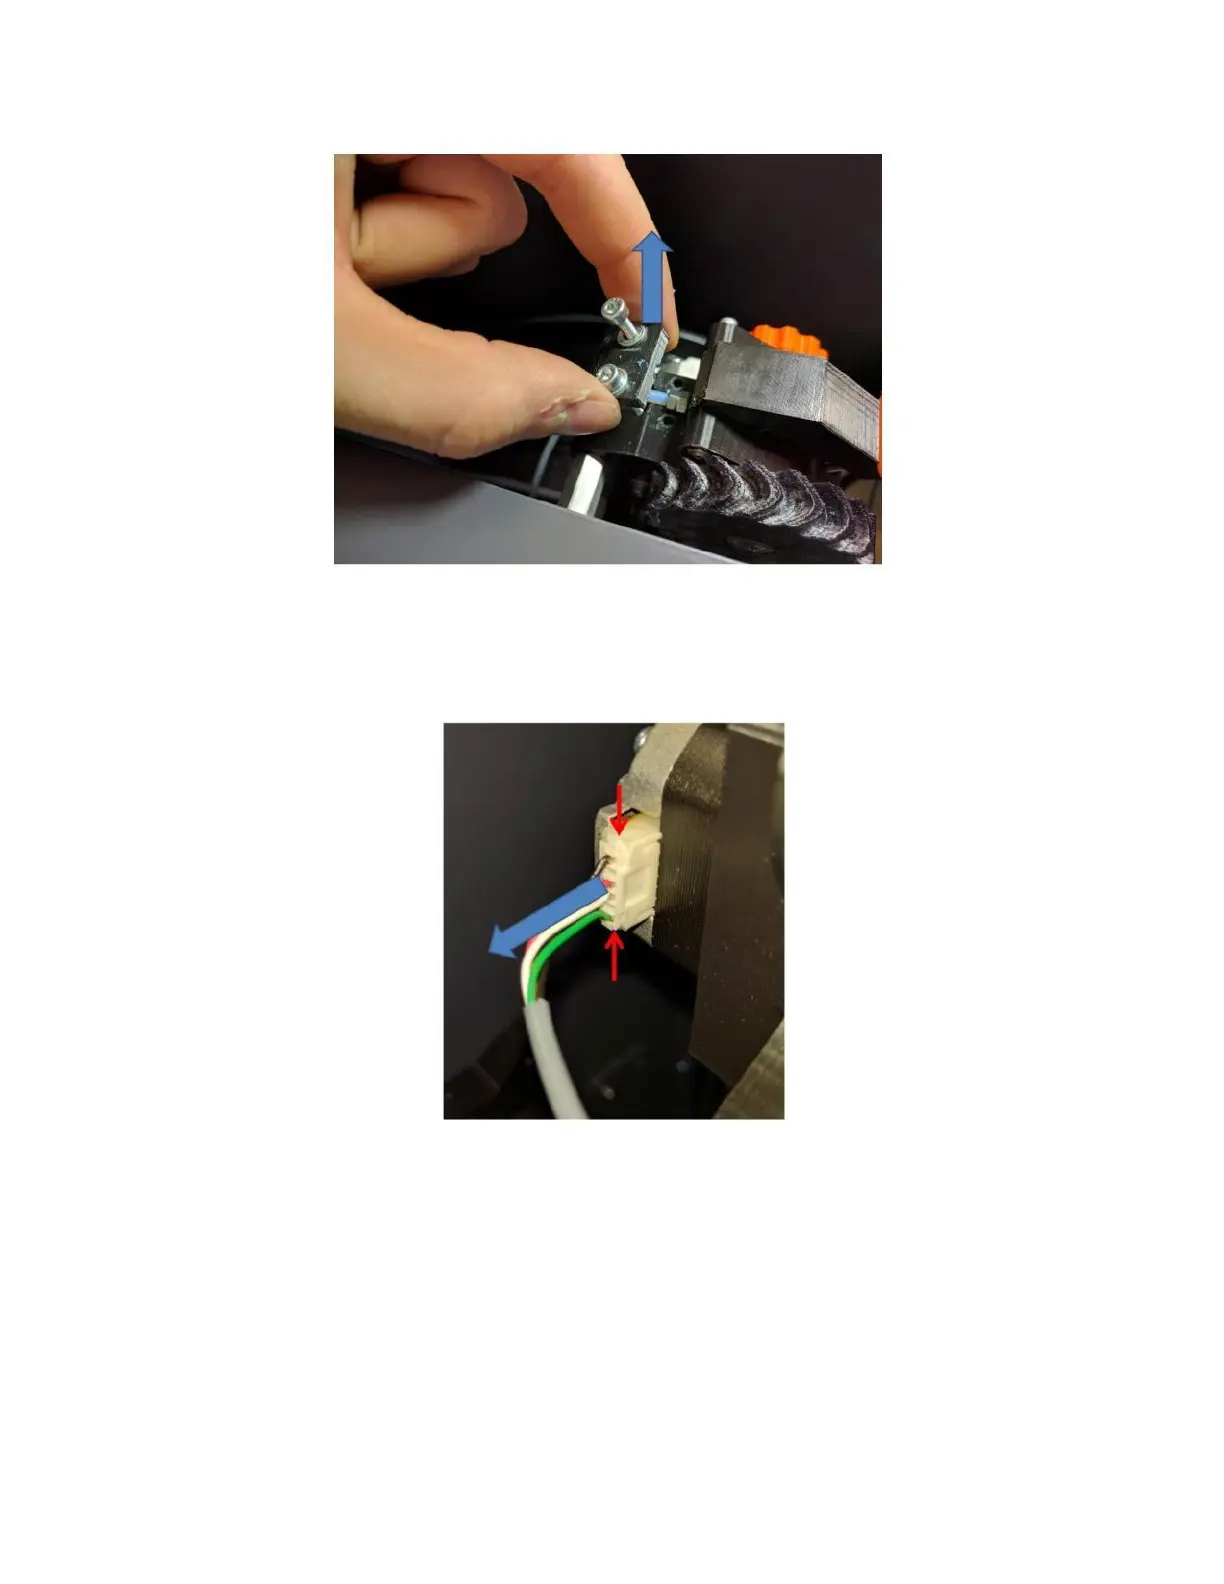
Remove the electrical connector from the motor. DO NOT tug on this connector by the wires as you may break
them. Grasp the top and bottom of the connector body (there are some small flanges you can grab with your
fingernail) and remove it from the motor. It does not have a latch; it’s just a friction fit.
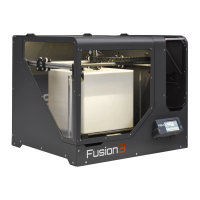
Use the 3mm wrench from your toolkit to remove the 3 M5 screws that hold the extruder onto the standoffs. You
may need to use pliers to stabilize the standoffs so they don’t rotate while you loosen the screws. Support the
extruder with your free hand while you remove the last screw, so it doesn’t fall.
Note: the standoffs are supposed to be somewhat loose on the sheet metal panel. This allows the rubber vibration
dampers to do their job.
Now the extruder can be removed from the printer.
 Loading...