Press the MENU key and select Card Info to
view the amount of card storage space.
3. To read or transfer the .gpx les connect the
USB cable to your PC and enable USB Mass
Storage as explained on page 58. Open the
track logs using MapSource or a .gpx le-
compatible application.
4. To delete these track logs from the microSD
card, highlight individual logs, and then press
ENTER. Use the Delete All button to clear the
entire list.
NOTE: Do not remove the microSD card f while
logging, to prevent data corruption.
To view a track on the map:
On the Saved Track Page, select the Map
button, and press ENTER to open the Map
Page and the entire track appears. Begin and
End markers and user waypoints are visible.
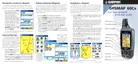
To view a track prole:
Press the MENU key and
select Prole (if using DEM
topo maps).
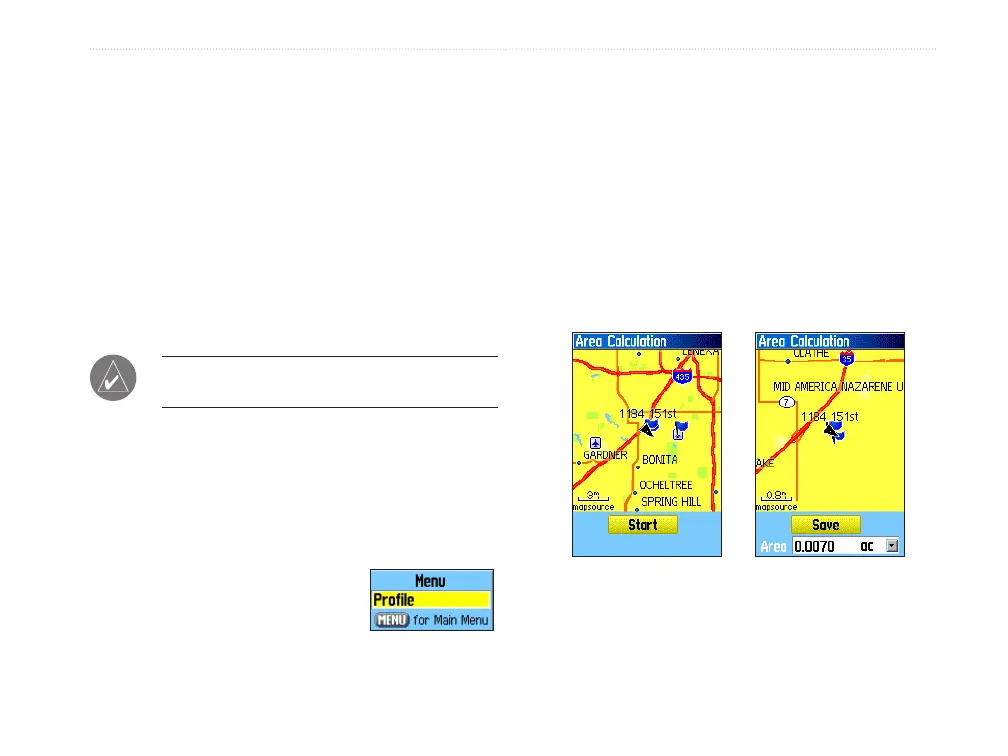
To calculate the area of a track:
1. With the Track Log Page open and the Track
Log on, press MENU to open the Options Menu.
2. Highlight Area Calculation, and press ENTER
to open the Area Calculation Page.
3. Press ENTER to start the area calculation.
As you begin to move and dene the area’s
boundaries, a Stop button appears.
4. When nished dening the area the calculated
area appears at the bottom of the page.
Start calculation
Save calculated track
5. Press ENTER to save the new track to the
Saved Tracks list on the Tracks Page.
GPSMAP 60Cx Owner’s Manual 29
bAsIc oPerAtIon > usIng trAcKs