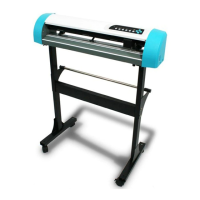
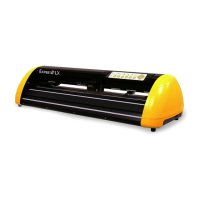
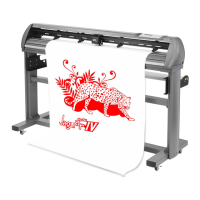
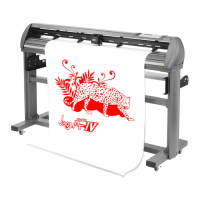
Expert Pro User Manual
The Control Panel 3-6
quality, sacrificing output speed. Keep in mind that speed and
quality are usually at a tradeoff.
[ CUT TEST ]
Square Cut To perform a cutting test at present
For more information, please refer to “4.3 Adjusting the
Cutting Force and Offset” to adjust blade force and cutting
speed.
Recut:
To repeat the last job without re-sending the data
1~99;
1 per step
Redo Last Plot
Copy:
To copy the last job without re-sending the data.
* 1mm gap will be auto-generated between 2 copies).
* If the media length is not enough to continue, it will show
below message on LCM:
O pOtu Sf a ;c e #
iCfo po e is f n hi s e d
If both functions are enabled at the same time, the cutter will
perform the last setting only.
1~99;
1 per step
Pattern Setting
To provide two patterns for cut test
Note: It is recommended to select “Cross” if you are working
on thick pieces of materials.
“Arrow” and “Cross”
patterns
“Arrow”
Ratio Setting
To adjust the size of the pattern 100%, 200%, 300%,
400%
100%
Blade Length
Adjust
To adjust the length of the blade
Note:
1. Keep your blade length as 0 before you start adjusting.
2.
Test the blade holder first and then test the blade length by
pressing ENTER.
3. Keep the blade holder at the same position when you
perform blade holder and blade length tests.
4.
When blade holder and blade length tests are finished, the
screen will show you to what degree (the unit of the value
following “CW” or “CCW” is “circle”) and in which direction
[CW (clockwise) or CCW (counterclockwise)] you should
turn the adjustment knob.
EG, Turn CW 0.5 is telling you that you should turn the
knob for half a circle clockwisely.
5. The value on the screen will be 0.0 when the blade length
is perfect and no more adjustment needs to be mad
may start cutting at this point.
0.00mm-5.00mm 0.00mm
[ DATA CLEAR ]
To clear up buffer memory.
[ TOOL SELECT ]
Set Smoothing
Cut
To enable smooth-cutting function. Enable
Over Cut To generate an overcut to facilitate weeding. 0.00mm-