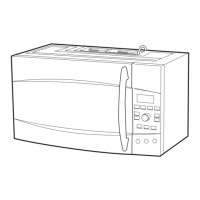
– 29 –
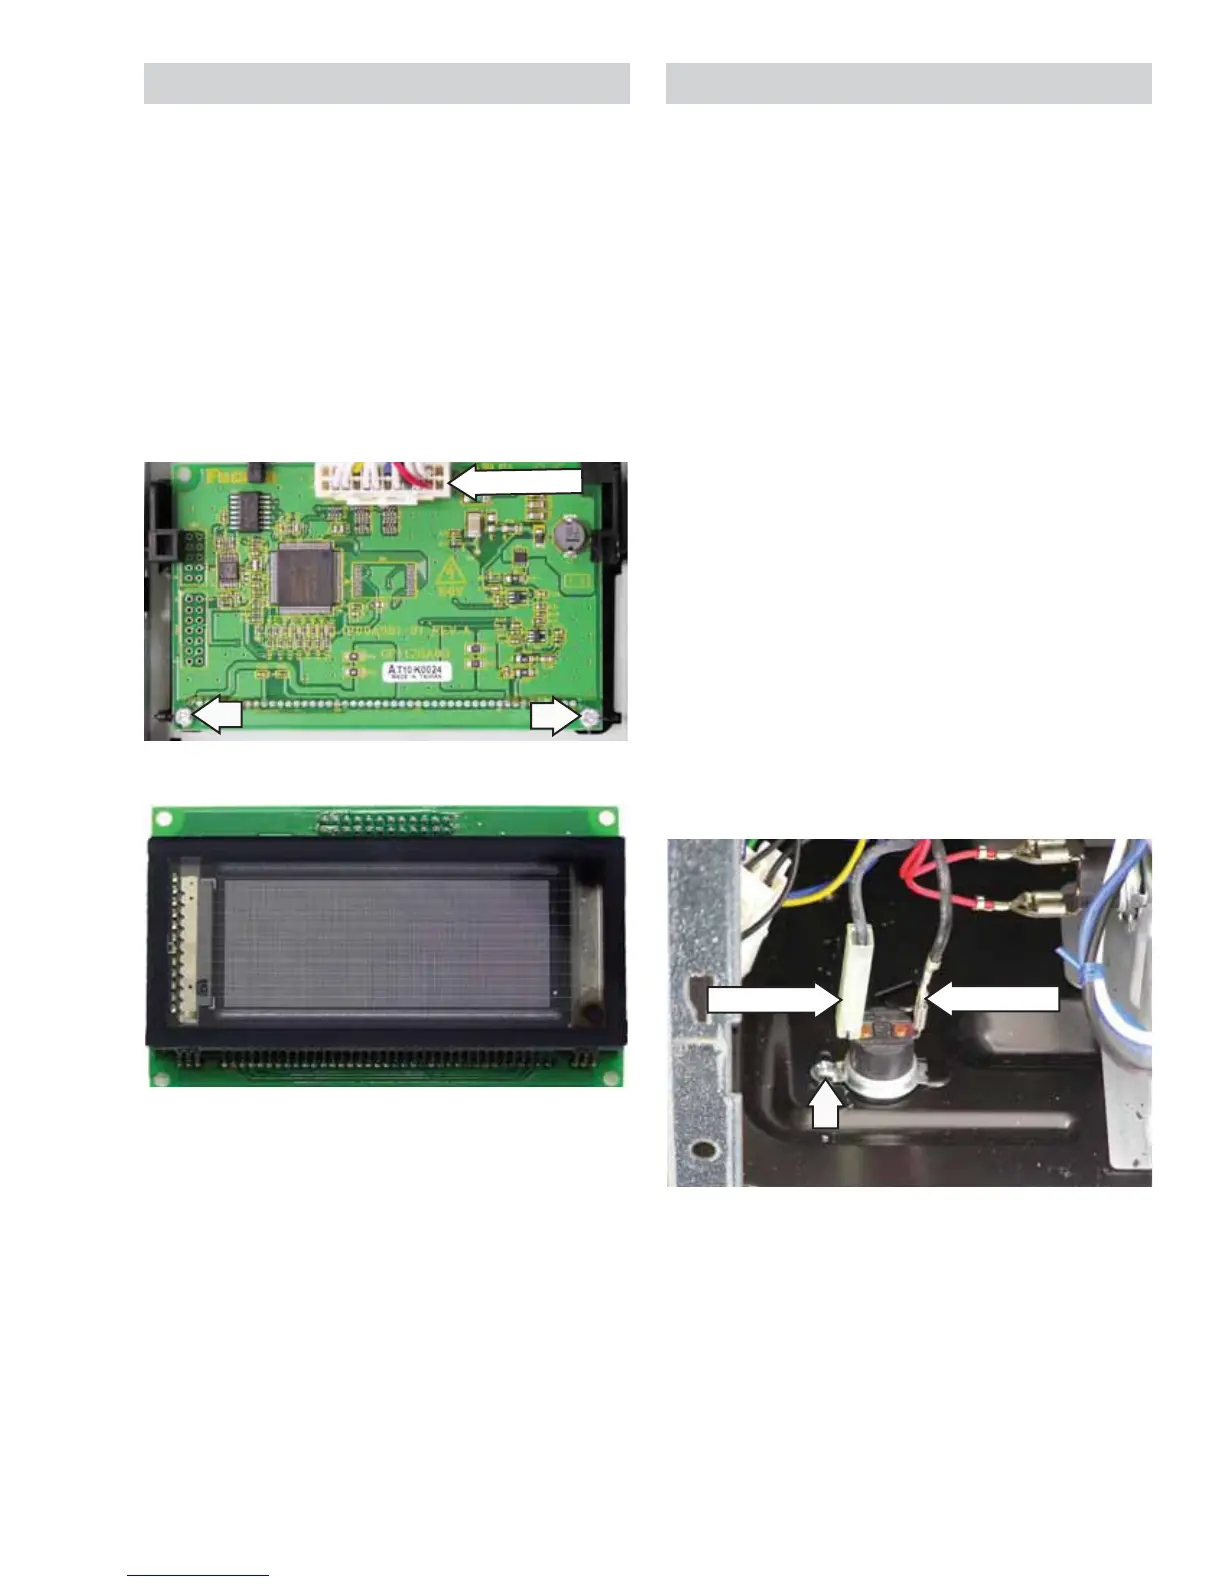
Display Board
To remove the display board:
1. Remove the control panel assembly.
(See Control Panel Assembly.)
2. Remove the smart board. (See Smart Board.)
3. Disconnect the touch panel ribbon and 3
connectors from the smart board.
4. Remove the 2 Phillips-head screws that attach
the display board to the control board frame,
then lift the display board off the frame.
Disconnect
Back Side
Front Side
Bottom Thermal Cut Out (TCO)
The bottom TCO is located on the bottom-right side
of the oven behind the control panel. The bottom
TCO is not resettable.
The bottom TCO's contacts open at approximately
284°F. An open bottom TCO may indicate that a
thermal event had taken place on the cooktop
below.
To remove the bottom TCO:
1. Remove the control panel assembly.
(See
Control Panel Assembly.)
Note: Both the insulated and non-insulated wire
terminal ends have locking tabs. The insulated wire
terminal end can be removed by inserting a small,
flat screwdriver between the insulator and the
terminal end on the locking tab side. Depress the
locking tab with the tip of the screwdriver to unlock
from the terminal while pulling electrical wire end off
the terminal.
2. Disconnect wiring from the bottom TCO.
3. Remove the Phillips-head screw attaching
the bottom TCO to the oven, then pull the TCO
forward.
Disconnect
Disconnect