5. Working with Stored Data
DMS 2 Operating Manual Page 153
Turning the Auto-Advance Feature Off or Adjusting
Advance Time
At times it may be beneficial to turn the Auto-Advance
feature off. Doing this means that each time a data point is
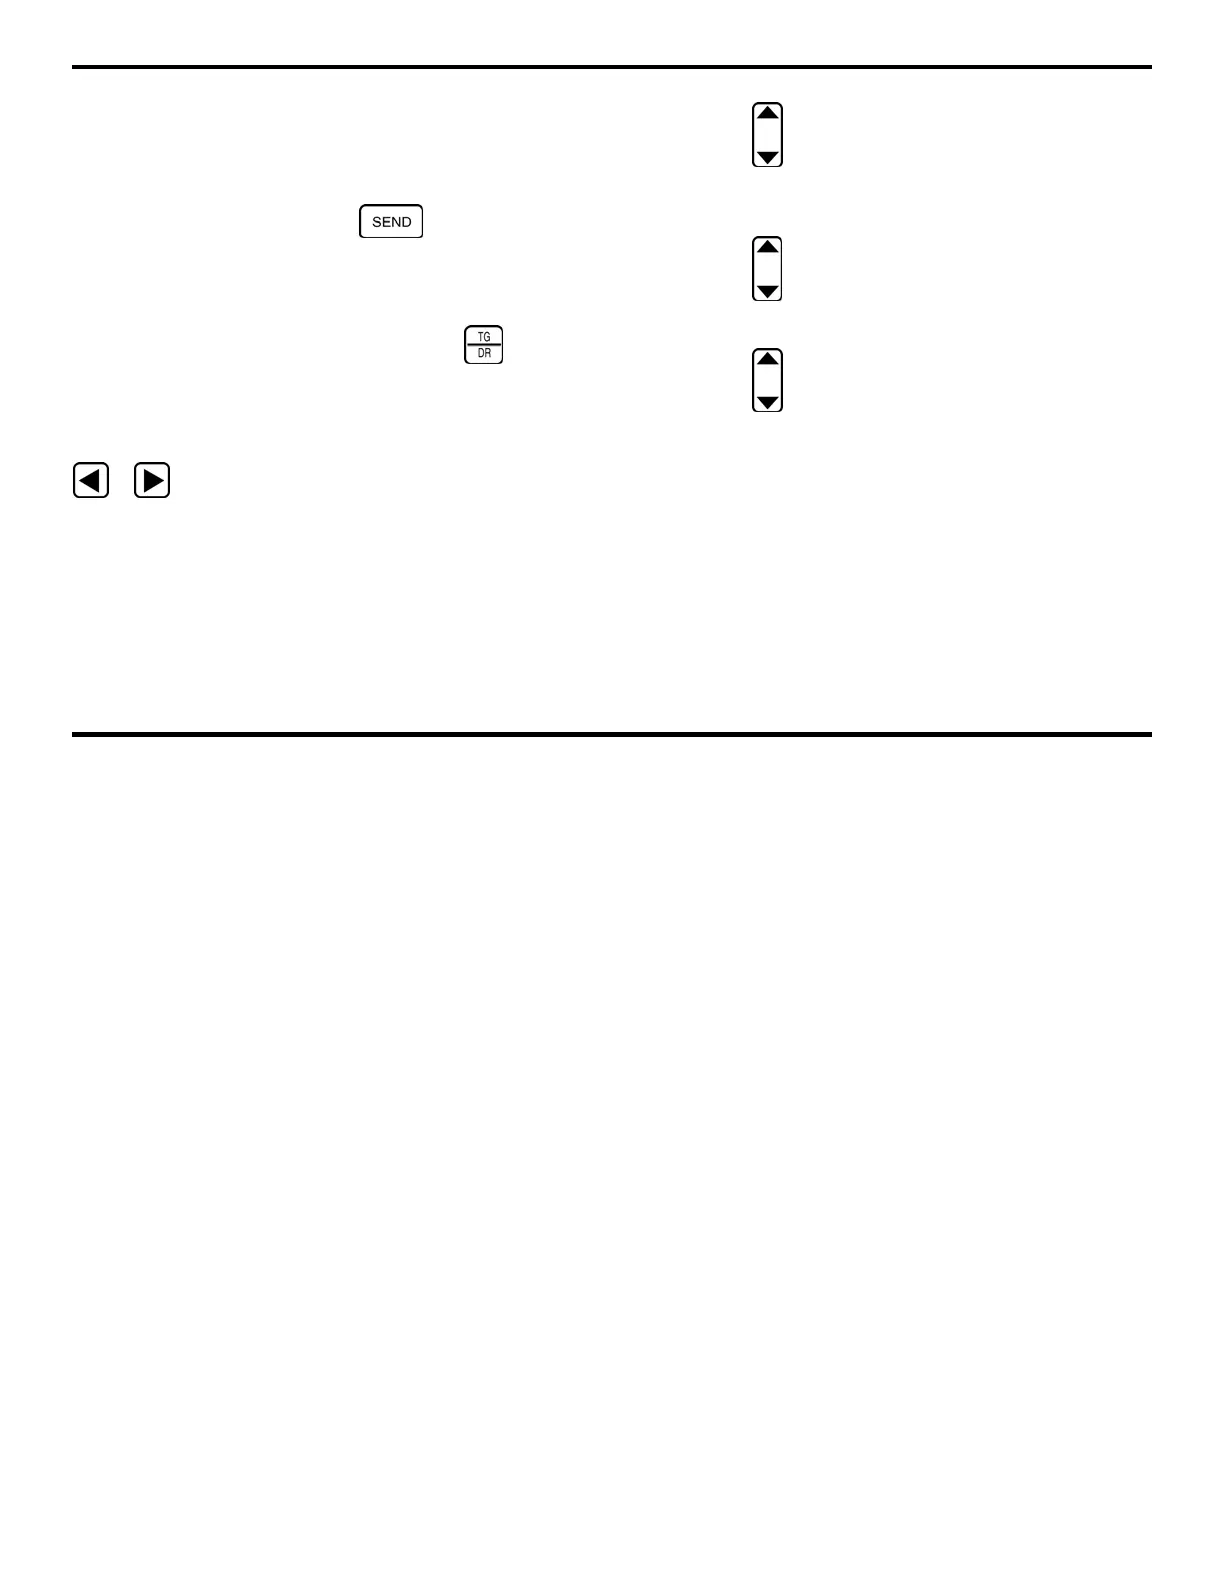
sent to the data file, by pressing
, the user must
manually advance the active file position using the File
Navigation Mode. This is done by adjusting the ADVANCE
TIME feature accessed through the RECORD Submenu.
Step 1:
Open the Data Recorder by pushing .
Step 2:
Make sure that the data file you wish to work with is
open.
Step 3:
Activate the RECORD Submenu by selecting it with
or so that it’s highlighted. Selections will appear
across the bottom of the display screen including ITEM and
VALUE.
Step 4:
Press below the selection titled ITEM. You’ll
note that several file characteristics are listed including
ADVANCE TIME.
Step 5:
Press below the selection titled ITEM until
ADVANCE TIME is highlighted.
Step 6:
Press below the selection VALUE. You’ll see
several selections including numerical values and OFF.
Step 7:
Set the ADVANCE TIME value.
ADVANCE TIME is the amount of time the instrument pauses,
before making the next file position active. Select a numerical
value of OFF. Note that the default condition, 0.0 seconds,
means that the instrument automatically advances to the next
data point without any built-in delay.