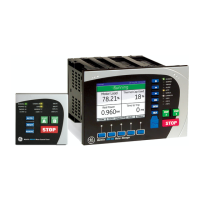
3 COMMISSIONING TEST MENU
The IED provides several test facilities under the COMMISSION TESTS menu heading. There are menu cells that
allow you to monitor the status of the opto-inputs, output relay contacts, internal Digital Data Bus (DDB) signals
and user-programmable LEDs. This section describes these commissioning test facilities.
3.1 OPTO I/P STATUS CELL (OPTO-INPUT STATUS)
This cell can be used to monitor the status of the opto-inputs while they are sequentially energised with a suitable
DC voltage. The cell is a binary string that displays the status of the opto-inputs where '1' means energised and '0'
means de-energised. If you move the cursor along the binary numbers, the corresponding label text is displayed
for each logic input.
3.2
RELAY O/P STATUS CELL (RELAY OUTPUT STATUS)
This cell can be used to monitor the status of the relay outputs. The cell is a binary string that displays the status of
the relay outputs where '1' means energised and '0' means de-energised. If you move the cursor along the binary
numbers, the corresponding label text is displayed for each relay output.
The cell indicates the status of the output relays when the IED is in service. You can check for relay damage by
comparing the status of the output contacts with their associated bits.
Note:
When the Test Mode cell is set to Contacts Blocked, the relay output status indicates which contacts would operate if
the IED was in-service. It does not show the actual status of the output relays, as they are blocked.
3.3
TEST PORT STATUS CELL
This cell displays the status of the DDB signals that have been allocated in the Monitor Bit cells. If you move the
cursor along the binary numbers, the corresponding DDB signal text string is displayed for each monitor bit.
By using this cell with suitable monitor bit settings, the state of the DDB signals can be displayed as various
operating conditions or sequences are applied to the IED. This allows you to test the Programmable Scheme Logic
(PSL).
3.4
MONITOR BIT 1 TO 8 CELLS
The eight Monitor Bit cells allows you to select eight DDB signals that can be observed in the Test Port Status cell or
downloaded via the front port.
Each Monitor Bit cell can be assigned to a particular DDB signal. You set it by entering the required DDB signal
number from the list of available DDB signals.
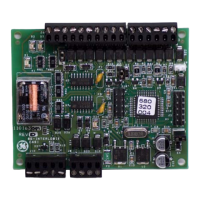
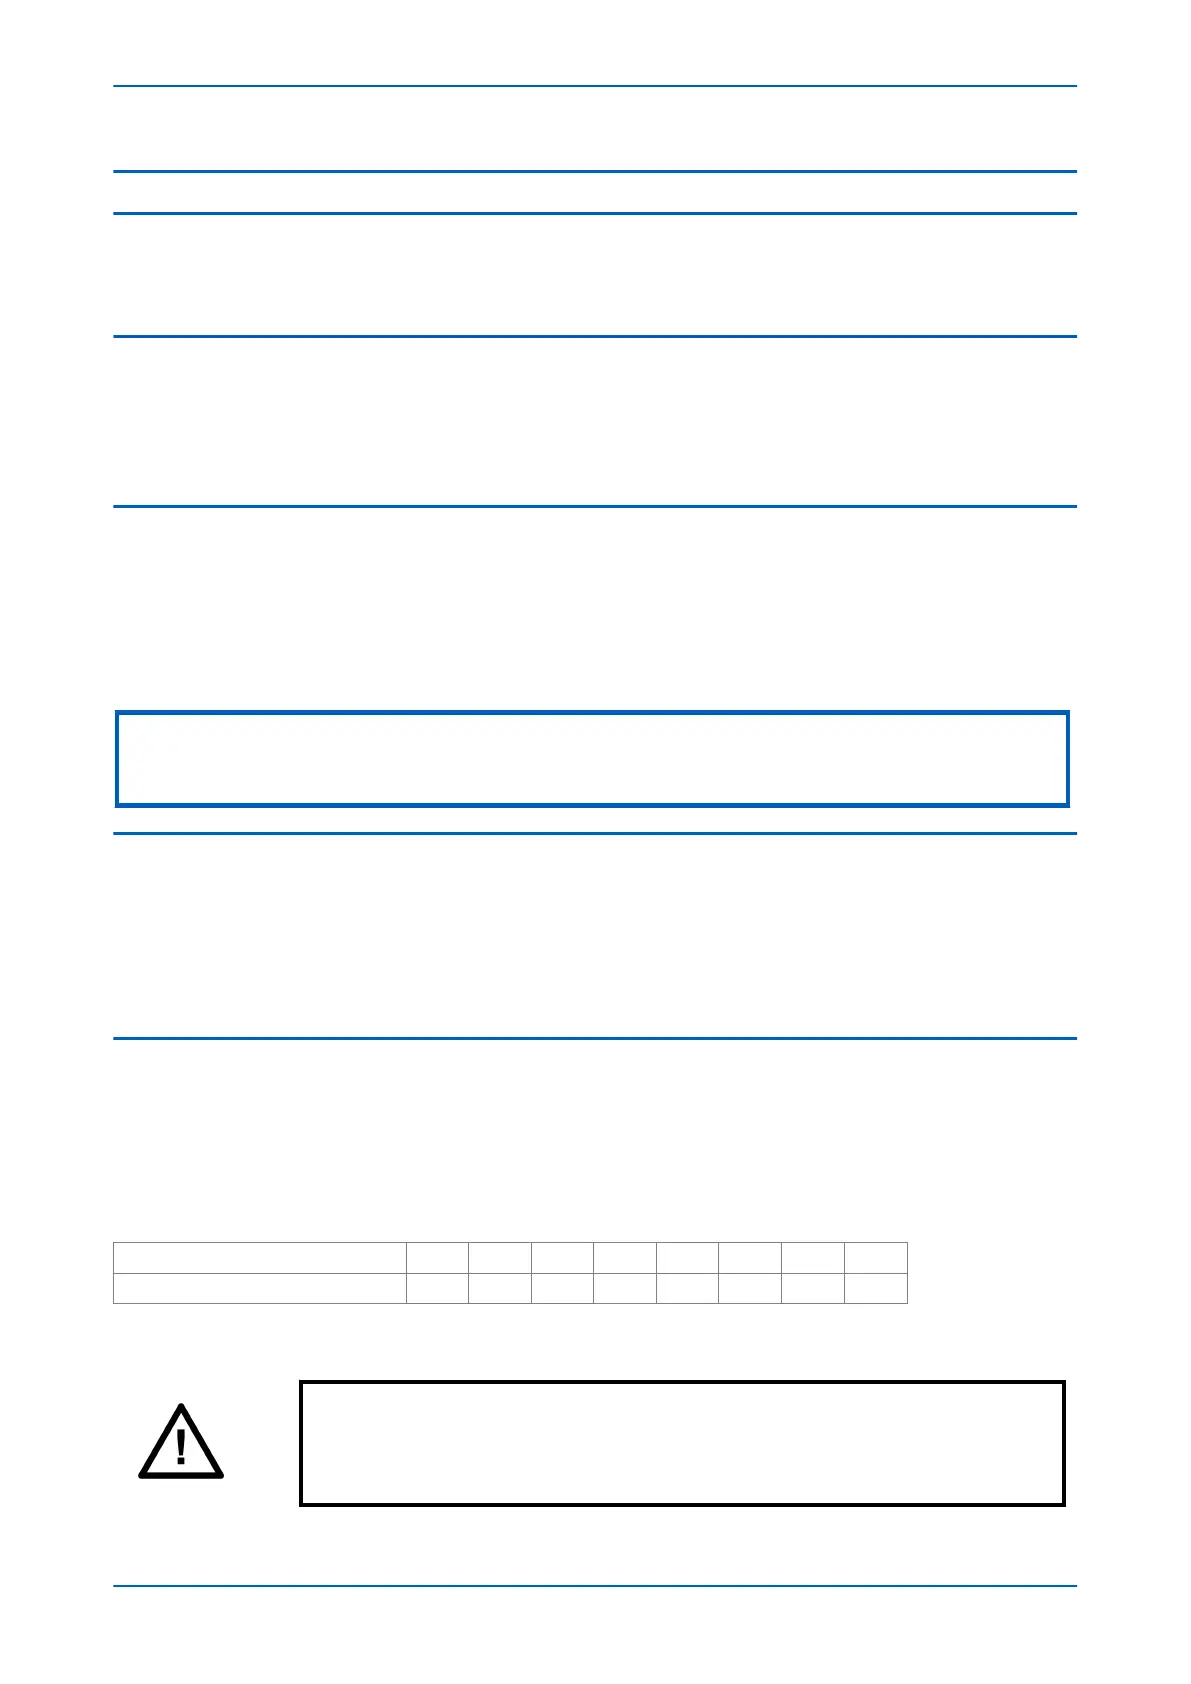
The pins of the monitor/download port used for monitor bits are as follows:
Monitor Bit
1 2 3 4 5 6 7 8
Monitor/Download Port Pin 11 12 15 13 20 21 23 24
The signal ground is available on pins 18, 19, 22 and 25.
Caution:
The monitor/download port is not electrically isolated against induced voltages on
the communications channel. It should therefore only be used for local
communications.
P543i/P545i Chapter 25 - Commissioning Instructions
P54x1i-TM-EN-1 637
 Loading...