Timed Baking
I19111 Ovet_
Using the
timed baking
and roasting
./eatures
N07N: lq)o& that spoil t,asil3', sueh as milk, t't,(gs,
.fish, stl{/.fir_<_s,poultry and pork, sholdd not be
alNwed to sit fin too*t"than l hour b@*_, or ({tier
eookit_g: Room temperature p*omotes the ,¢towth o/
harm/hi baeleria. Be sure that the oven ligg_tis ()ff
beeause heat/ram the bun will sped ha*'m/id bacteria
,_'ro'wth.
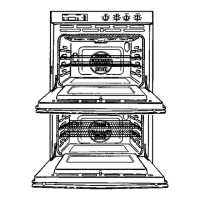
On double oven models, you call use timed
baking ill one oven while using selfZdean ill tile
other; you can also use timed baking in both
()veils at tile same time.
How to set
an immediate
start and
automatic
st@
Tke oven will turr_ on immediately and eooh Jbr
a sdeeted l(%g¢h (iftime. At the end o/the eooki*_g"
time the oven will turr_ qff alttomatieal@
Make sure the oven ch)ck shows the correct
time of day.
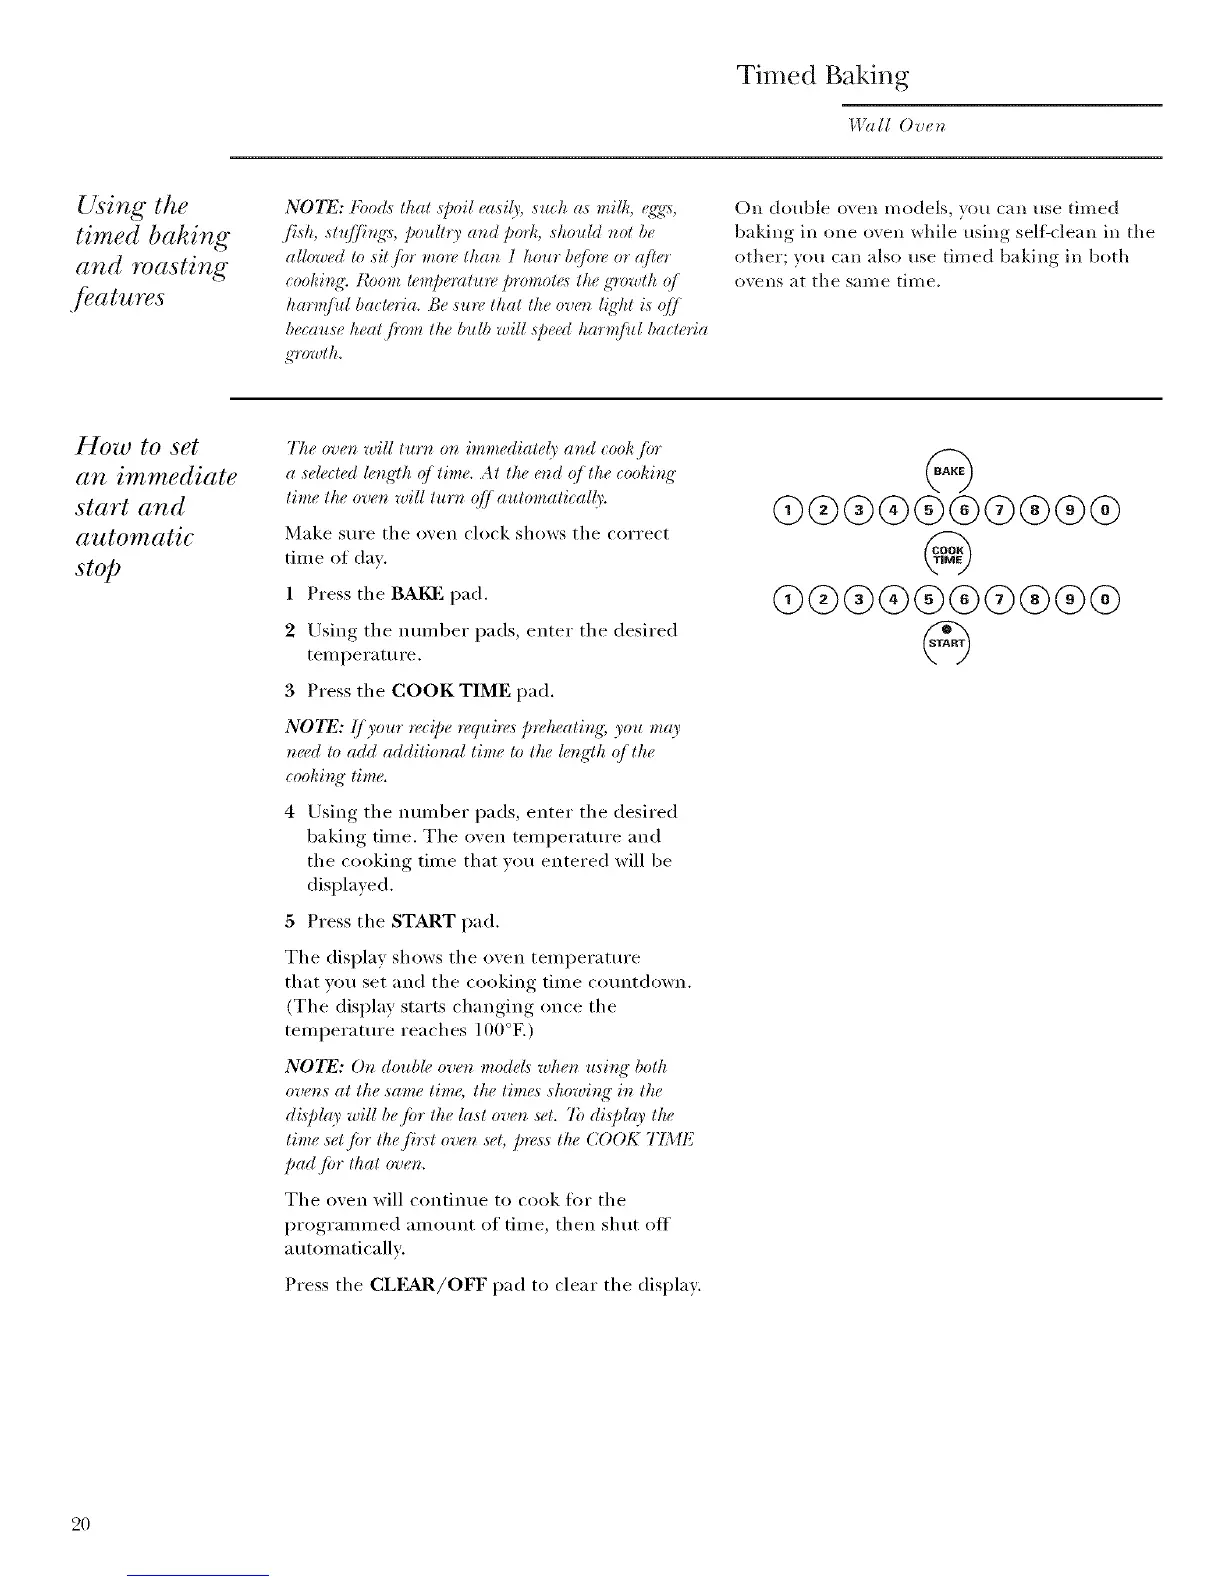
1 Press the BAKE pad.
2 Using the number pads, enter the desired
ten_perature.
3 Press the COOK TIME pad.
NOTE: IJ),our n,_ipe n, quire,_ prekeatit_g; you mc9'
need to add additional lime to the lengCh q/the
eookit_g" lime.
4 Using the number pads, enter the desired
baking time. The oven temperature and
the cooking time that you entered will be
displayed.
5 Press the START pad.
The display shows the oven temperature
that vou set and the cooking time countdown.
(The display starts changing once the
temperature reaches 100°E)
NOTE: Or_double oven models wker_ usir_K botk
ovens at the same tim6 the limes showb_ K in the
display will be/or the last oven ,s_¢t.7b display the
time set/or the fit:st oven s_,t;press the (;()OK TIME
pad.lot that oven.
The oven will continue to cook ti)r the
programmed amount of time, then shut off
a utomaticallv:
Press the CLEAR/OFF pad to clear the display.
Q®®®®®@®®@
@
@®®®®®@®®®
@
2O