Proofing
I,I?d[ Oven
How to set
the oven
jot proofing
(on some moddf)
The proofing flmture maintains a warn/
environment useflfl fin" rising yeast-leavened
products.
1 Place the covered dough in a dish in the
oven on shelf B or C.
NOTE: For best results, cover the dough with
a cloth or with greased plastic wrap (the plastic
may need to be anchored tmderneath the
container so the oven tim will not blow it off).
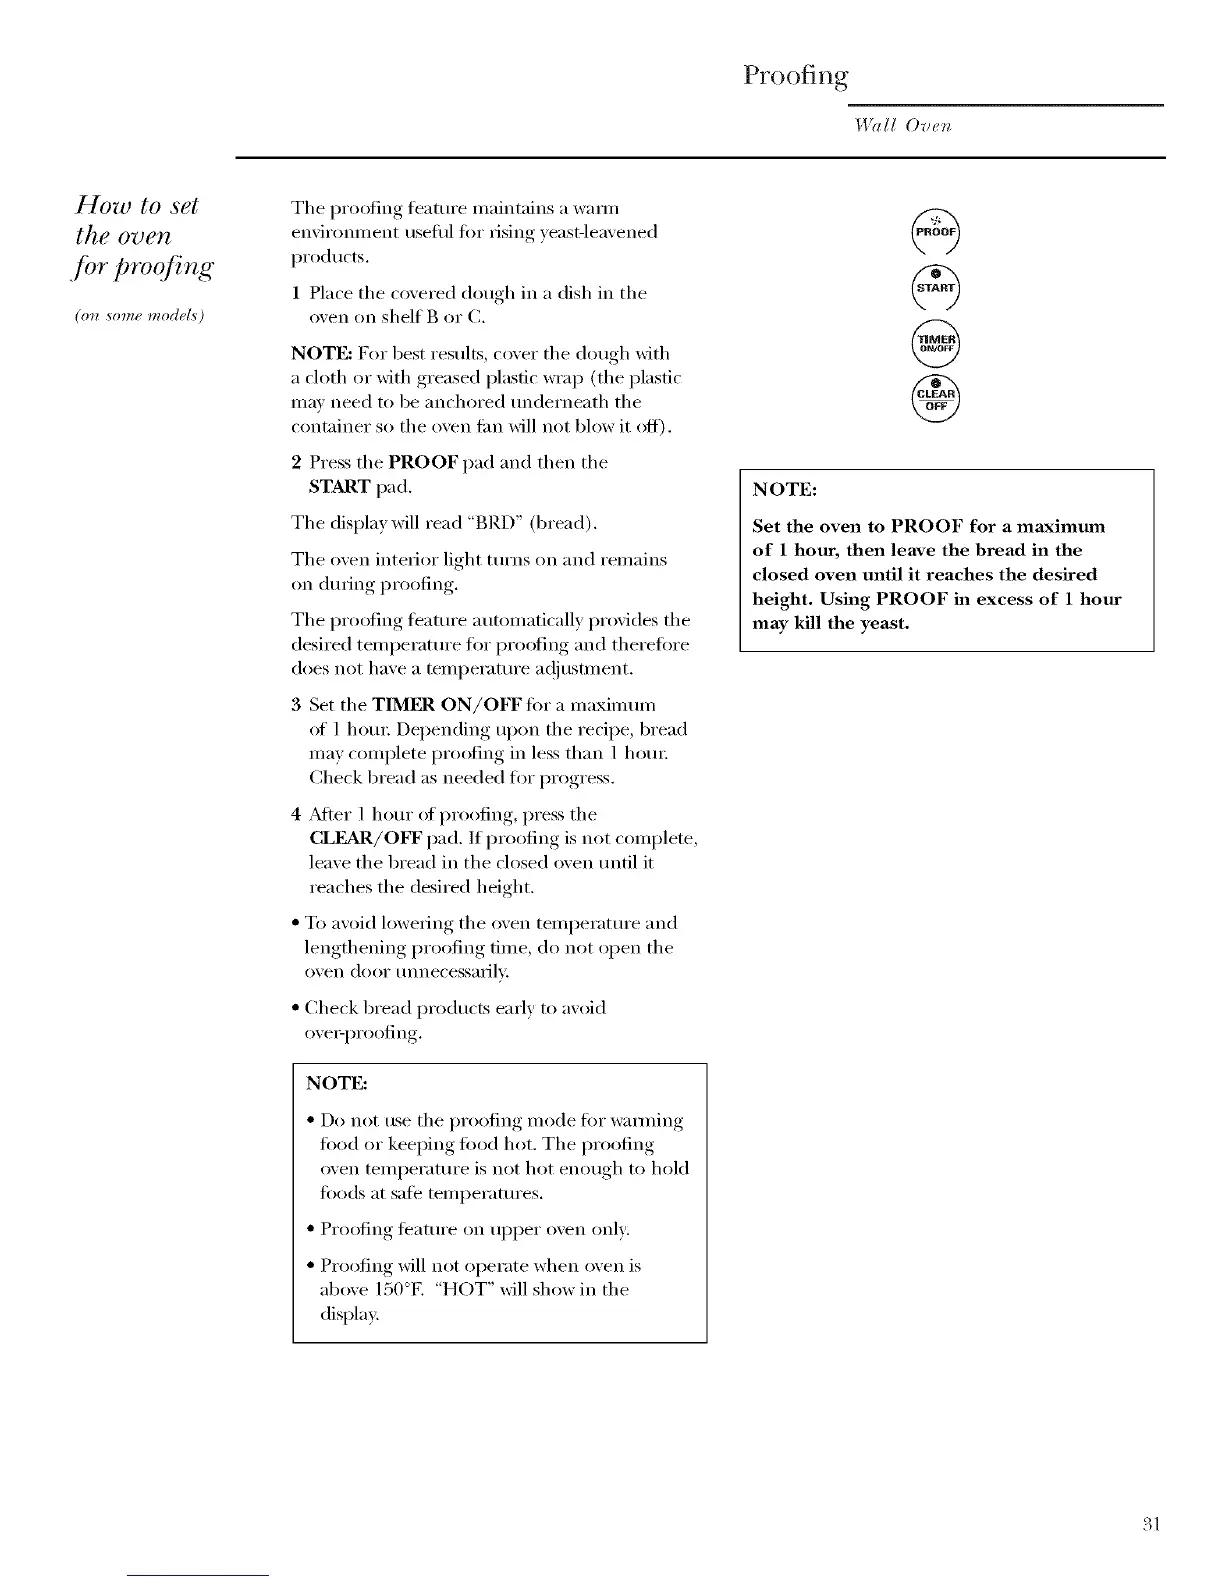
2 Press the PROOF pad and then the
START pad.
The display will read "BRD" (bread).
The oven interior light tm'ns on and remains
on during proofing.
The pro_Nng teature automatically provides tile
desired temperatm'e fin" proofing and therefin'e
does not have a temperature a(!jusnnent.
3 Set the TIMER ON/OFF fin" a maximmn
of 1 horn: Depending upon the recipe, bread
may complete proofing in less than 1 horn:
Check bread as needed fin" progress.
4 _Mter 1 hour Oil)roofing, press the
CLEAR/OFF pad. If proofing is not conlplete,
leave the bread in the closed oven tmtil it
reaches the desired height.
• To avoid lowering the oven temperatm'e and
lengthening proofing time, do not open the
oven door tlnnecessalJlv:
• Check bread products early to axoid
°xeI:l)F°°ling,,
NOTE:
• Do not use the p_x_ofing mode fin" wamfing
tood or keeping tood hot. The proofing
oven temperatm'e is not hot enough to hold
toods at sate temperatm'es.
• Proofing teatui'e oil upper oven only:
• Proofing will not operate when oven is
above 150°E "HOT" will show in the
displa>
NOTE:
Set the oven to PROOF for a maximum
of 1 hour, then leave the bread in the
closed oven until it reaches the desired
height. Using PROOF in excess of 1 hour
may kill the yeast.
31