– 12 –
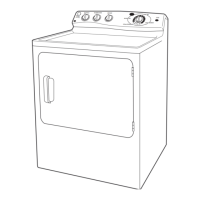
Dryer Components
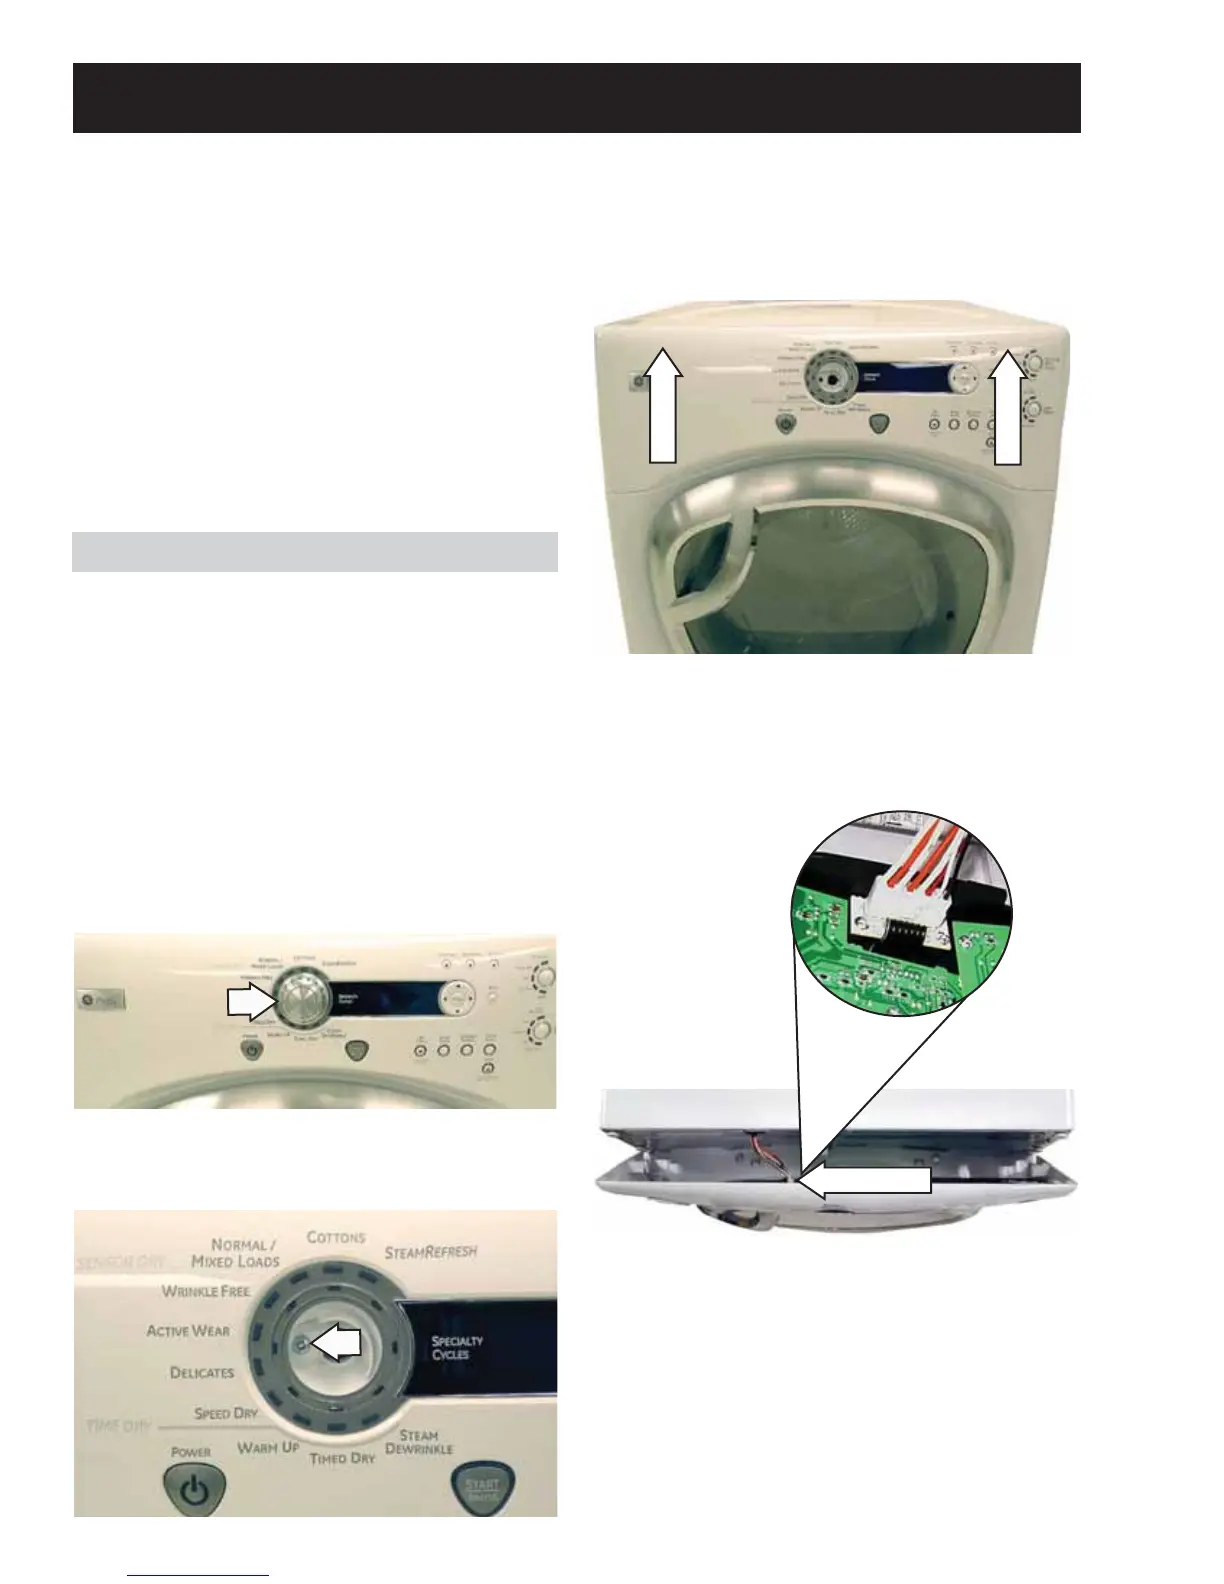
3. Raise the control panel vertically to disengage
the 4 key slots from the 4 grommets.
WARNING: Sharp edges may be exposed when
servicing the dryer. Use caution to avoid injury.
Wear Kevlar gloves or equivalent protection.
Caution: After any service, repair, or installation
of a new component, ensure all vapor shields are
properly installed.
Note: Combined Phillips-head/square-drive recess
screws are utilized throughout this appliance. Either
Phillips or square-drive screwdrivers can be used to
extract or install these screws.
2. Remove the Phillips-head screw located inside
the control knob recess.
4. Remove the wire harness from the user
interface board.
Disconnect
Control Panel
Removal of the control panel provides access to the
control board assembly. The control panel is held
in place with 1 screw behind the control knob and
4 key slots inside the control panel that engage 4
grommets (2 on each side) attached to the shield.
To remove the control panel:
Note: In the following step, the knob is held in place
by 4 plastic clips and may require some effort to
remove.
Remove the rotary knob by pulling straight out. 1.
Caution: To avoid marring the control panel, place
the panel face down on a protective surface.
 Loading...