08
8-17
OJX1089036LOJX1089036L
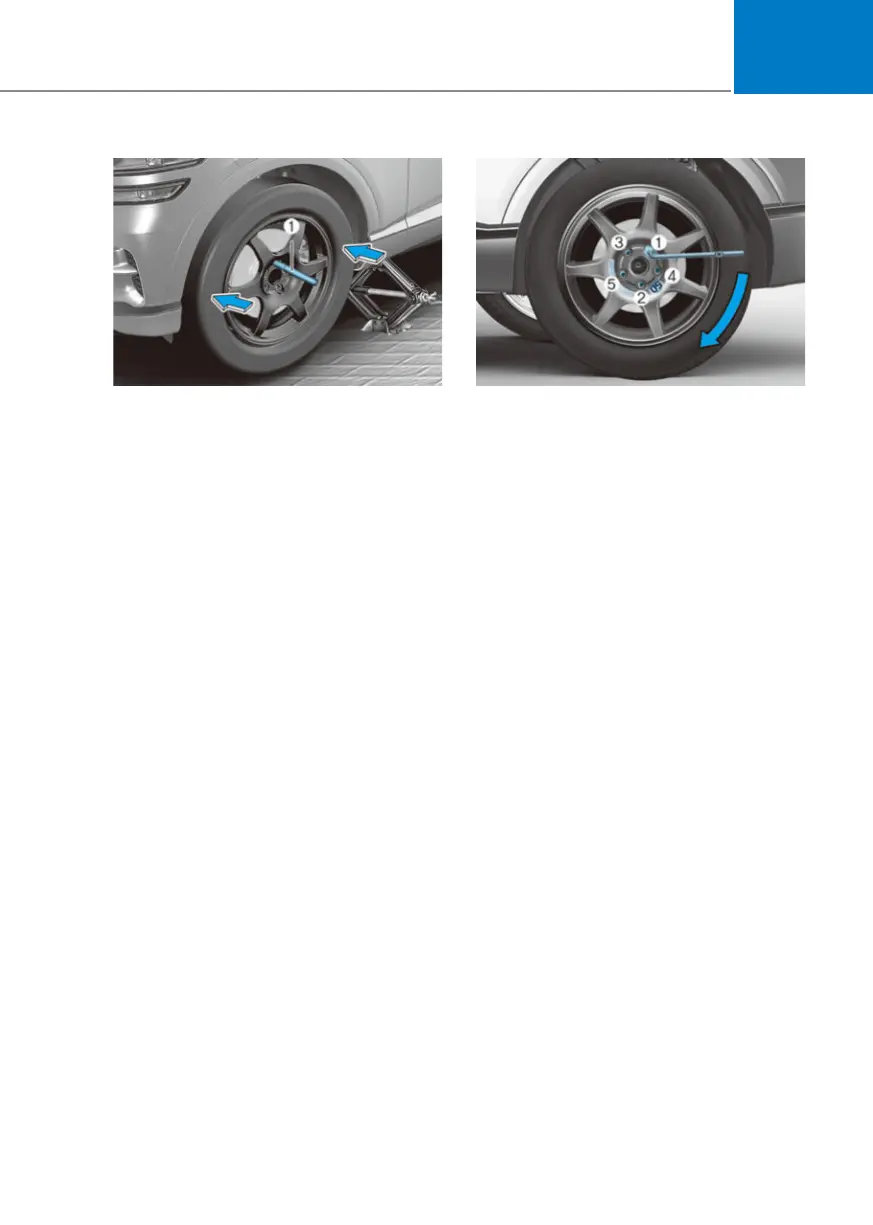
12.
Install the spare tyre over the
centering pin (1) and then push in the
spare tyre.
13.
Tighten the wheel bolts with your
fingers onto the studs with the smaller
end of the wheel bolts closest to the
wheel.
14.
Pull out the centering pin (1) and
tighten the last wheel bolt.
15.
Lower the vehicle to the ground
by turning the jack handle anti-
clockwise.
OJX1089013OJX1089013
16.
Use the wheel lug wrench to tighten
the wheel bolts in the order shown.
Double-check each wheel bolts until
they are tight. After changing tyres,
we recommend that an authorised
Retailer of Genesis Branded Products
tighten the wheel bolts to their proper
torque as soon as possible. The wheel
bolt should be tightened to 14~16
kgf.m (101~116 lbf.ft).
If you have a tyre gauge, check the
tyre pressure (see “Tyres and Wheels”
section in chapter 2 for tyre pressure
instructions.). If the pressure is lower or
higher than recommended, drive slowly
to the nearest service station and adjust
it to the recommended pressure. Always
reinstall the valve cap after checking
or adjusting tyre pressure. If the cap
is not replaced, air may leak from the
tyre. If you lose a valve cap, buy another
and install it as soon as possible. After
changing tyres, secure the flat tyre and
return the jack and tools to their proper
storage locations.
 Loading...