English
-23-
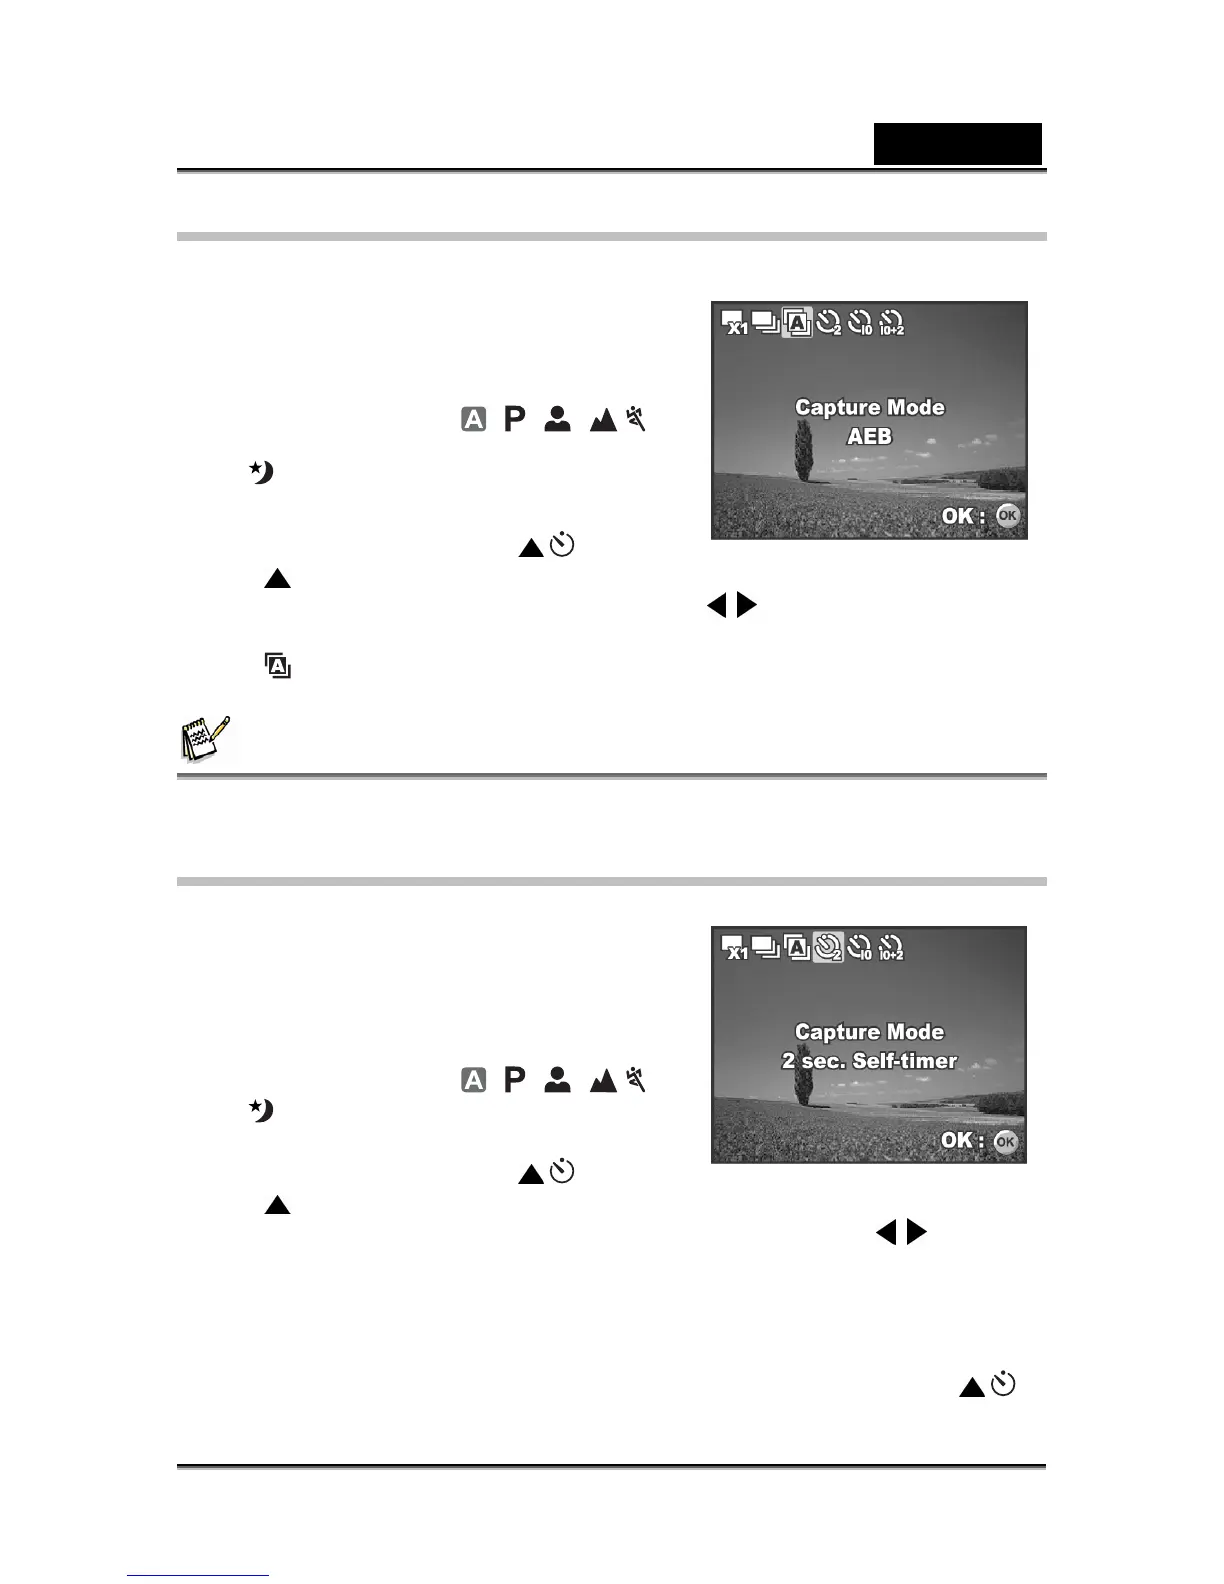
Auto Bracket
In this mode, the camera automatically changes the exposure within a set range to
take three shots after you press the shutter
release button once. Auto Bracket settings can
be combined with exposure compensation
settings to extend the adjustment range.
1. Rotate the mode dial to
, , , ,
or
.
2. Press the power switch to turn on the power.
3. Press the four-way controller (
/ ) and
use (
) to select [AEB]. You can also
change the setting using the four-way controller (
).
4. Press the OK button to confirm the setting.
The
indicator is displayed on the LCD monitor screen.
5. Press the shutter release button to capture the three images.
NOTE
In AEB mode, the flash mode will be set to Flash Off automatically.
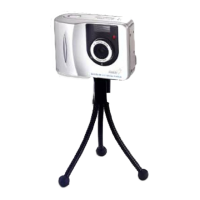
Setting the Self-timer
The self-timer can be used in situations such as
group shots. When using this option, you
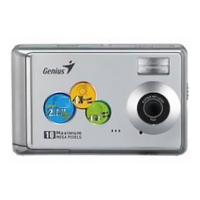
should either mount the camera on a tripod
(recommended) or rest it on a flat, level surface.
1. Secure the camera to a tripod or place it on
a stable surface.
2. Rotate the mode dial to
, , , ,
or
.
3. Press the power switch to turn on the power.
4. Press the four-way controller (
/ ) and
use (
) to select your desired self-timer
mode. You can also change the setting using four-way controller (
).
5. Press the OK button to confirm the setting.
6. Compose your scene and press the shutter release button.
The self-timer function is activated.
The photograph is then taken after the preset time.
To cancel the self-timer at any time, press the four-way controller ( / )
or press the shutter release button halfway. The table below will help you