13
Quality Control Tests
When to Perform a Control Solution Test?
● if you suspect your meter or test strips are not working properly;
● if your test results are not consistent with how you feel, or if you think
the results are not accurate;
● to practice the testing process; or
● if you have dropped or think you may have damaged the meter.
Test strips (c), control solution (supplied in GlucoRx X6 kit for glucose
strips) (d), lancing device (e) or sterile lancets (f) may not be included
in the kit. Please make sure you have all items needed for your test
beforehand.
Performing a Control Solution Test
To perform a control solution test, you will need: (b), (c) and (d).
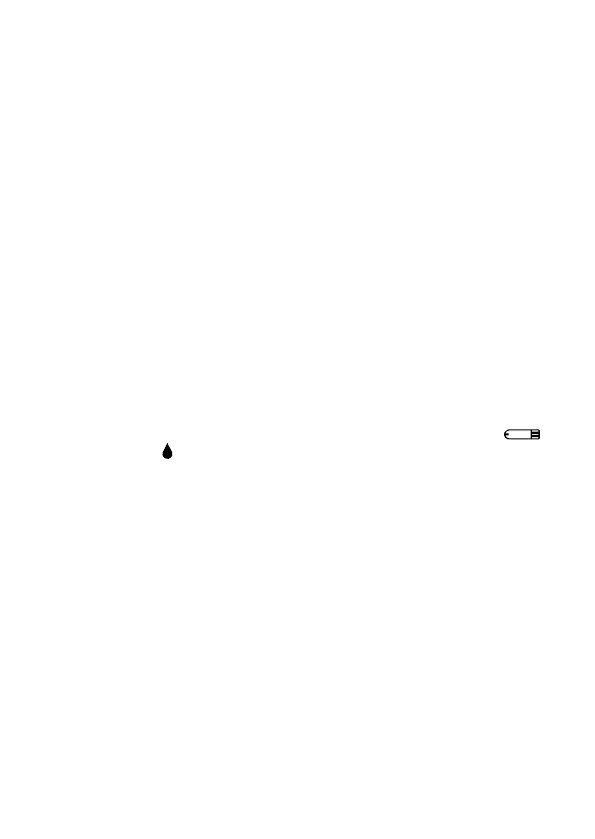
1. Insert your test strip to turn on the meter
Insert the test strip into the meter. Wait for the meter to display “
”
and a flashing “
” and either “GLU” / “KET” / “LAC” / “CHOL” / “TG” /
or “UA”.
2. Apply the relevant control solution (g)
Shake the control solution vial thoroughly before use. Squeeze out
the first drop and wipe it off, then squeeze out another drop and
place it on the tip of the vial cap. Hold the meter to move the test strip
absorbent hole to the solution droplet. Once the confirmation window
fills completely, the meter will begin counting down.
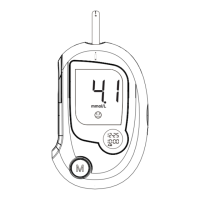
3. Read and compare the result
After counting down to 0, the control solution test result will appear
on the meter display. Compare this result with the range printed on
your test strip vial and it should fall within range. If not, please read
the instructions again and repeat the control solution test. With “QC”
displayed, the meter will store this test result in your meter memory
under “QC”.