19
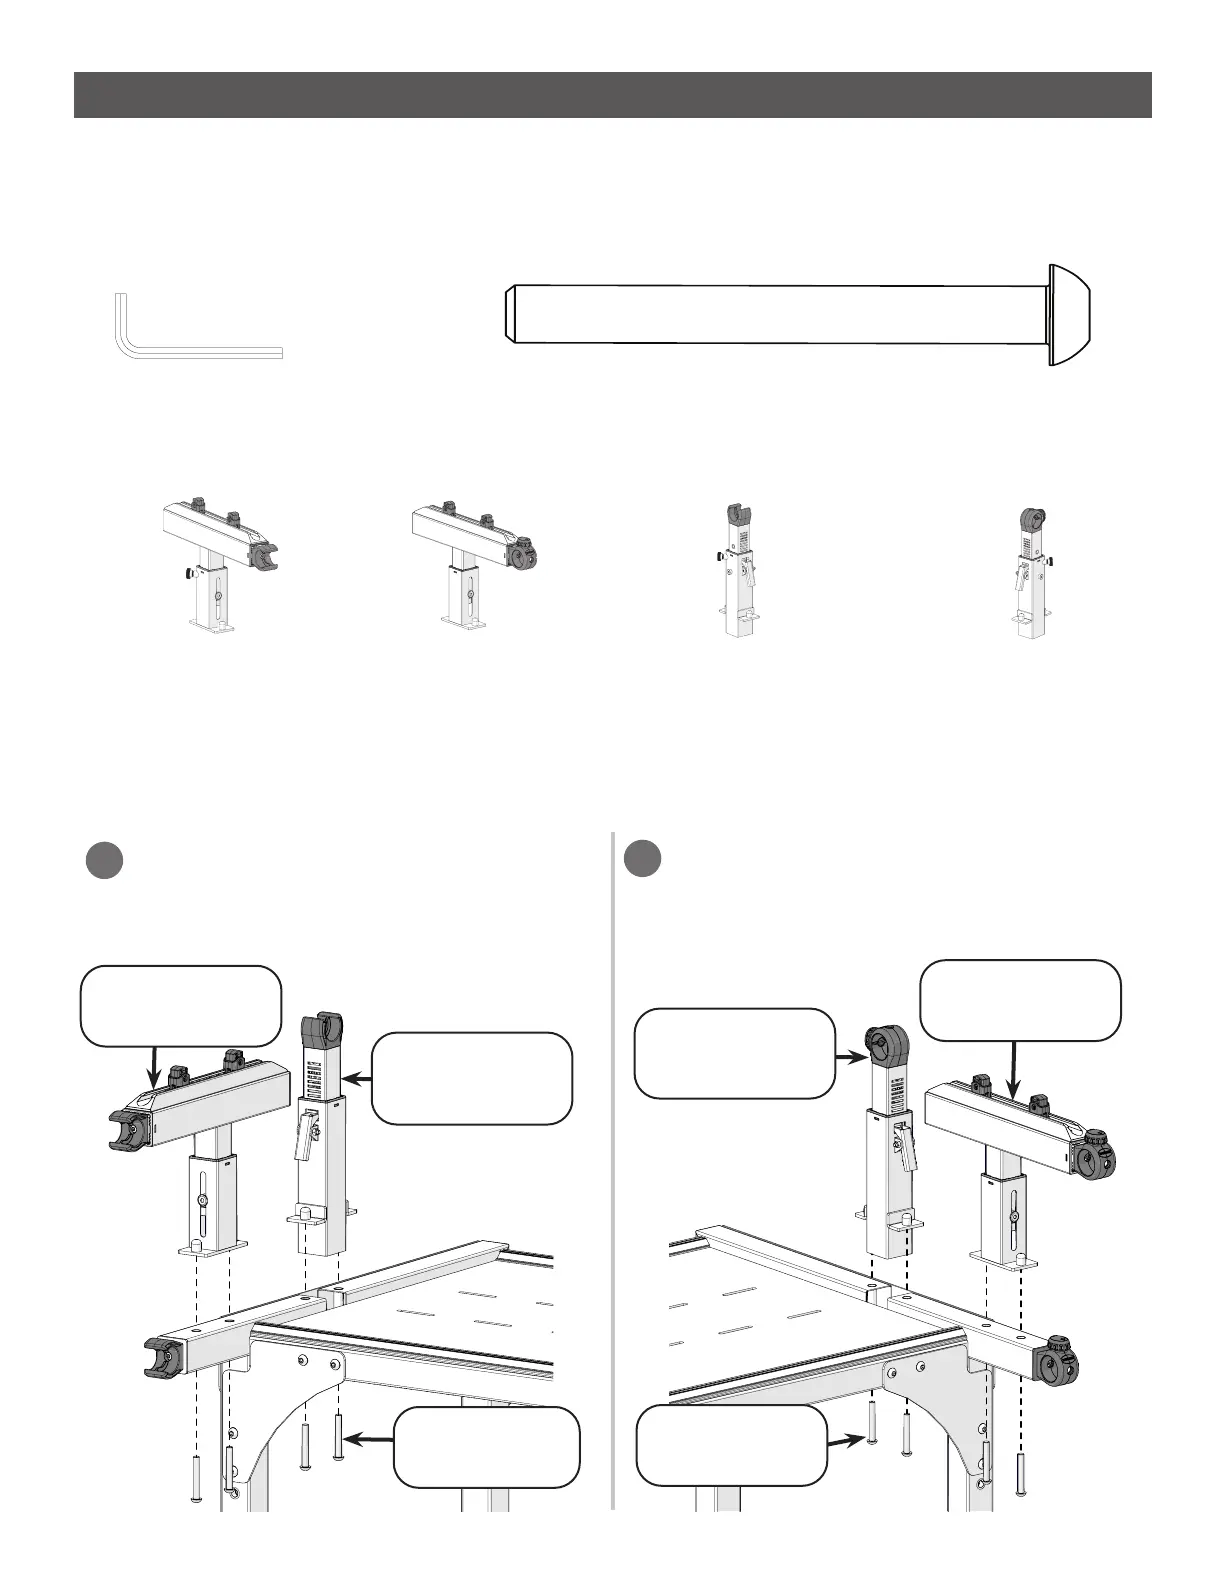
Step 4 - Assembling the Rail Supports
Parts & Tools Needed:
Allen Wrench 5 mm
Install the non-ratchet front rail arm
and take-up rail arm on the left side
of the frame using four M8 x 55 mm
SBHCS screws.
1
Instructions
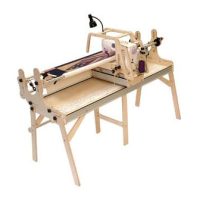
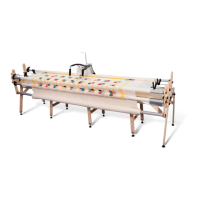
The rails hold and position the quilt on the frame.
Full Frame Assembly
Install the ratcheting front rail arm and
take-up rail arm on the right side of the
frame using four M8 x 55 mm SBHCS
screws.
2
Front Rail Arm
(Non-Ratcheting)
Front Rail Arm
(Ratcheting)
Take-Up Rail Arm
(Non-Ratcheting)
Take-Up Rail Arm
(Ratcheting)
(Box 1: Inner Box) (Box 1: Inner Box)
(Box 1: Inner Box)
(Box 1: Inner Box)
Front Rail Arm
(non-ratcheting)
Take-up Rail Arm
(non-ratcheting)
Take-up Rail Arm
(ratcheting)
Front Rail Arm
(ratcheting)
M8 x 55 mm
SBHCS (x4)
M8 x 55 mm
SBHCS (x4)
SBHCS Screw
M8 x 55 mm (x8)
(Box 1: Inner Box)