47
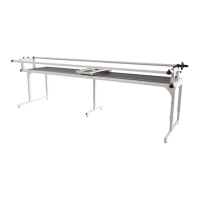
Crib Frame Assembly
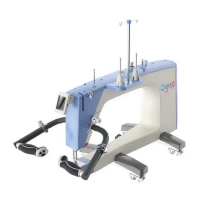
Step 5 - Installing the Bottom Carriage
Bottom Carriage
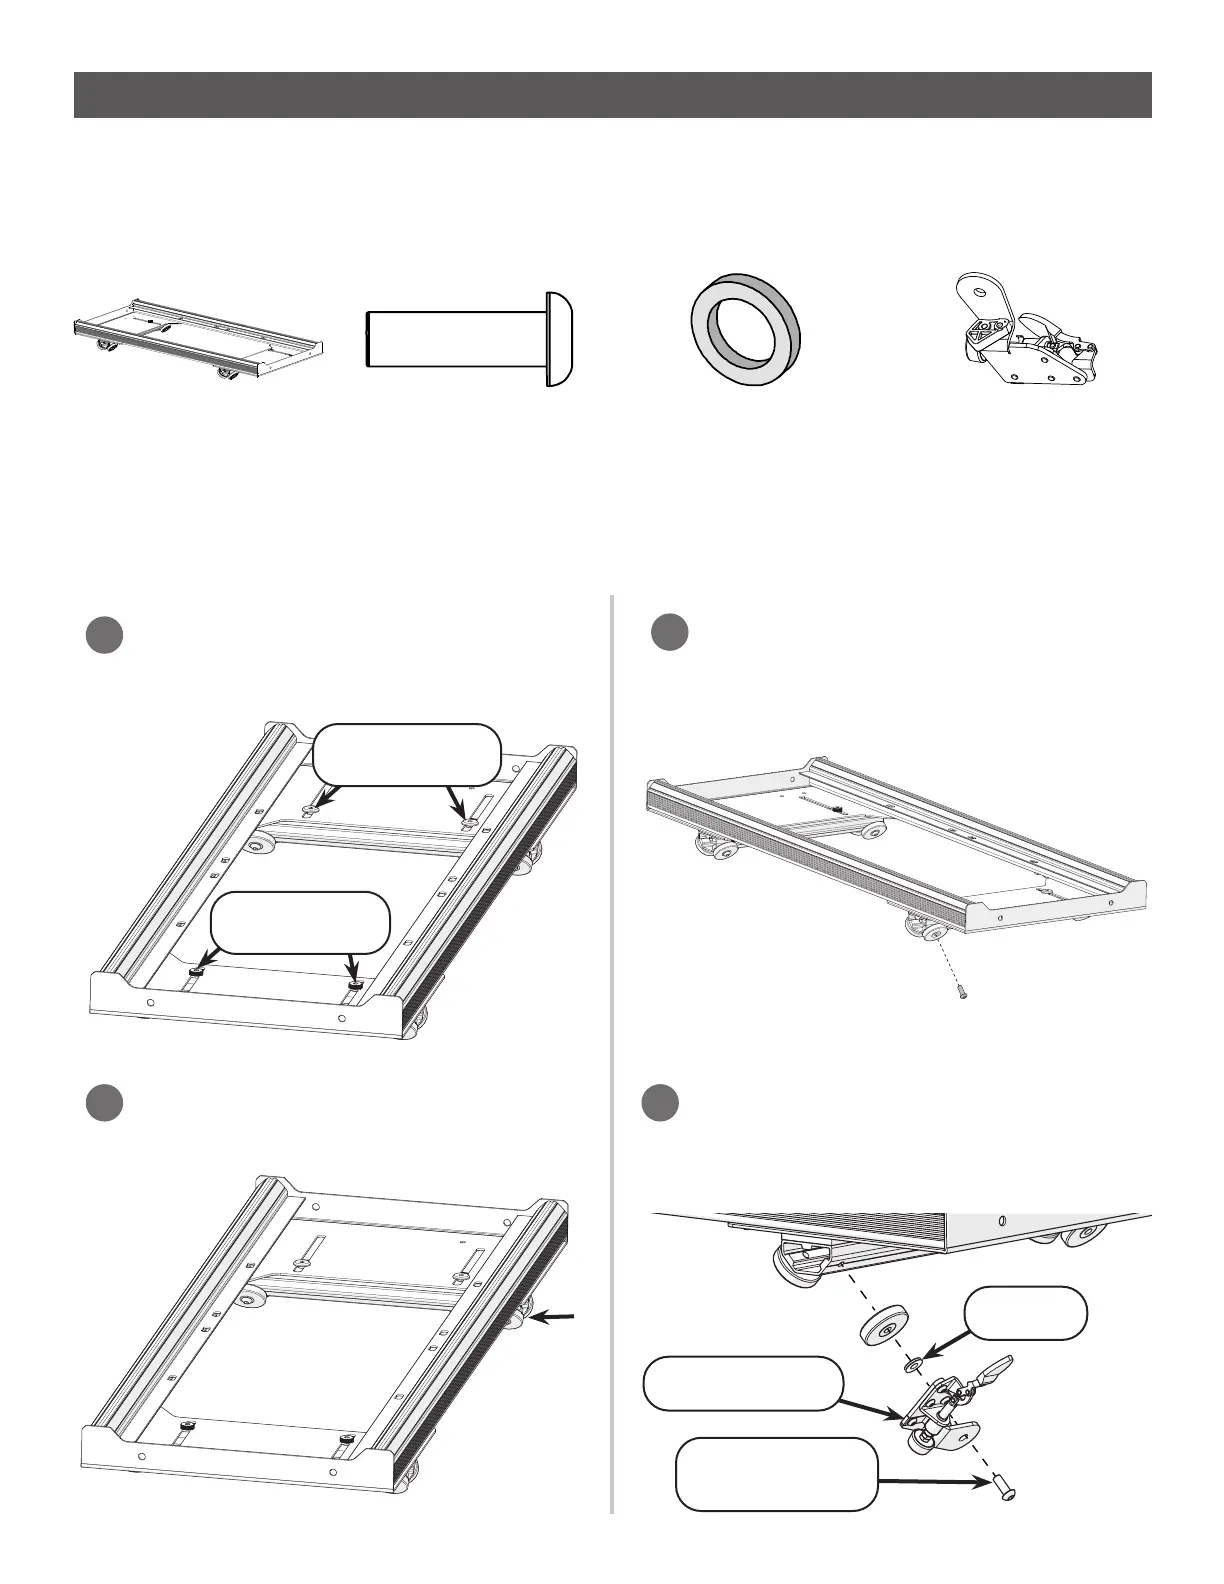
Parts & Tools Needed:
SBHCS Screw
M6 x 20 mm (x1)
Channel Lock
Washer (x1)
Channel Lock (x1)
Instructions
Install a channel lock on the bottom carriage before placing the bottom carriage onto the frame. The
channel locks assist with stitching straight lines.
Find the front of the bottom carriage. The
bolts at the front of the carriage have taller
heads.
1
Remove the screw attaching the outside,
right-rear wheel to the bottom carriage.
3
Screw the channel lock into the right-rear
bottom carriage wheel.
4
Taller Bolts
Shorter Bolts
Locate the right-rear bottom carriage
wheels.
2
(Box 4)
(Box 4)
(Box 4)
(Box 4)
M6 x 20 mm
SBHCS
Channel Lock
Washer