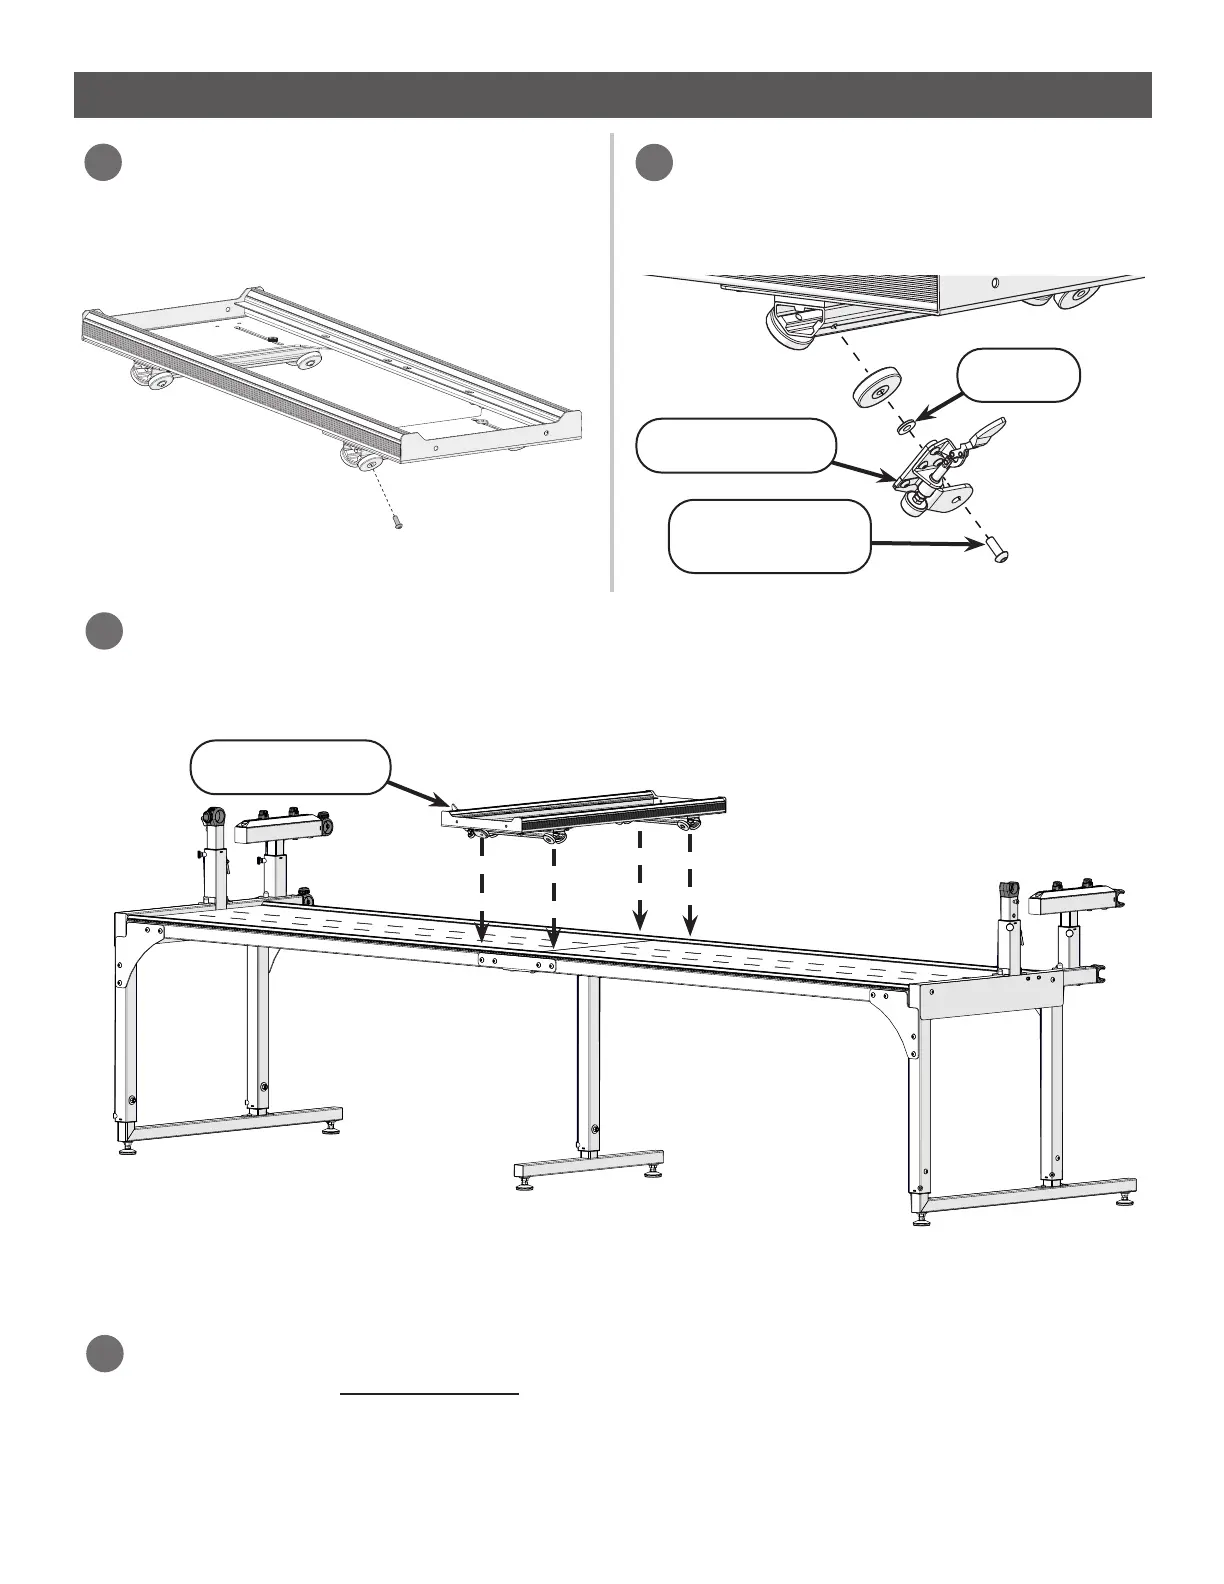
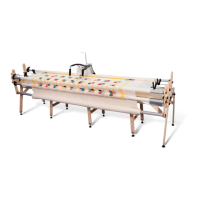
21
Remove the screw attaching the outside,
right-rear wheel to the bottom carriage
using the 4 mm Allen wrench.
3
Screw the channel lock and washer onto
the right-rear bottom carriage wheel with
an M6 x 20 mm SBHCS and 4 mm Allen
wrench.
4
With the channel lock in the open position, place the bottom carriage onto the frame so the
wheels slide over the frame track. The channel lock should be positioned on the rear track.
5
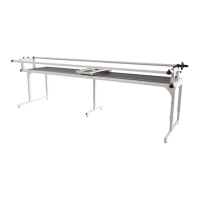
Installing the Bottom Carriage (Continued)
Full Frame Assembly
M6 x 20 mm
SBHCS
Channel Lock
Washer
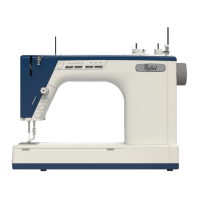
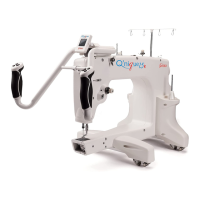
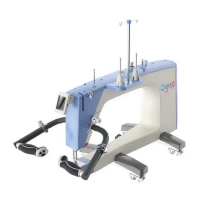
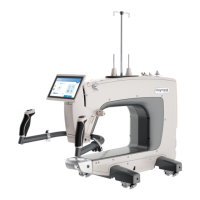
STOP HERE if you are using a top plate and home sewing machine. Please follow the
instructions in your top plate manual. When nished, skip to “Step 7 - Leveling the Frame” on
page 24. If you are using a quilting machine, continue on to “Step 6 - Installing the Quilting
Machine” on page 22.
6
Channel Lock