45
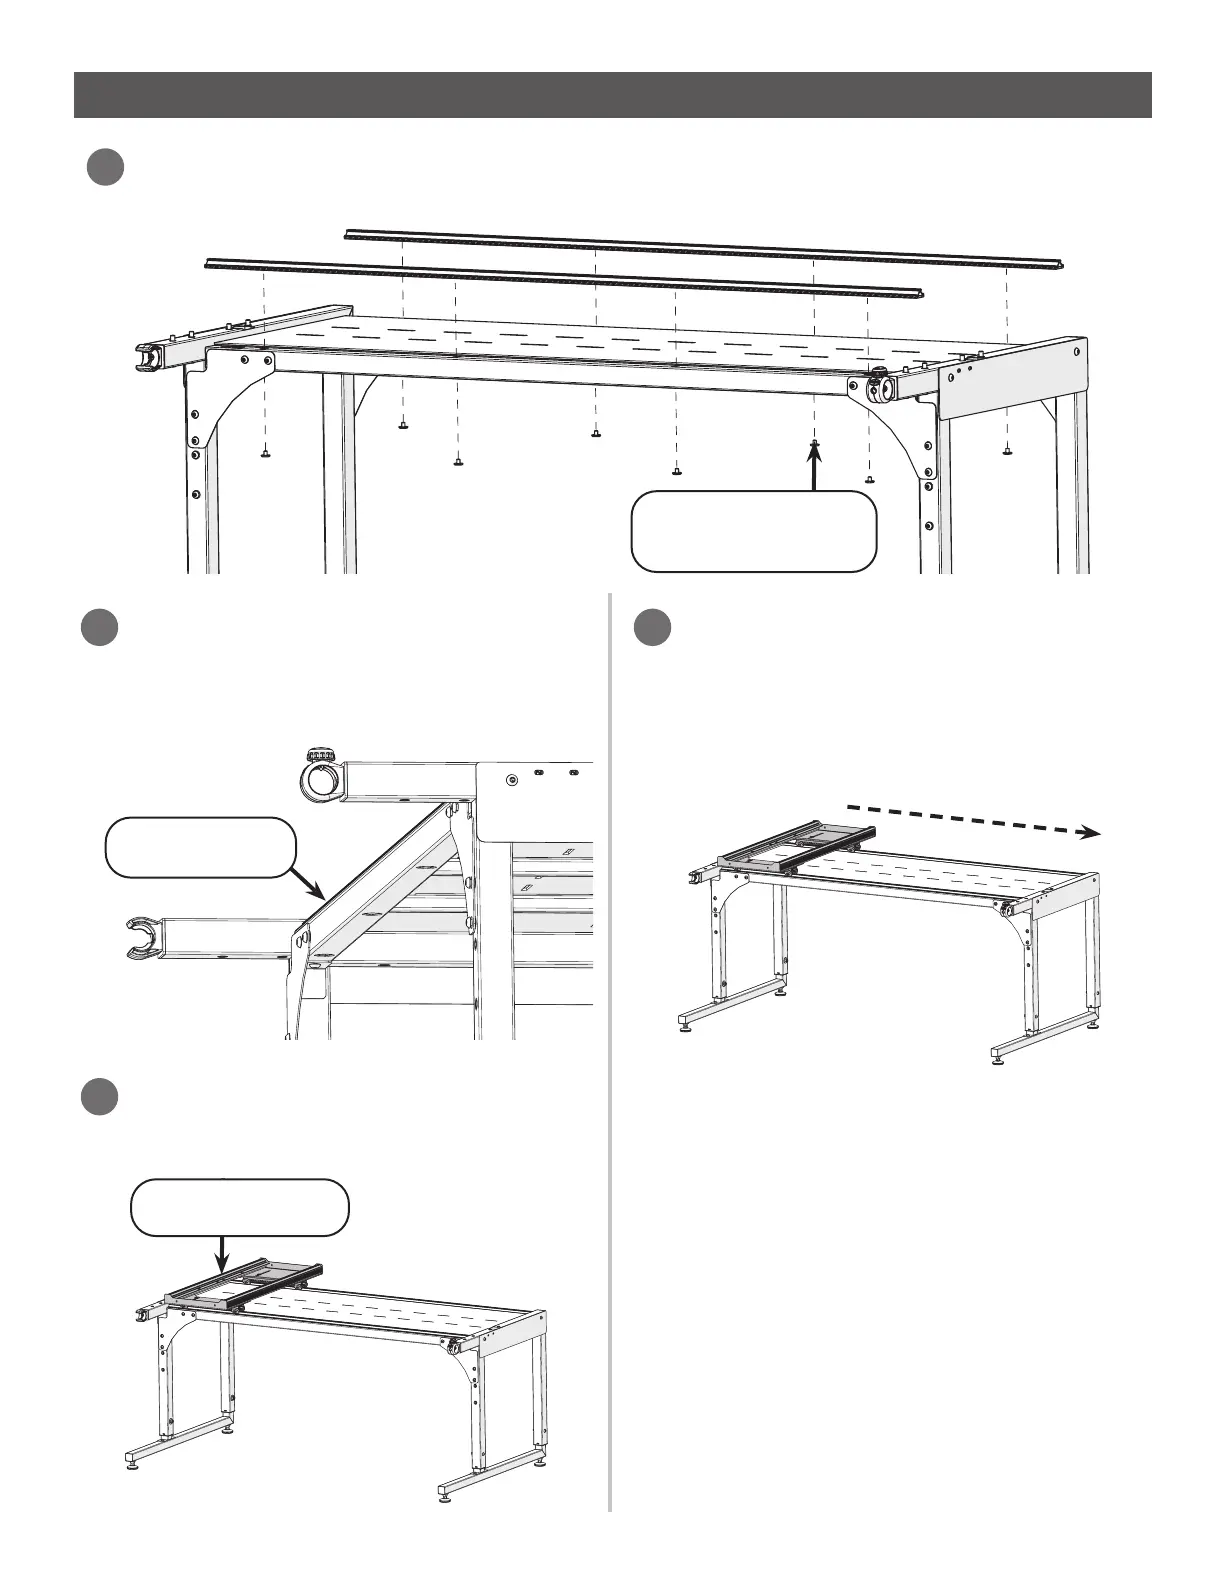
Loosely connect the track supports to the frame with the M6 x 10 mm connector bolts
(removed in “Step 2 - Building the Frame Table” on page 41) and the 4 mm Allen wrench.
2
Connector Bolts
M6 x 10 mm (x16)
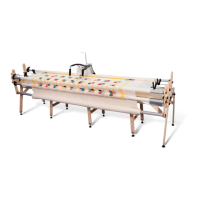
Crib Frame Assembly
Installing the Tracks(Continued)
Bottom Carriage
Carefully place the bottom carriage onto
the frame.
4
Line up the front track support as close
to the edge of the frame as possible and
tighten the connector bolts.
3
Front Track
Support
Slowly slide the carriage from one side of
the frame to the other. Tighten each of the
connector bolts in the back as the bottom
carriage passes over them.
5