59
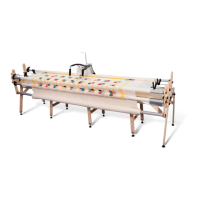
Crib Frame Assembly
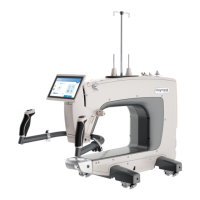
Setting the Rail Distances (Continued)
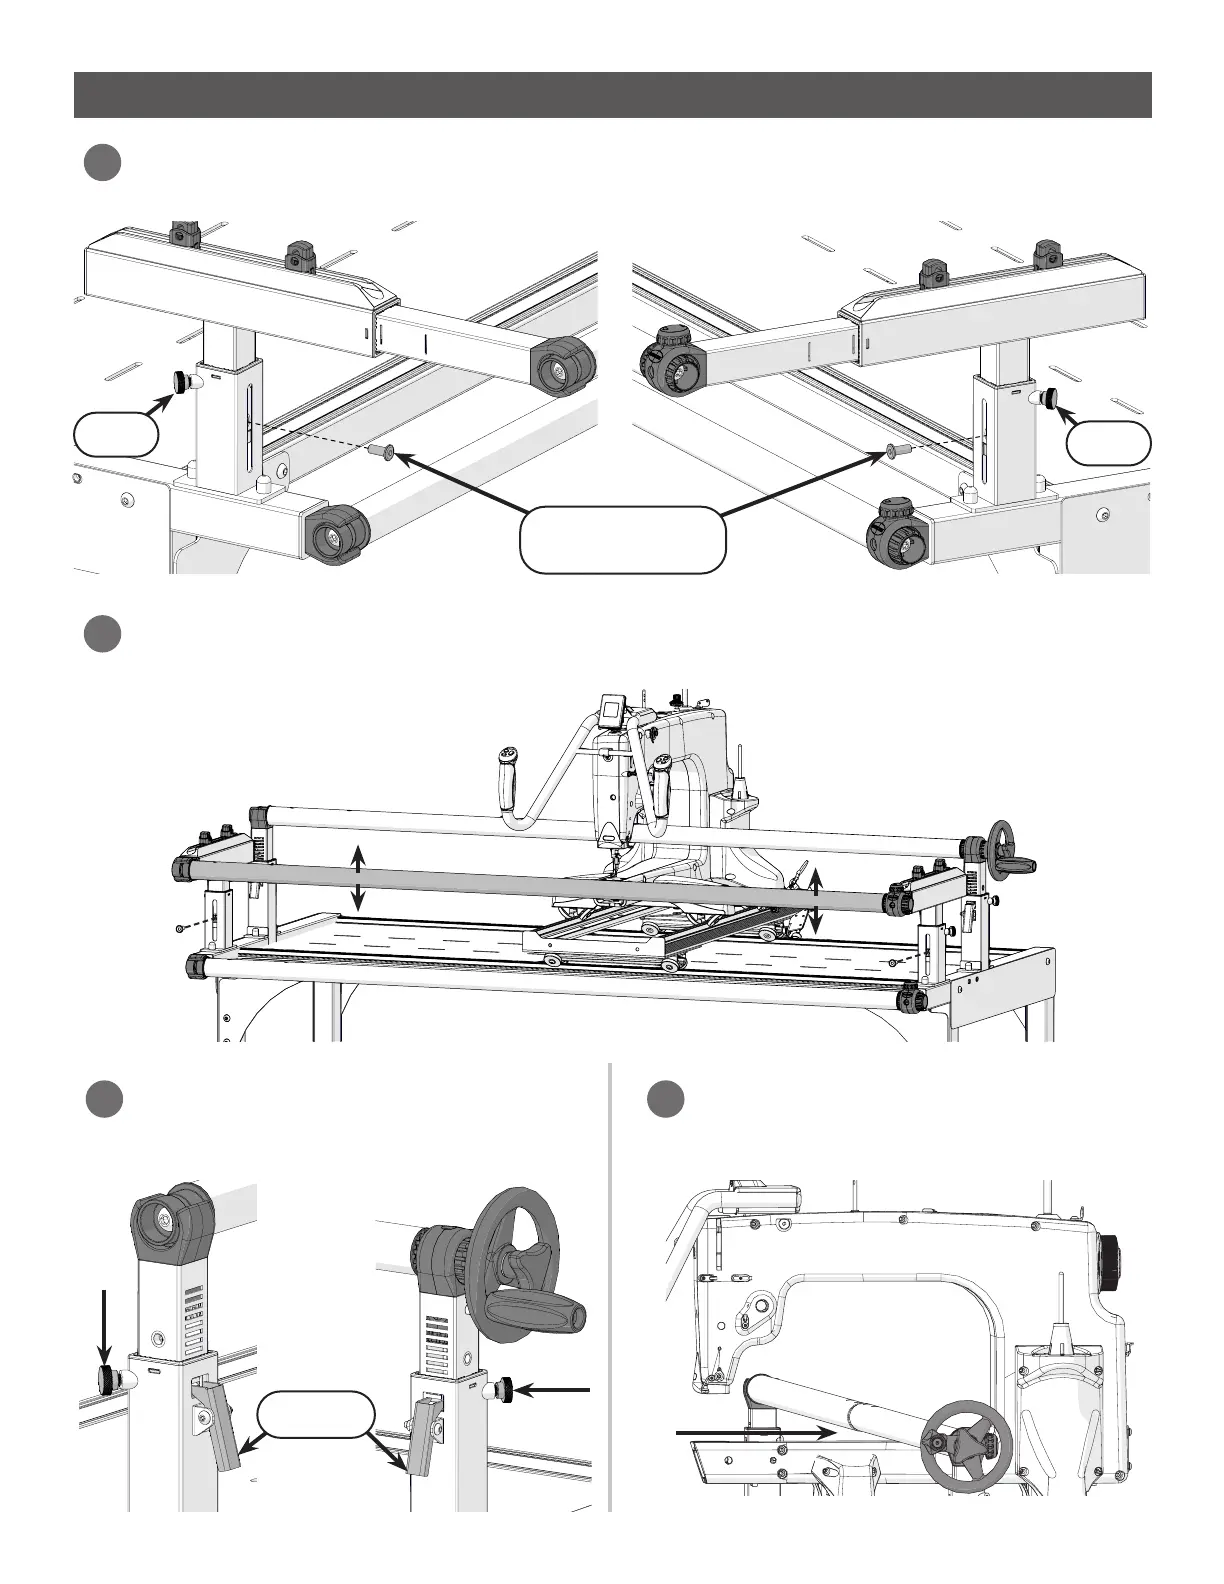
Loosen the knobs on both take-up rail
arms. Press in on the levers to set the rail
height.
6
4
Press in the levers to raise or lower the front rail. Set the top of the rail so it is level with the
machine’s needle plate. When the height is set, re-tighten the height knobs.
5
Set the take-up rail so there is just enough
space to slide a nger between it and the
machine. Re-tighten the knobs.
7
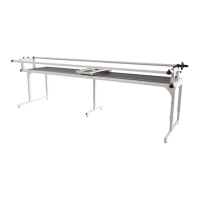
To set the front rail height, turn the knobs on the necks of both front rail arms, and remove the
M8 x 20 mm connector bolts from the rail arms with the 5 mm Allen wrench.
M8 x 20 mm
Connector Bolt
Knob
Knob
Lever