Operation
Pressure Relief Procedure
PRESSURIZED
EQUIPMENT HAZARD
The system pressure must be manually relieved to
prevent the system from starting or spraying acci
-
dentally. T
o reduce the risk of an injury from acci
-
dental spray from the gun, splashing fluid, or mov
-
ing parts, follow the
Pressure Relief Procedure
whenever you:
D
are instructed to relieve the pressure,
D
stop spraying,
D
check or service any of the system equipment,
D
or install or clean the spray nozzle.
WARNING
1. T
urn of
f the air and fluid supply to the gun.
2. T
rigger the gun into a grounded metal waste con
-
tainer to relieve system pressures.
Filter the Fluid
Strain
or filter the paint to remove coarse particles and
sediment, then check the viscosity of your paint. Install
the proper needle/nozzle set and air cap combination
selected from the charts on page 5.
Adjusting the Spray Pattern (See Fig. 3)
The
desired pattern, volume of fluid output and degree
of atomization can easily be obtained by regulating the
fan adjustment valve (5) and the fluid adjustment knob
(6).
Adjust the Pattern Size
T
urn the fan adjustment valve (5) out (counterclock
-
wise) to make the spray pattern wider
.
Adjust the Fluid Output V
olume for Pressure Feed
T
urn the fluid adjustment knob (6) out all the way
(counterclockwise). Then adjust the air pressure at the
pressure feed tank until the desired fluid flow is ob
-
tained. For the final adjustment, turn the fluid adjust
-
ment knob in (clockwise) to reduce the volume of fluid
output until the desired results are obtained.
Adjust the Fluid Output V
olume for Siphon Feed
T
urn the fluid adjustment knob (6) in (clockwise) to re
-
duce the volume of fluid output, and turn it out (coun
-
terclockwise) to increase the fluid output.
NOTE:
If the fluid adjustment knob is turned in all the
way
, the gun will emit only air
.
T
est the Spray Pattern
Hold the gun about 8 in. (200 mm) away from the sur
-
face of the test piece. Adjust the air pressure to the
gun until proper atomization is achieved. Use the low
-
est possible air pressure to obtain the desired results.
NOTE:
The air adjustment valve can also be used to
regulate air at the gun.
Continuous Spraying
Leave the fan and fluid adjustment valves in the full
open positions. This provides maximum fluid flow and
prevents premature wear on the fluid nozzle. Use
separate regulators to control the air and fluid flow to
the gun.
Short-term Operations
The pattern size and fluid output volume may be re
-
duced by turning in the fan and fluid adjustment
valves.
Spray Pattern Direction
WARNING
T
o reduce the risk of serious injury whenever you
are instructed to relieve pressure, always follow the
Pressure Relief Procedure
at left.
The direction of the spray pattern is determined by the
position of the air cap (3). The horns of the air cap
should be the opposite direction (horizontal or vertical)
of the desired direction of the spray pattern. T
o change
the spray pattern direction, first
relieve the pressure
.
Then loosen and turn the air cap to the desired posi
-
tion and hand tighten the air cap securely
.
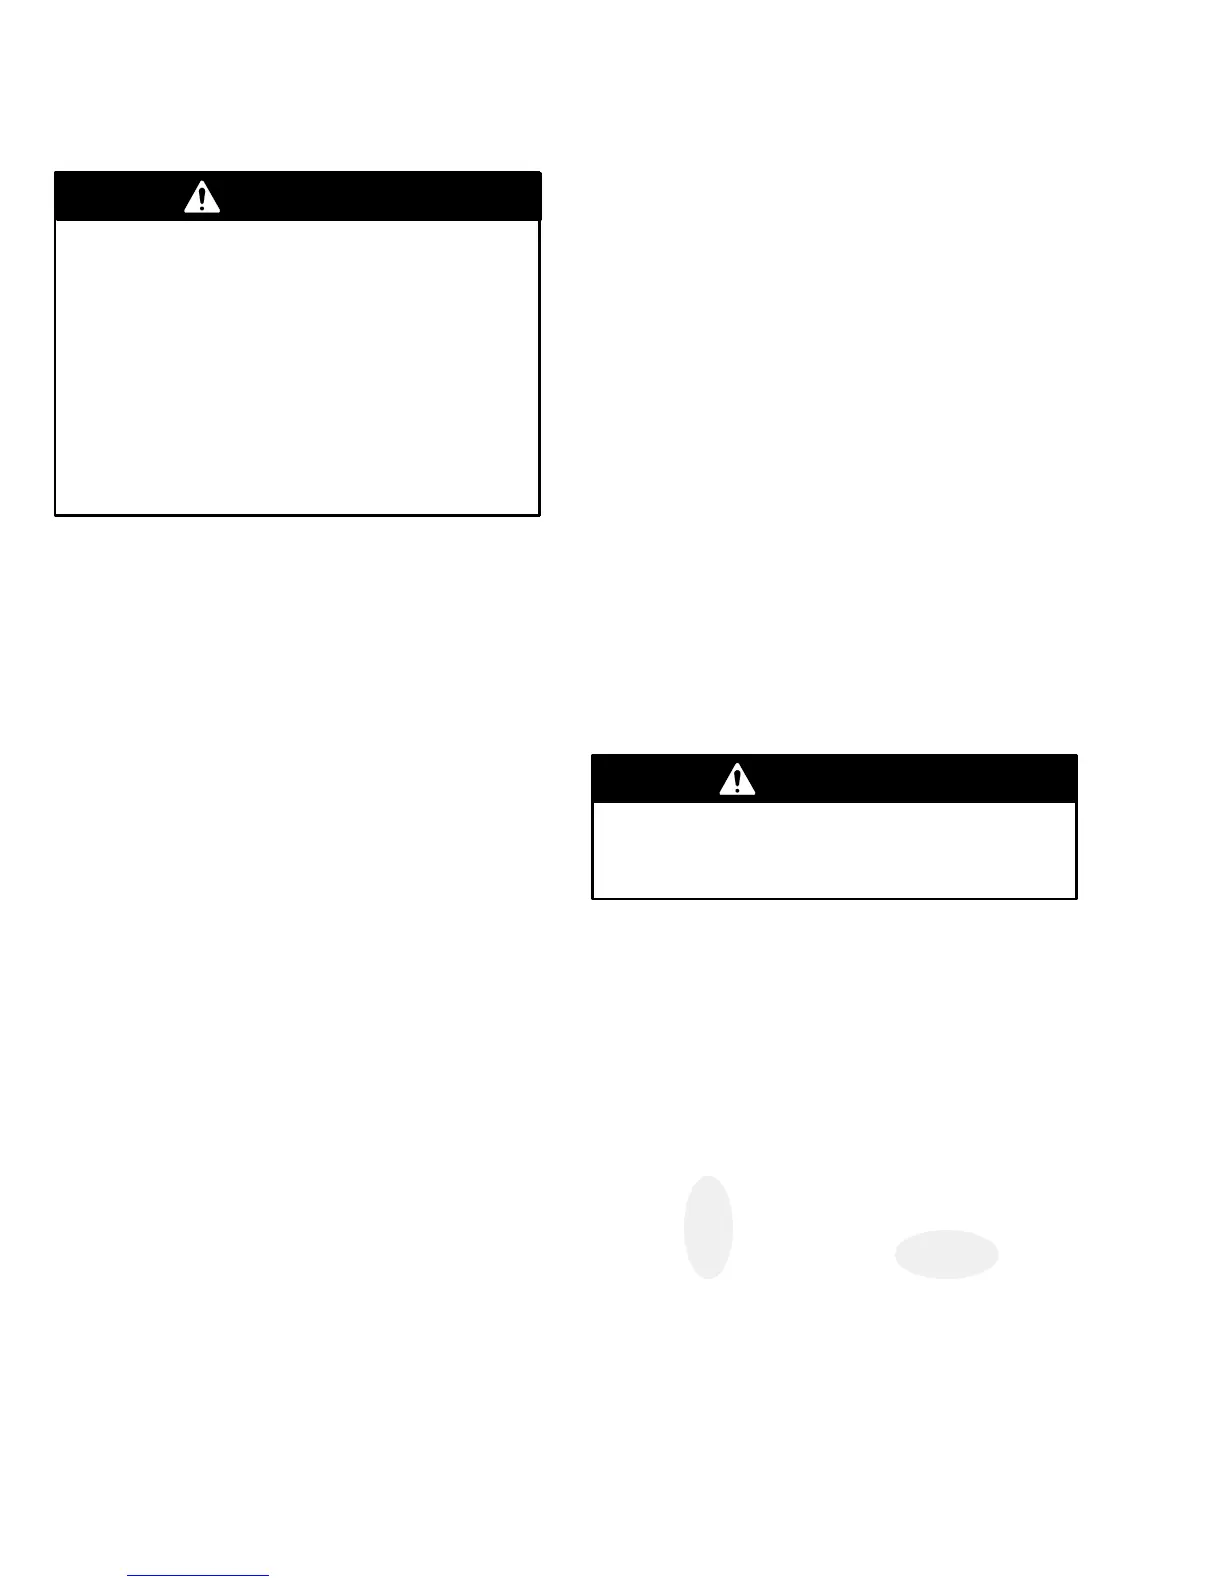
Proper pattern adjustment will give a spray pattern
shaped like this:
Vertical Pattern
Horizontal Pattern
See
the
Troubleshooting Chart
for the cause and
solution of improper spray patterns.