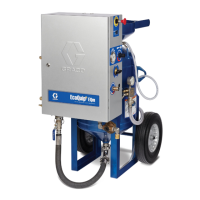
Repair
Replacing Replacing
Replacing
the the
the
Pinch Pinch
Pinch
Hose Hose
Hose
Removing Removing
Removing
the the
the
Pinch Pinch
Pinch
Hose Hose
Hose
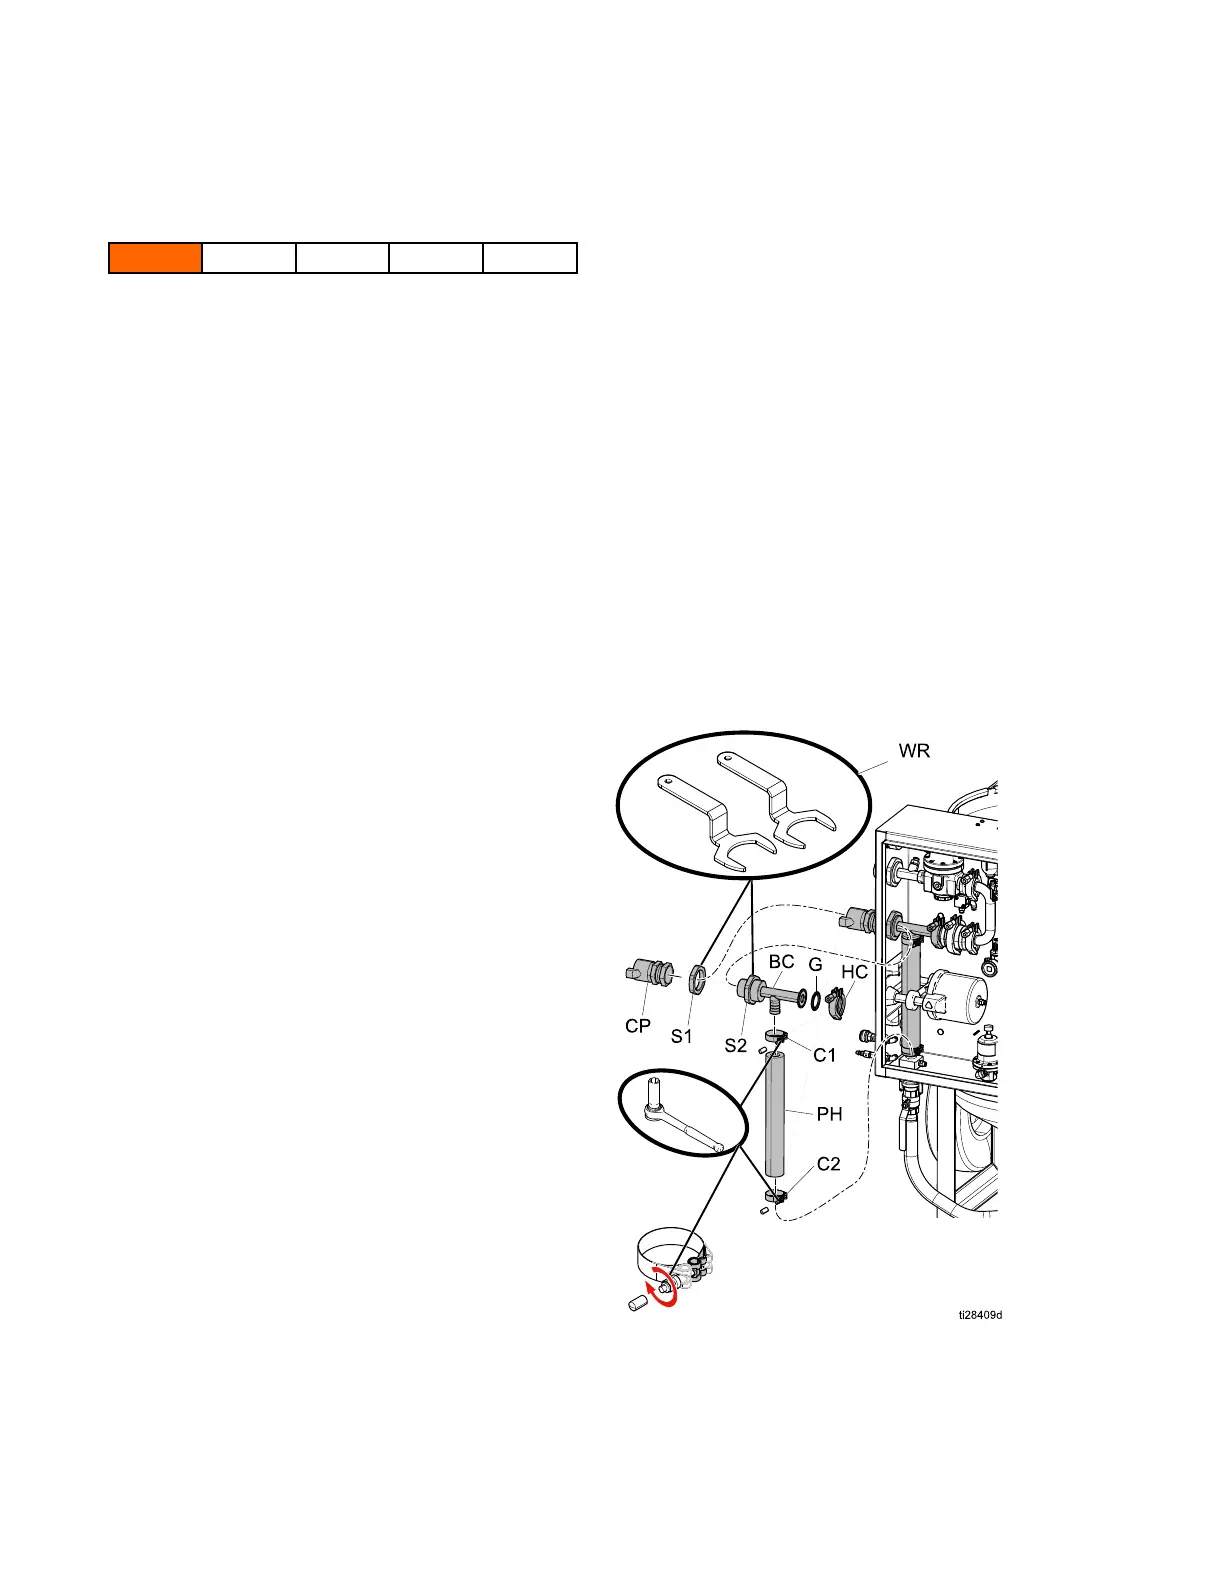
1.PerformPressureReliefProcedure,page10.
2.Removetheclawcoupler(CP)attheswivel
connection.
3.Usethesupplied2–7/8in.wrenches(WR)to
loosenthelocknuts(S1,S2)ontheinsideand
outsideofthebox.
4.Removetheclamp(HC)connectingtheblast
circuit(BC)tothecheckvalve.
5.Removethebottomhoseclamp(C2).
6.Pullthepinchhose(PH)outofthebox.
NOTE: NOTE:
NOTE:
Usetheblastcircuit(BC)asahandle,
andtwistwhilepulling.
7.Loosentheremaininghoseclampandremove
thepinchhosefromthecircuit.
Installing Installing
Installing
the the
the
Pinch Pinch
Pinch
Hose Hose
Hose
1.Placebothhoseclamps(C1,C2)onthepinch
hose(PH).Leave1/4in.ofhoseexposedonthe
ends.
2.Slidethepinchhose(PH)ontothebarbatthe
blastcircuit(BC).
3.Reinstalltheblastcircuit(BC)andpinchhose
(PH)intotheboxthroughthepinchvalve.
4.Installandtightentheclamp(HC)to15ft-lb(20.3
N•m)toconnecttheblastcircuittothecheck
valve.NOTE: NOTE:
NOTE:
Ifnecessary,loosentheinsidenut
(S2)toprovideroomforgasket(G)installation.
Inspectthegasket(G)andreplaceifnecessary.
5.Applyanti-seizetothreadsonclamps(C1,C2).
Alignthenutspointingtowardsthefrontofthe
enclosure.Torqueto85+/-5in-lb(9.6+/-0.5
N•m).
6.Tightenthelocknuts(S1,S2).
7.Installtheclawcoupler(CP).
32 3A3489E