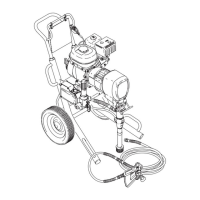
Pump
Tool List
Heavy
duty vise
1-1/16’
’ open end wrench
2-1/4’
’ adjustable, open–end wrench
Plastic mallet
Small screwdriver
Throat Seal Liquid
Thread sealant
Non–silicon grease
Repair Kit 220–877
Sleeve Removal T
ool 224–788
Cleaning and Inspecting Parts
Clean
and inspect the parts. Pay particular attention to
the ball seat in the intake valve, which should have no
nicks or wear
, and to the inside of the sleeve and the
outside of the piston rod, which should not be worn or
scratched. Replace worn or damaged parts.
Remove and clean the sleeve when you are repacking
the pump. A special sleeve removal tool is available.
See the T
ool List, above.
WARNING
Always use the special sleeve removal tool to re
-
move the sleeve. Other removal methods could
cause the pump to rupture, resulting in serious
bodily injury
. If the sleeve cannot be removed easi
-
ly using the tool, return the sleeve and cylinder to
your Graco distributor for removal.
Notes About Reassembling the Pump
Install
the sleeve with the tapered end down.
Be sure the retaining spring is firmly in the groove
all the way around the connecting rod to prevent
the pin from working loose due to vibration.
WARNING
If the pin works loose, it or other parts could break
of
f due to the force of the pumping action. These
parts could be projected through the air and result
in serious bodily injury or property damage, includ
-
ing damage to the pump, connecting rod or bearing
housing.
Be sure the pump locknut is tightened firmly
.
Use only non–silicon grease when grease is speci
-
fied.
CAUTION
If the pump locknut loosens during operation, the
threads of the bearing housing will be damaged.
NOTE:
The pump repacking procedure begins on page
31.

 Loading...