Repair
3A8099A 31
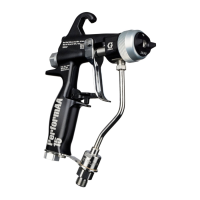
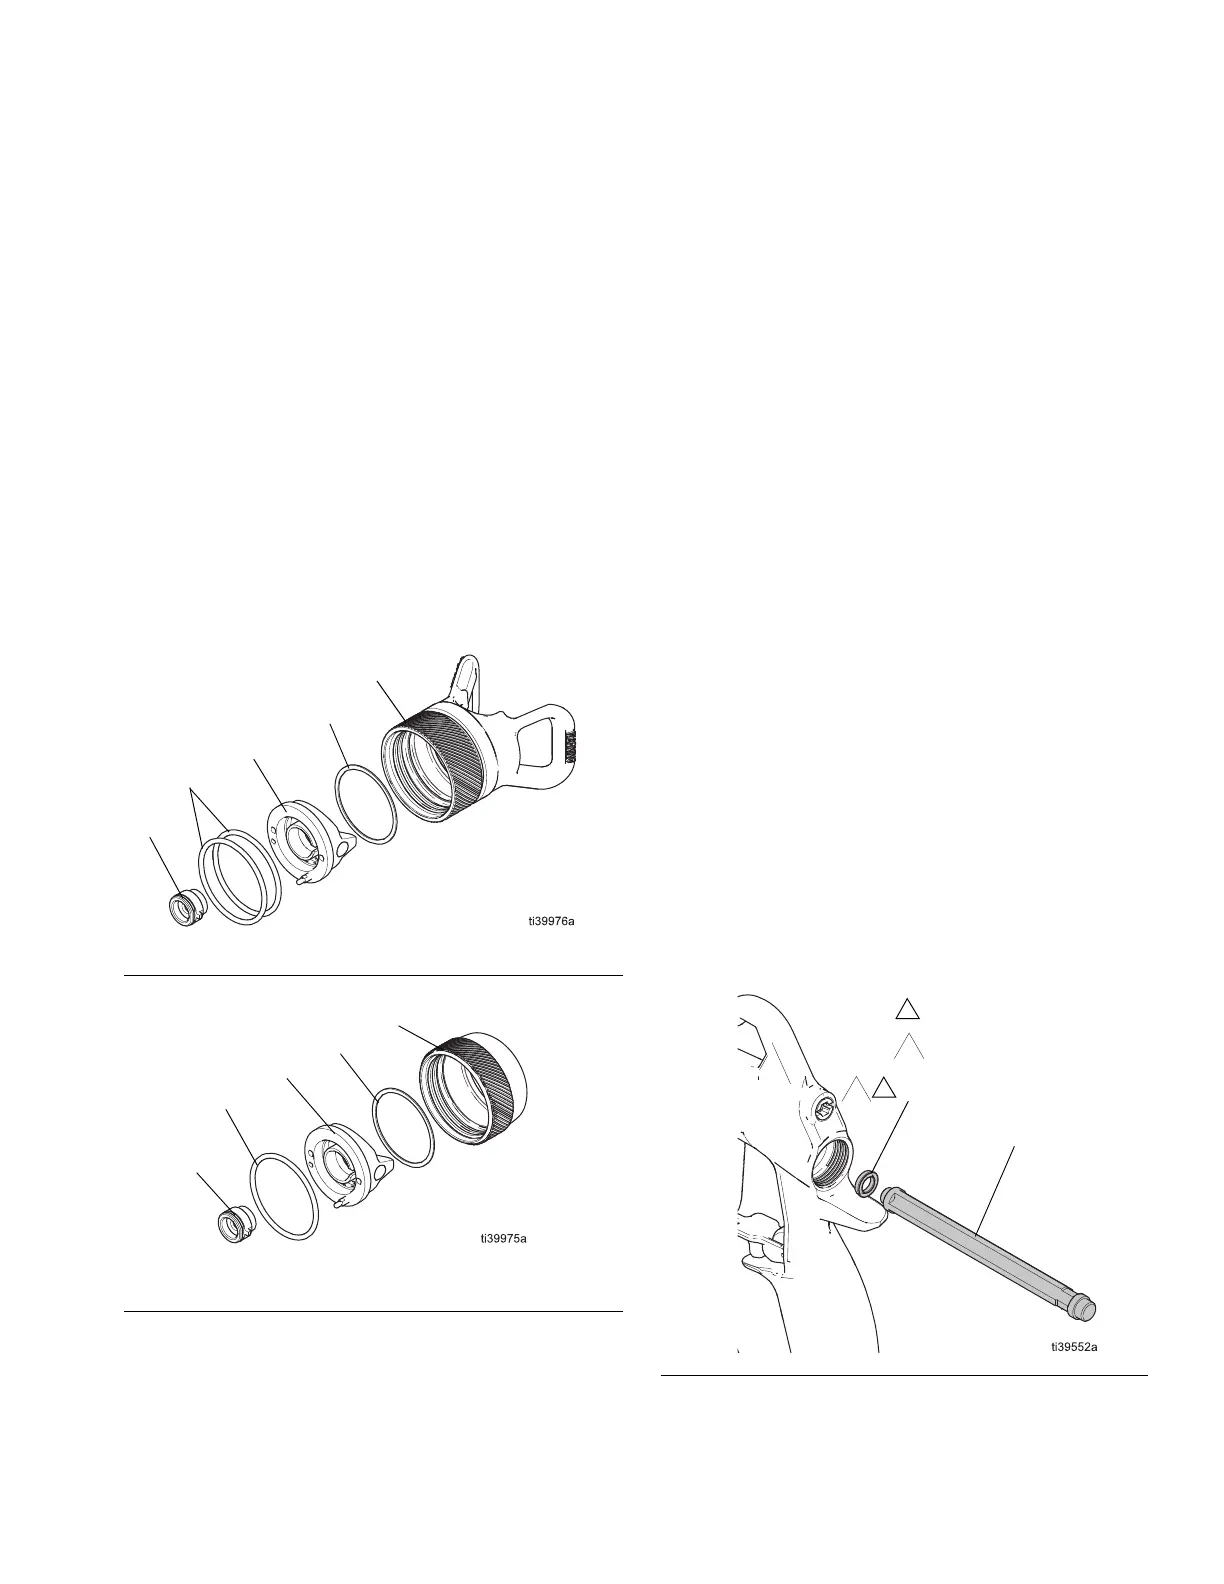
Air Cap Assembly Repair
Procedure
Replace the air cap assembly (8) parts as needed. See
Air Cap Selection Guide, page 54.
NOTE: RAC air cap assemblies cannot be repaired.
Disassemble the Air Cap
1. Follow the Pressure Relief Procedure, page 15.
2. Loosen the retaining ring (8b) by hand to remove
the air cap assembly (8) from the gun.
3. Remove the spray tip (7) from the assembly.
4. Remove the o-ring (8d) with a pick to release the air
cap (8a), and the washer (8f) from the assembly.
Assemble the Air Cap
1. Place the washer (8f) onto the front of the air cap
(8a).
2. Press the air cap (8a) and washer (8f) into the
retaining ring (8b).
3. Press the o-ring (8d) into the retaining ring (8b) with
a pick.
4. Insert the spray tip (7) into the air cap (8a).
5. Install the air cap assembly (8) to the gun. See
Spray Tip and Air Cap Setup, page 13.
U-Cup Replacement Procedure
1. Follow the Pressure Relief Procedure, page 15.
2. Remove the gun trigger (9) to access the u-cup (2)
from the front of the gun. See Remove the Trigger,
page 30.
3. Use a thin metal pick or a flat head screwdriver to
push the u-cup (2) from the front of the gun out the
back of the gun.
NOTE: Removal damages the u-cup (2). It cannot be
reused.
4. Place a new u-cup (2) on the seal installation tool
(28), with the u-cup lips facing the tool. See F
IG. 46.
5. Firmly push the u-cup (2) into the back of the gun
until the u-cup (2) snaps in place.
6. Install the gun trigger (9). See Install the Trigger,
page 30.
FIG. 44: PerformAA 50 air cap assembly parts and
spray tip
FIG. 45: PerformAA 15 air cap assembly parts and
spray tip
FIG. 46: U-cup replacement.
Lubricate lightly.
Lips face the tool.